Follow Camera
The follow camera is a camera perspective for setting observation effects. The follow camera needs to select a follow object to set it to take effect. The common method is to set the follow object perspective and then display the follow object perspective separately through interactive settings, such as setting the drone perspective, character walking perspective, path animation perspective, etc.
The following uses path animation as an example to demonstrate some basic operations of the follow camera.
1. Add path animation
Add any car model and set path animation for it.
The effect of path animation setting is as follows:

2. Add a follow camera
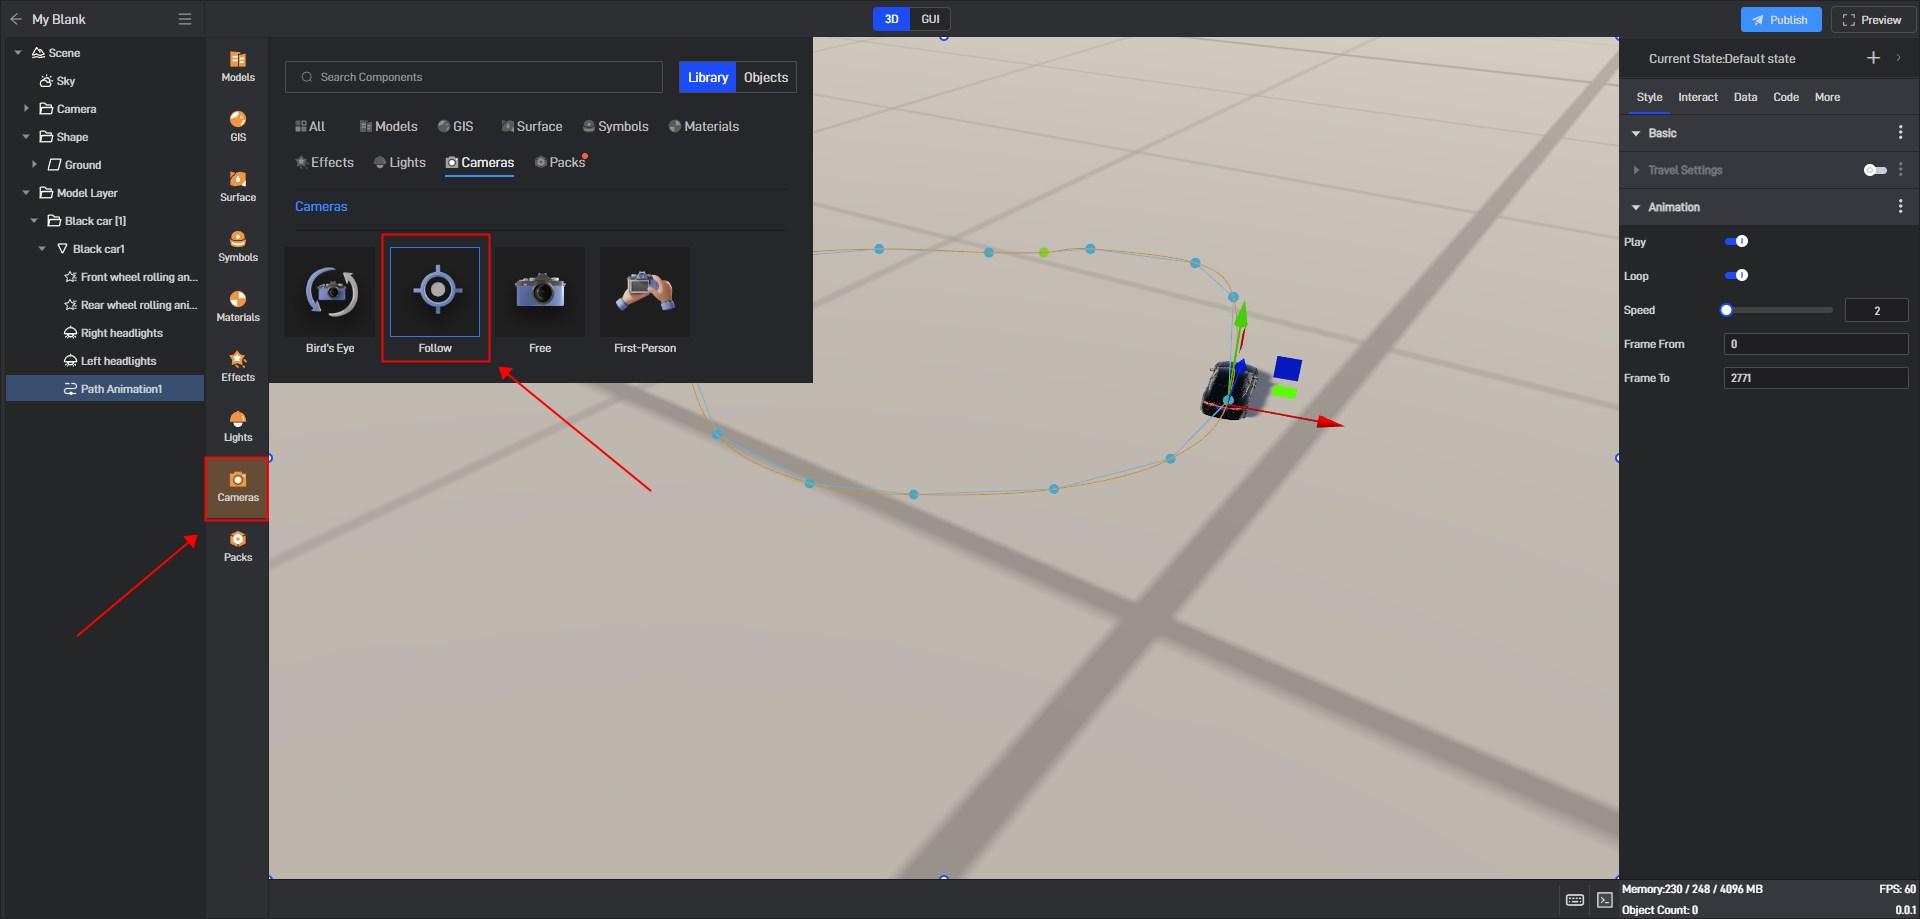
After adding a follow camera, you need to select a follow object. You can see the target object setting item in the “Perspective Setting” of the follow camera style settings.
Select the car model to which you added path animation previously.
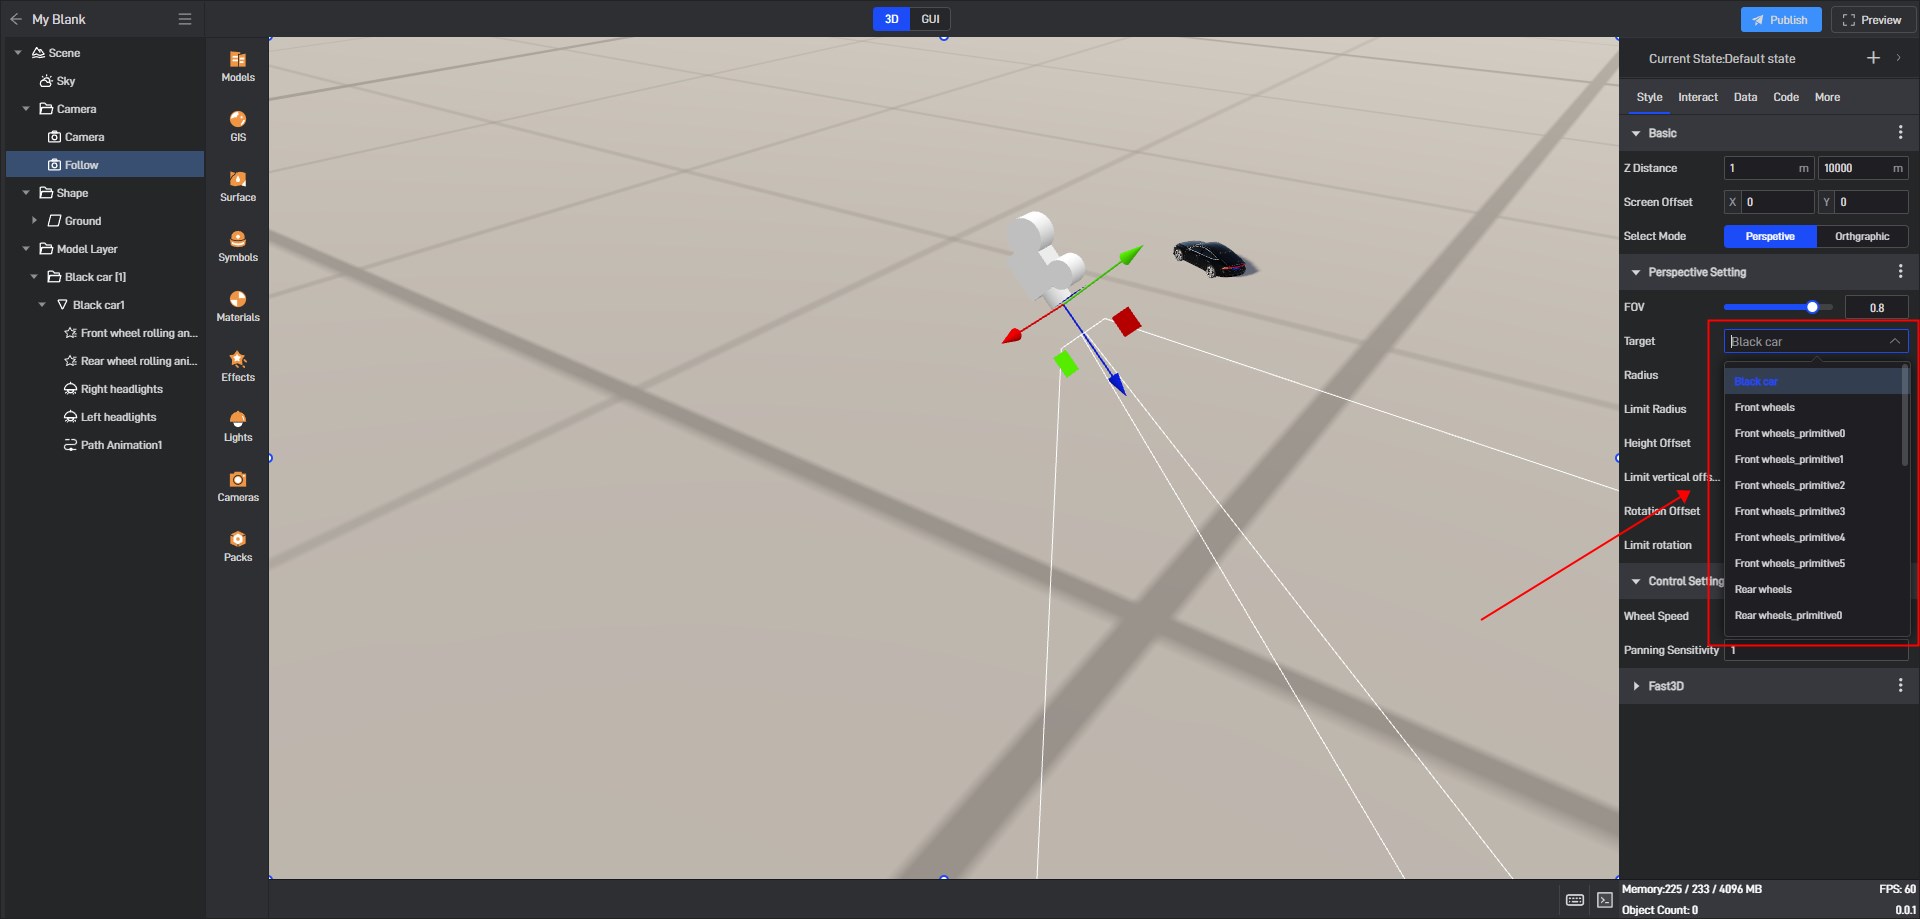
After setting the target object, the follow camera will automatically display the animation effect perspective set by the follow object.

3. Basic Settings
| Configuration items | Description |
|---|---|
| Z Distance | The camera’s visible distance can also be called the nearest plane and the farthest plane. |
| Sreen Offset | The X and Y offsets of the screen center point |
| Select Mode | Two views, “Perspective” and “Orthographic”. |
The camera’s visible distance can also be called the nearest plane and the farthest plane.
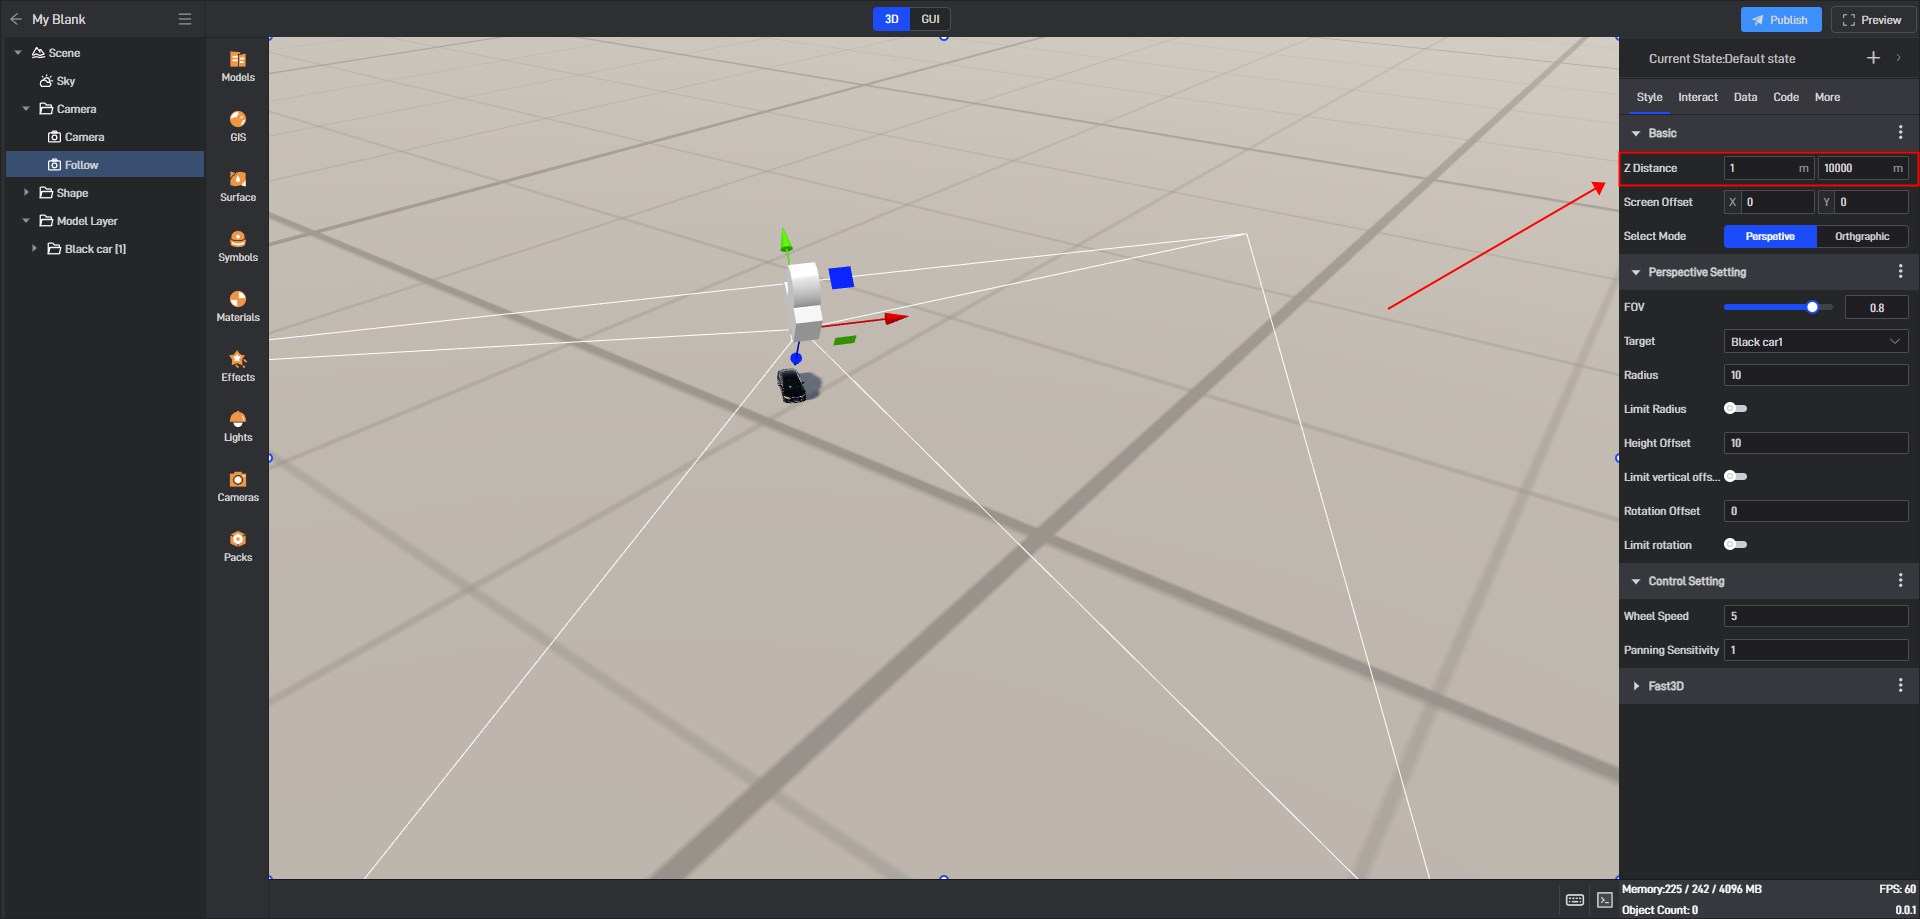
4. Perspective Setting
Follow the camera perspective setting to set the visible perspective based on the Z-axis distance, and perform some basic operations on the camera within the perspective range.
4.1 FOV
FOV refers to the angle between the camera lens and the object being photographed. The larger the value, the larger the observation range, and the maximum viewing angle value is 1.

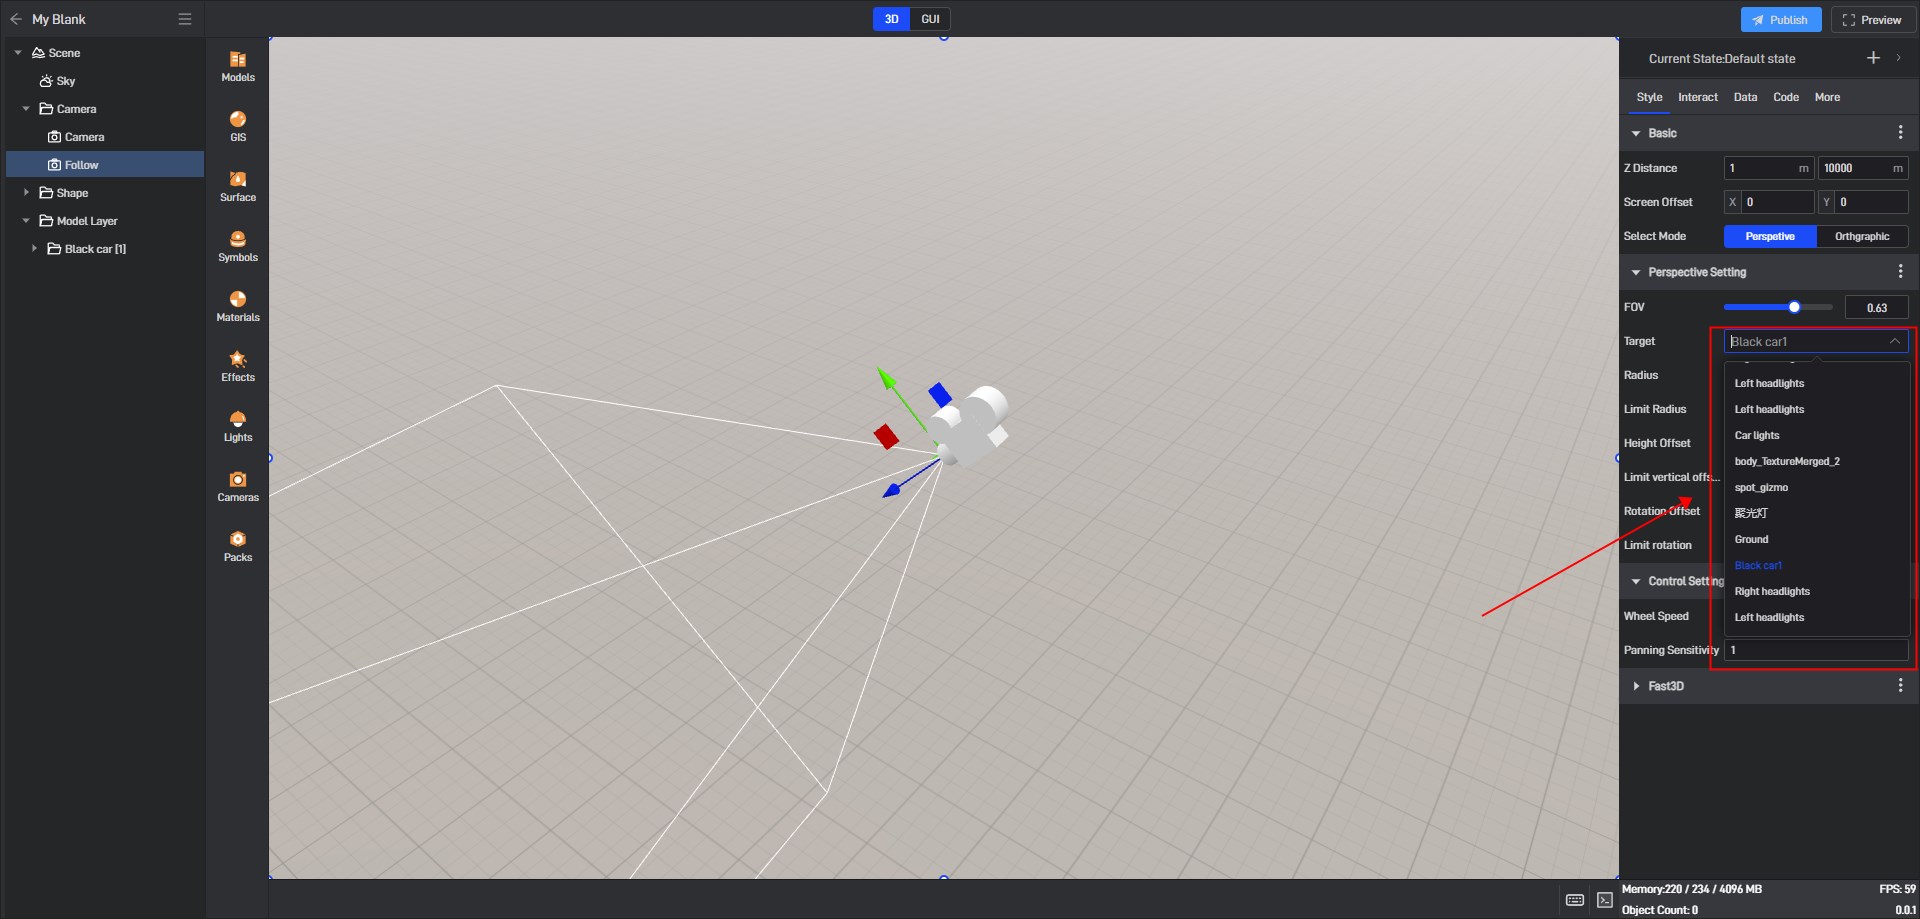
4.2 Target
This is the object that the camera perspective follows. After expanding it, you can see all the targets in the layer that can be set to follow the perspective.
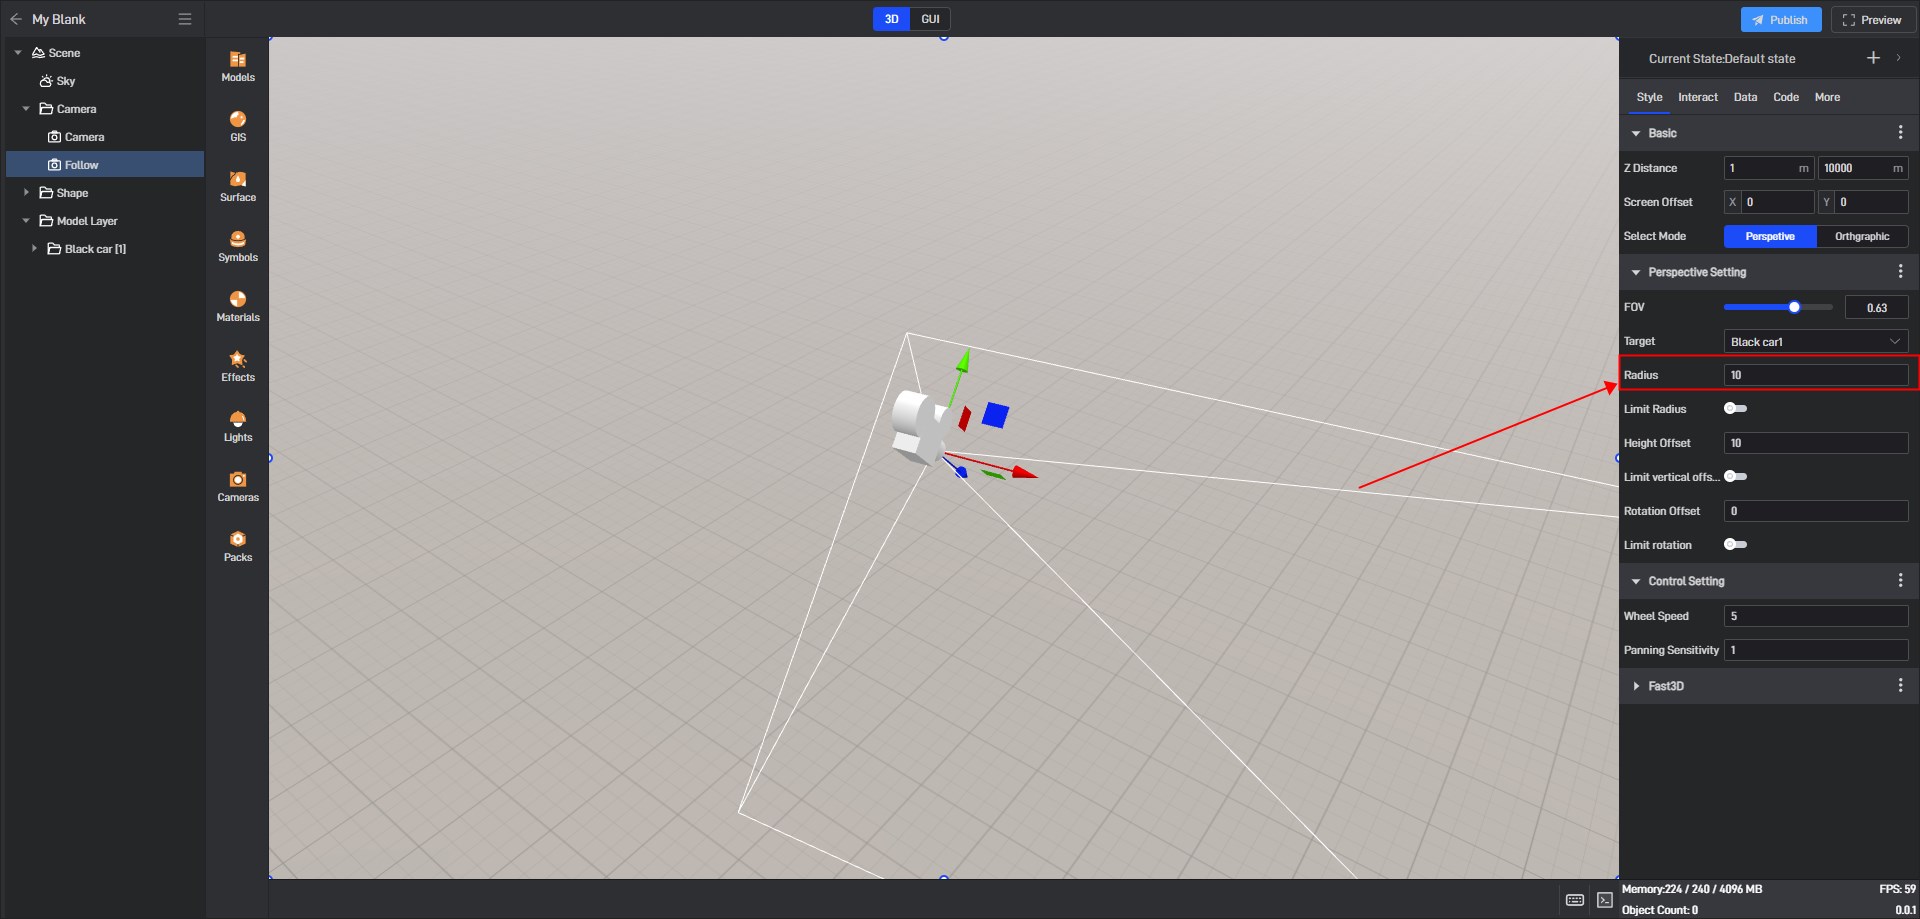
4.3 Radius
The distance between the following camera’s perspective and the following target. The smaller the target distance value, the closer the observed target is.
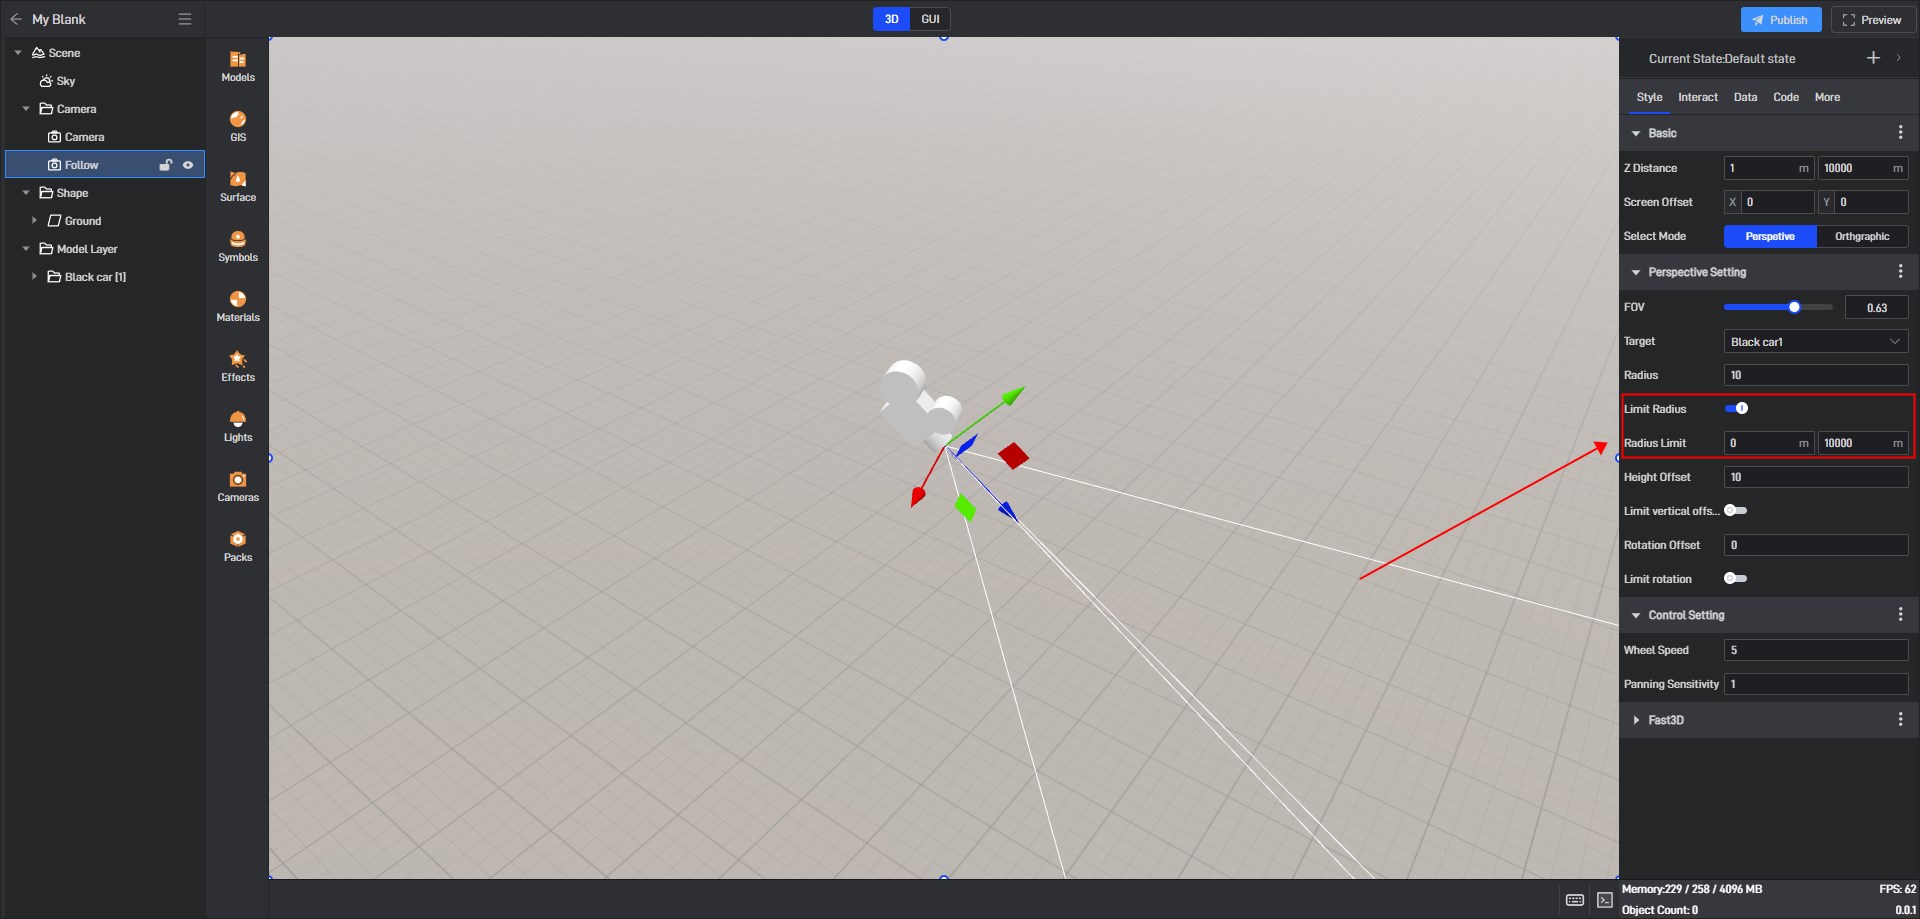
4.3.1 Limit Radius
The shortest and farthest distance between the camera origin and the observation target. When it is turned on, the camera will move within the range.
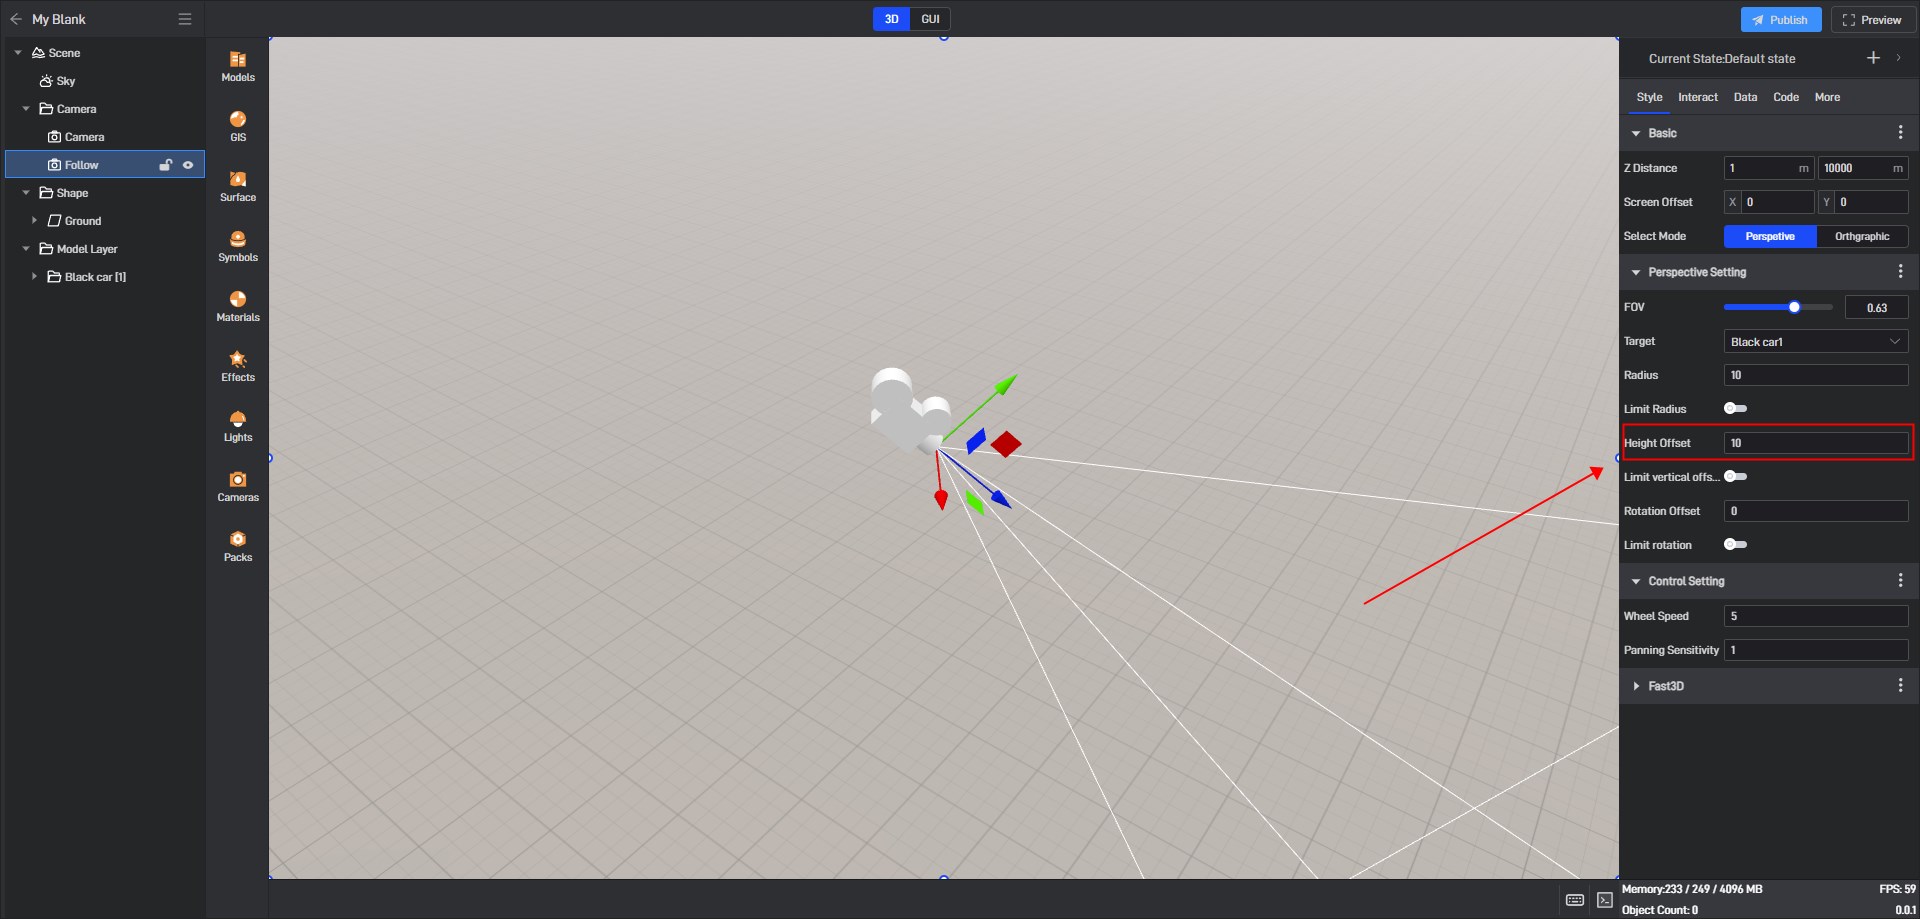
4.4 Height Offset
The camera origin is offset up and down from the observation target. When it is turned on, the camera will offset to the set distance.
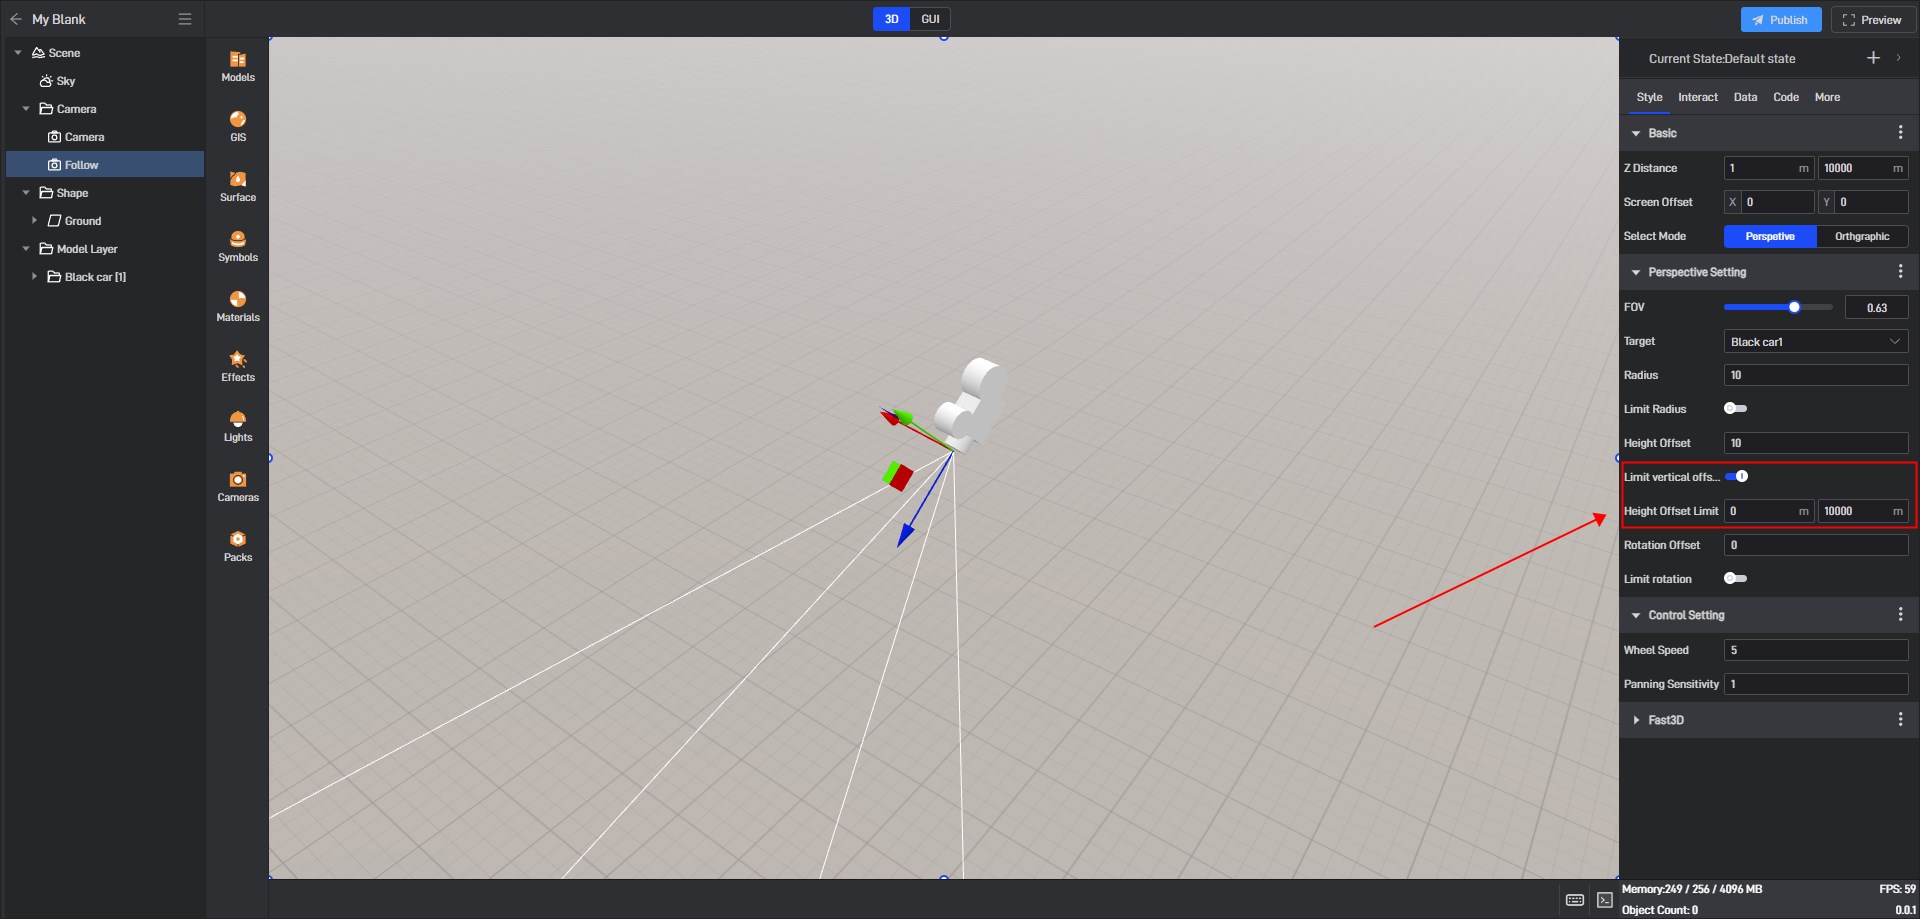
4.4.1 Limit Vertical Offset
The maximum and minimum angles of the camera origin offset from the observation target. When turned on, the camera will move within the restricted range.
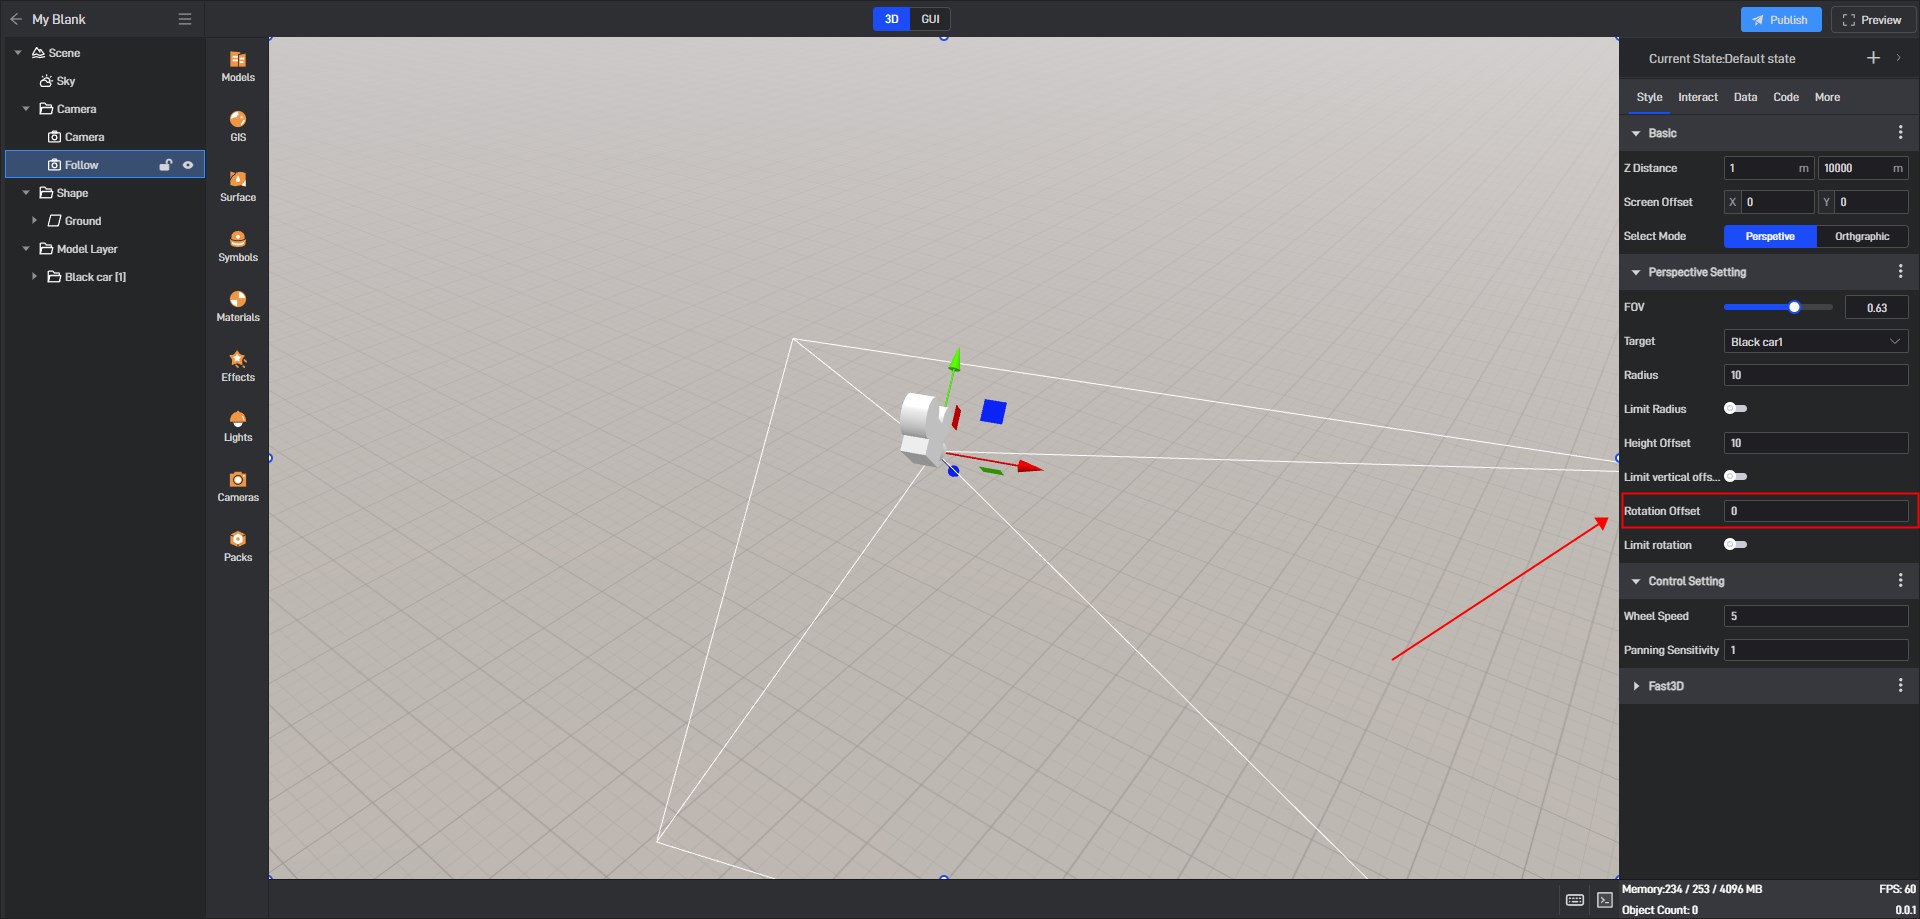
4.5 Rotation Offset
The camera rotates left and right around the Y axis to follow the object.
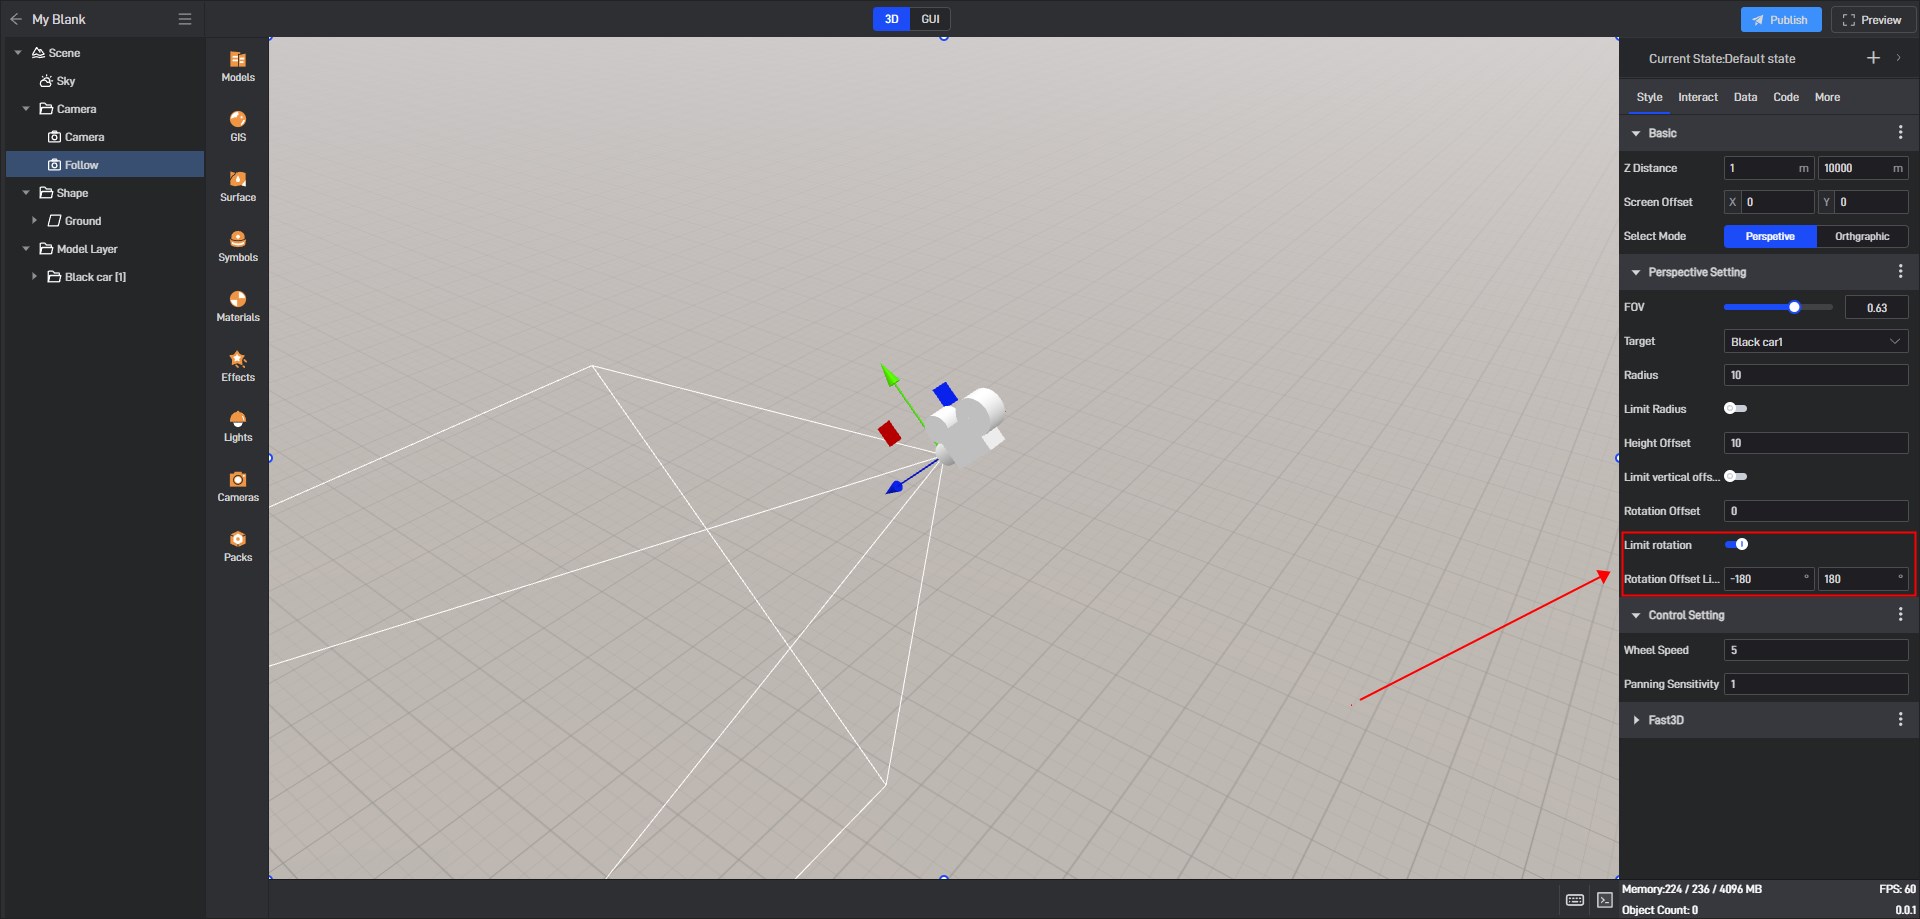
4.5.1 Limit Rotation
The maximum and minimum angles of rotation of the camera origin to the observation target can be set in the range of -180° to 180°.
5. Control Setting
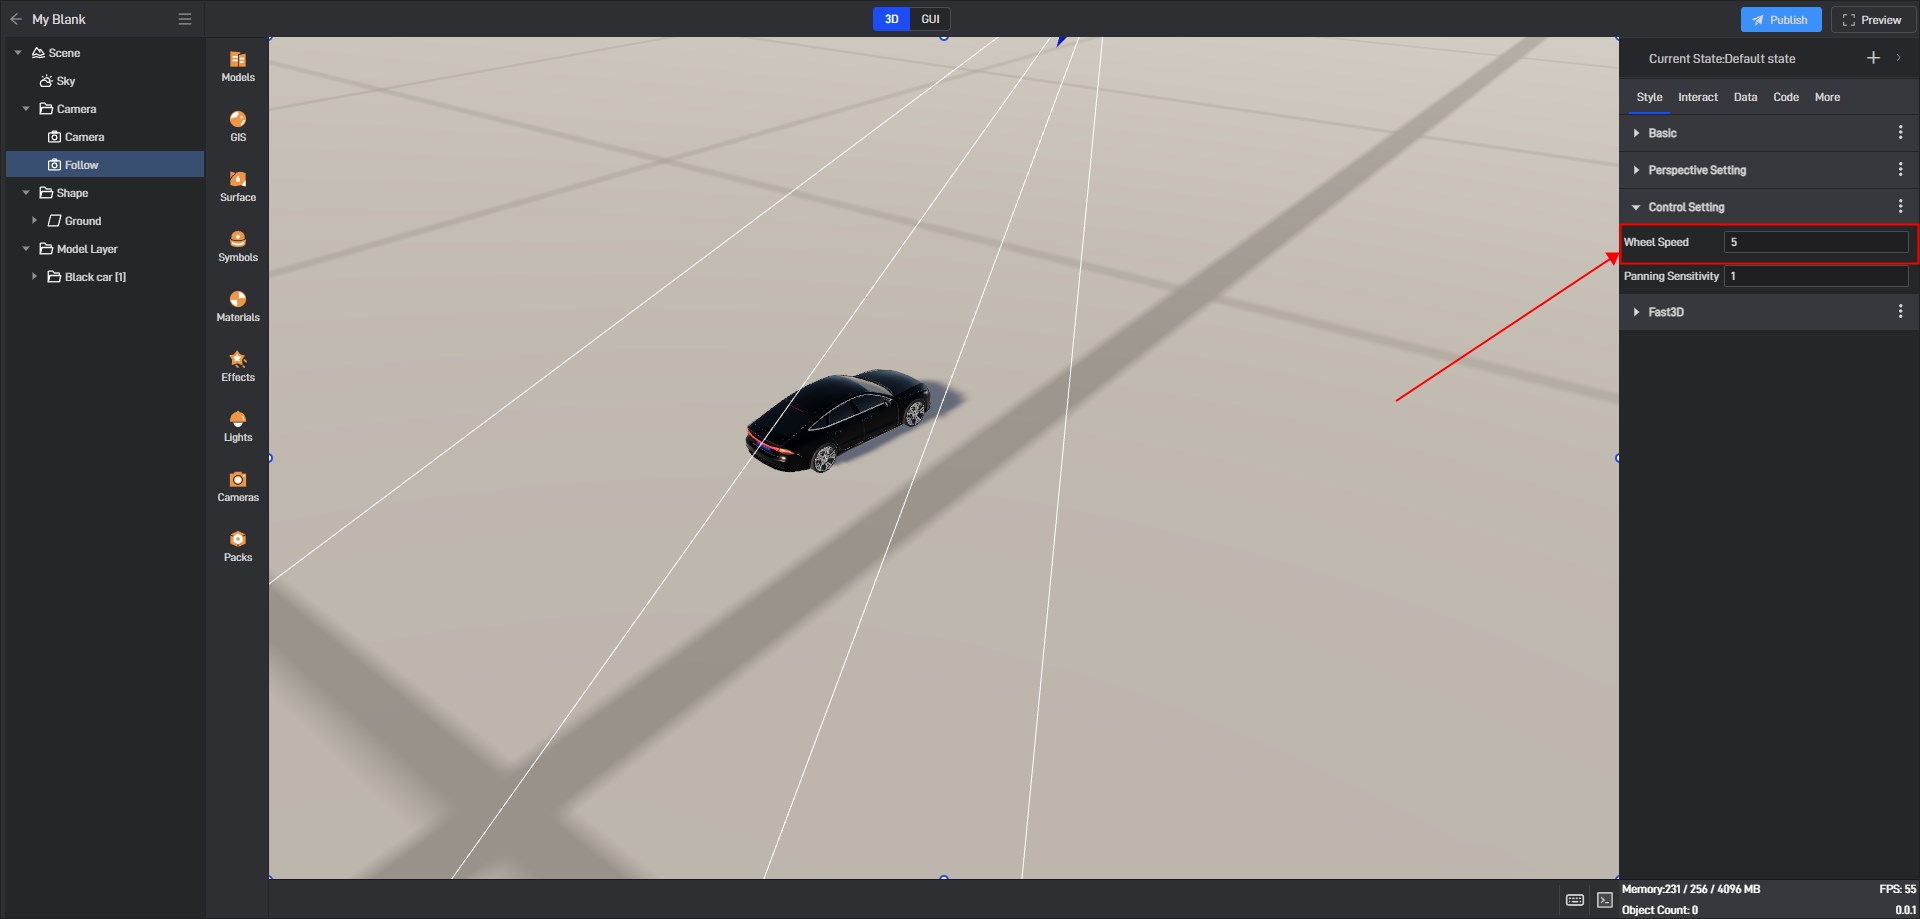
5.1 Wheel Speed
In the follow perspective, use the mouse wheel to control the speed of advancing and zooming out to observe the object.
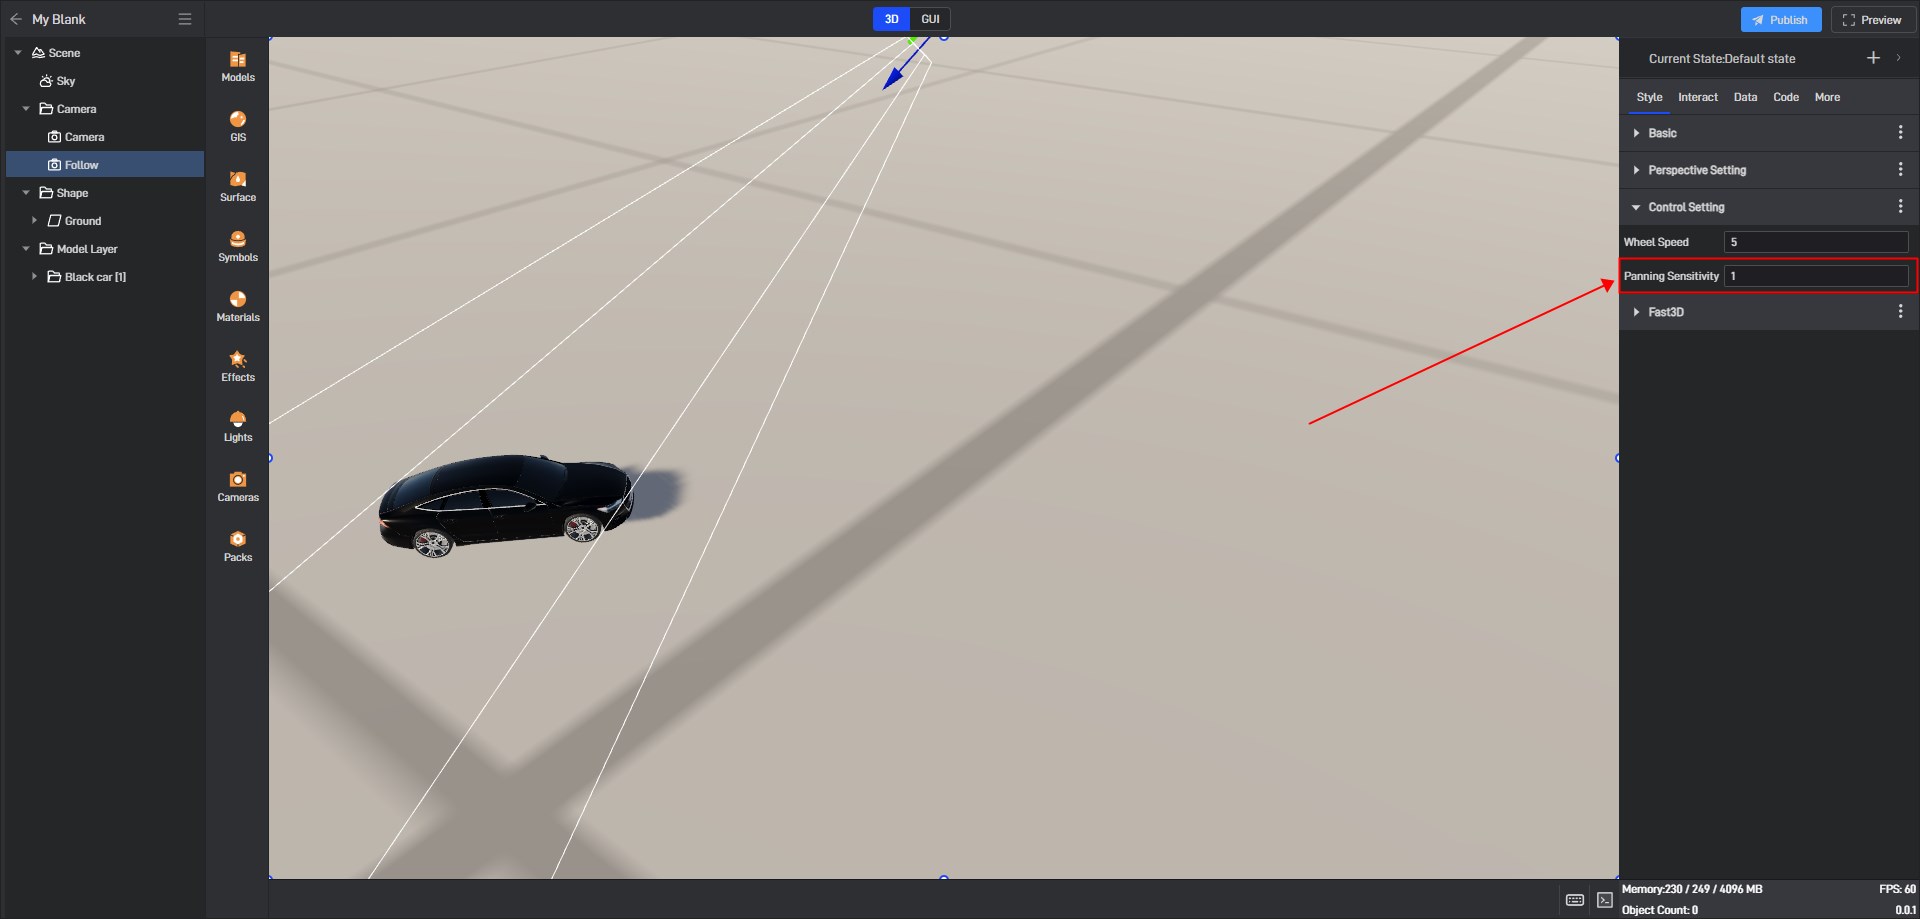
5.2 Panning Sensitivity
The mouse sensitivity of the mouse in the follow perspective to control the left and right translation of the observed object. The larger the setting value, the higher the sensitivity.
6. Switch between follow camera perspective and main perspective
The switch between the follow camera perspective and the main perspective is achieved by setting the scene camera switch interaction. Please refer to the figure below to set the interaction:
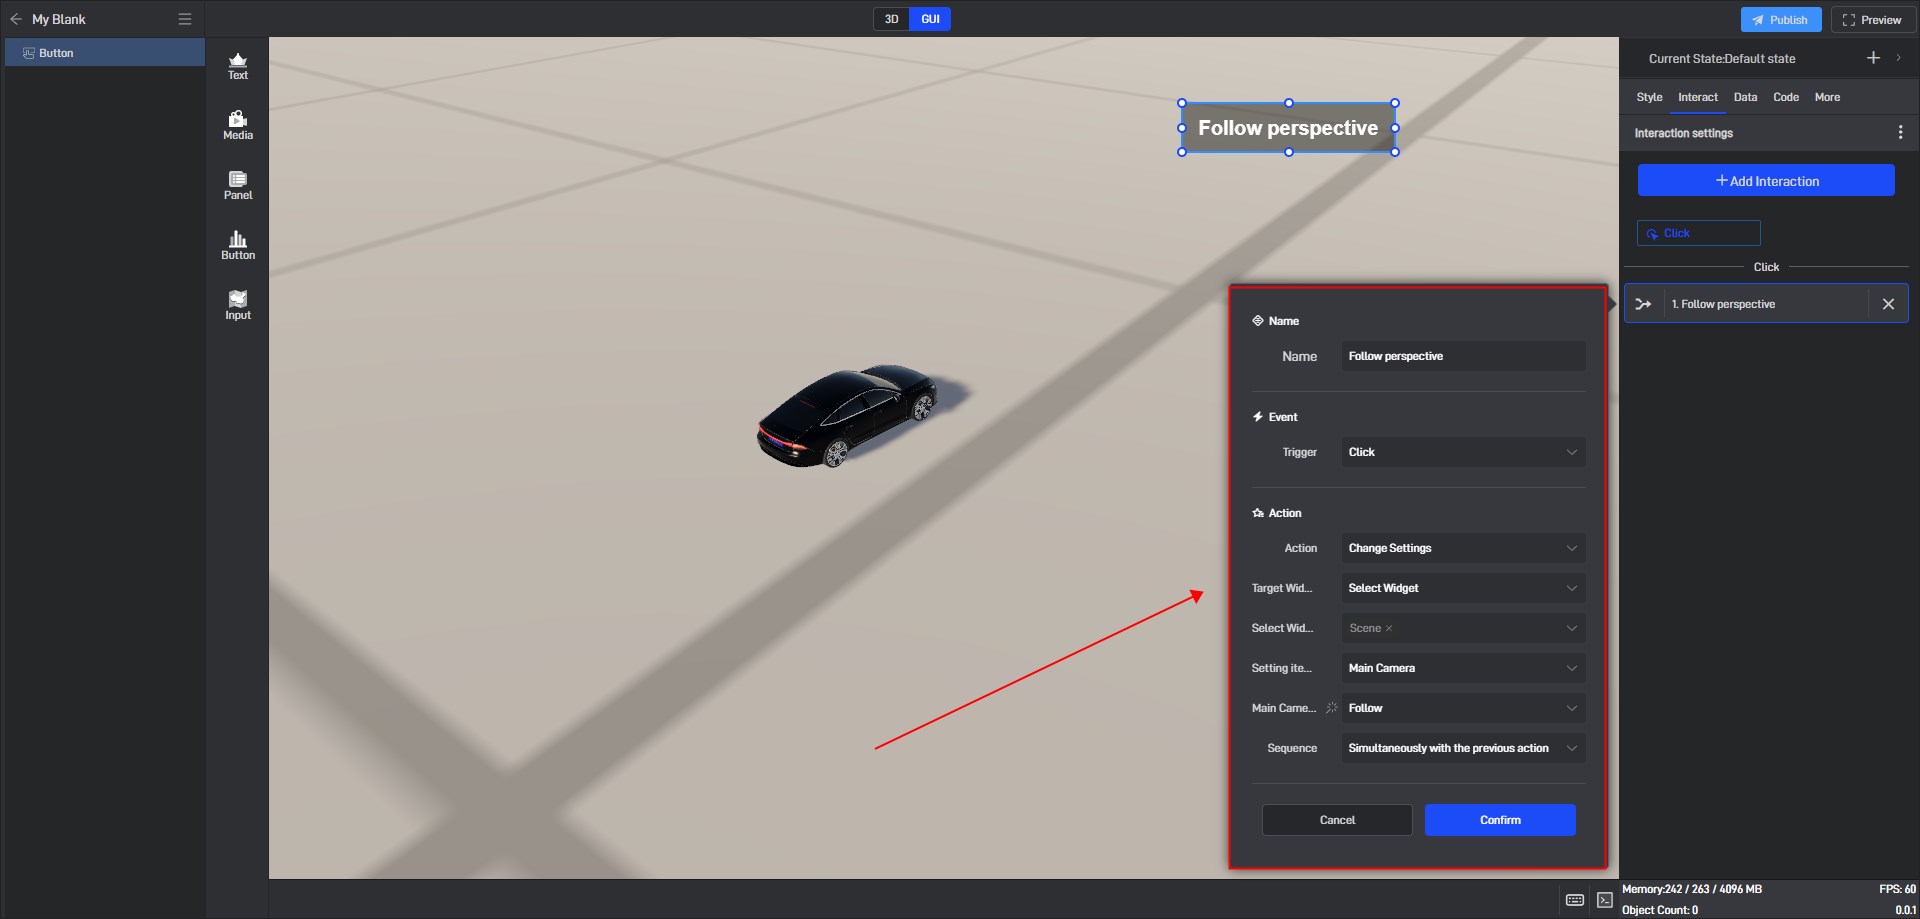
The perspective switching effect is as follows:
