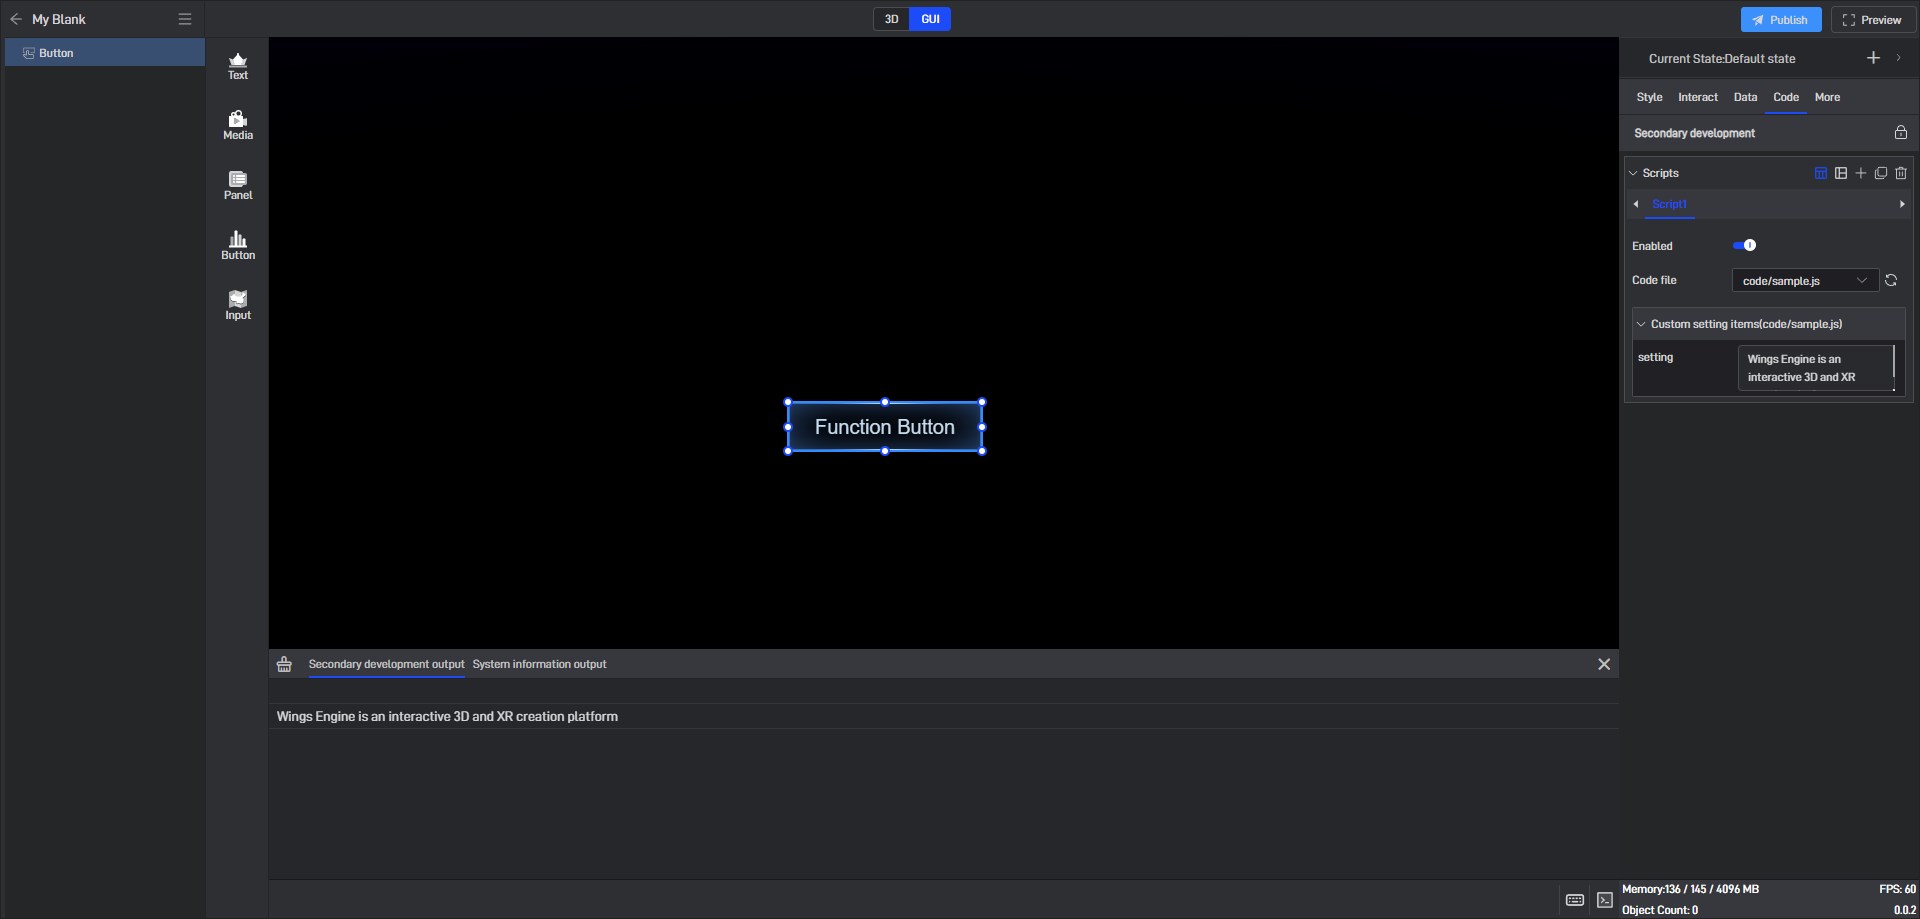
Secondary Development Entrance
This tutorial will introduce the operation process of connecting the secondary development code with Wings Engine. The secondary development code uses JavaScript language. Next, we will take the **”Button” **component as an example.
1. Operation steps
1.1 Add widgets
Open Wings Engine, create a blank project, and add a “Button” widget.
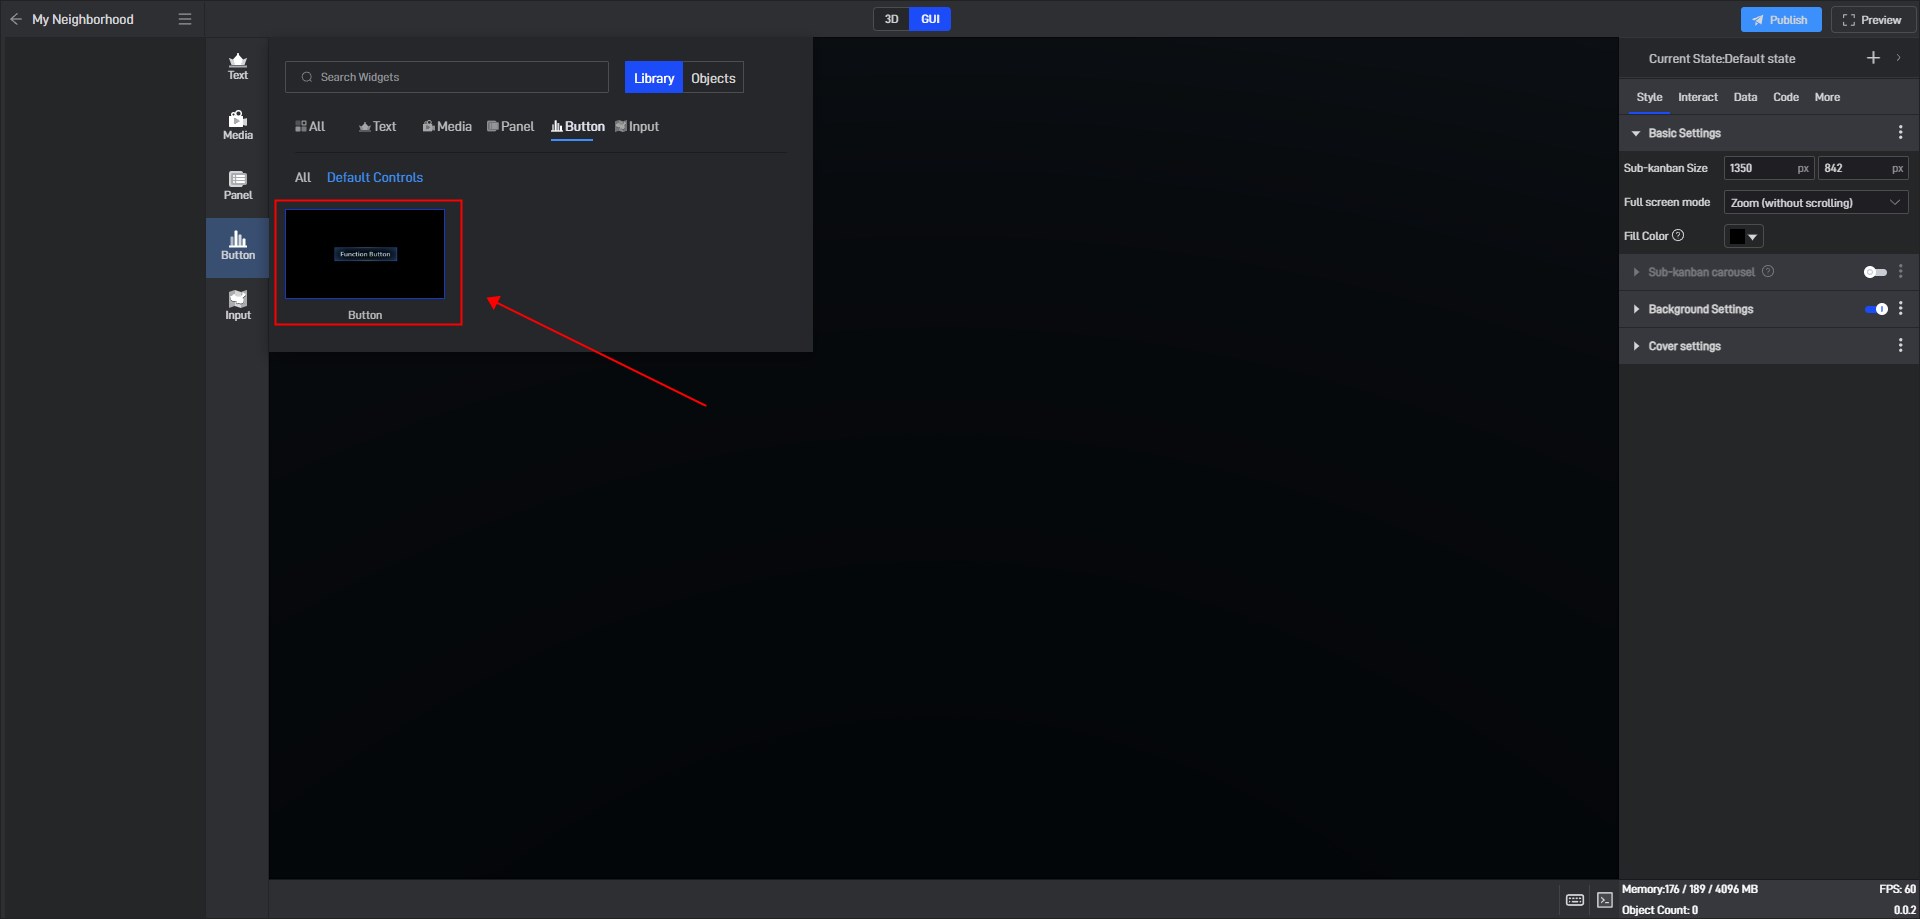
1.2 Add script
Select the button, click “Code” in the property panel on the right, and add a script in the secondary development interface. The system will automatically create a basic code template.
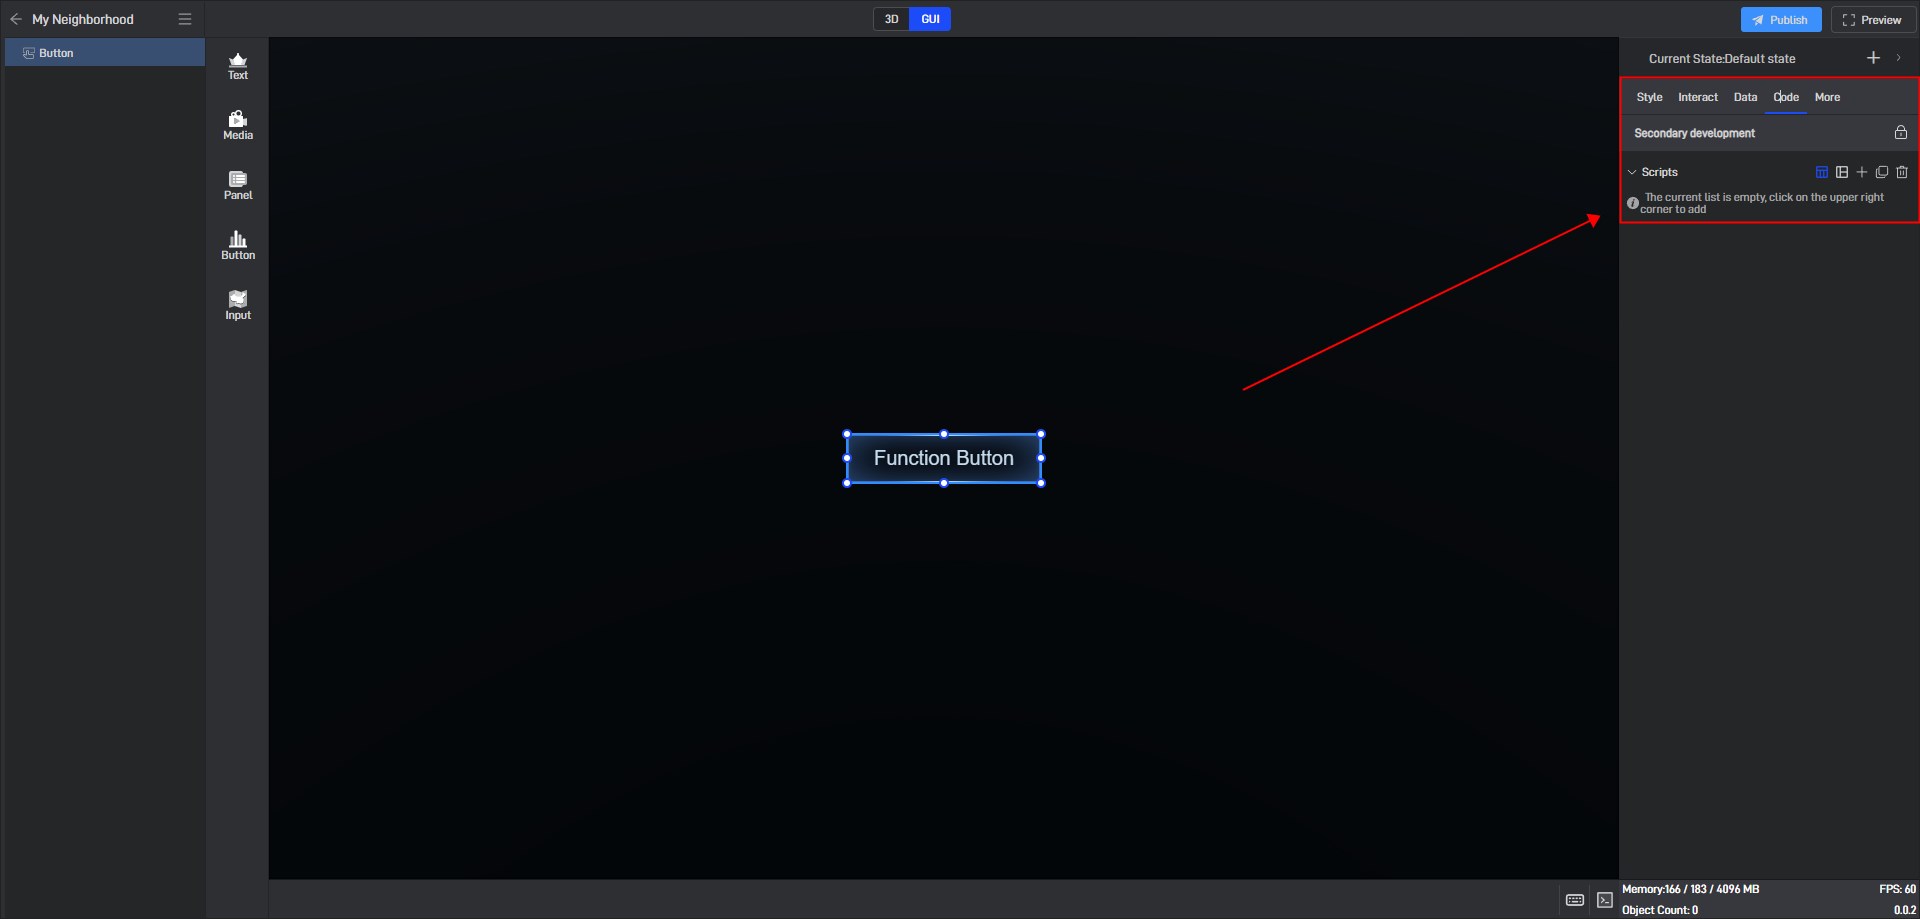
[Tips] Usually you only need to add one script, but if there is a lot of code and the code needs to be decoupled, you can add multiple scripts. Through different scripts, the entire code can be divided into several large modules, which is more convenient to manage.
1.3 Enable Script
After adding a script, it is enabled by default, but can also be disabled manually. This function is very convenient if you want to debug multiple scripts one by one.
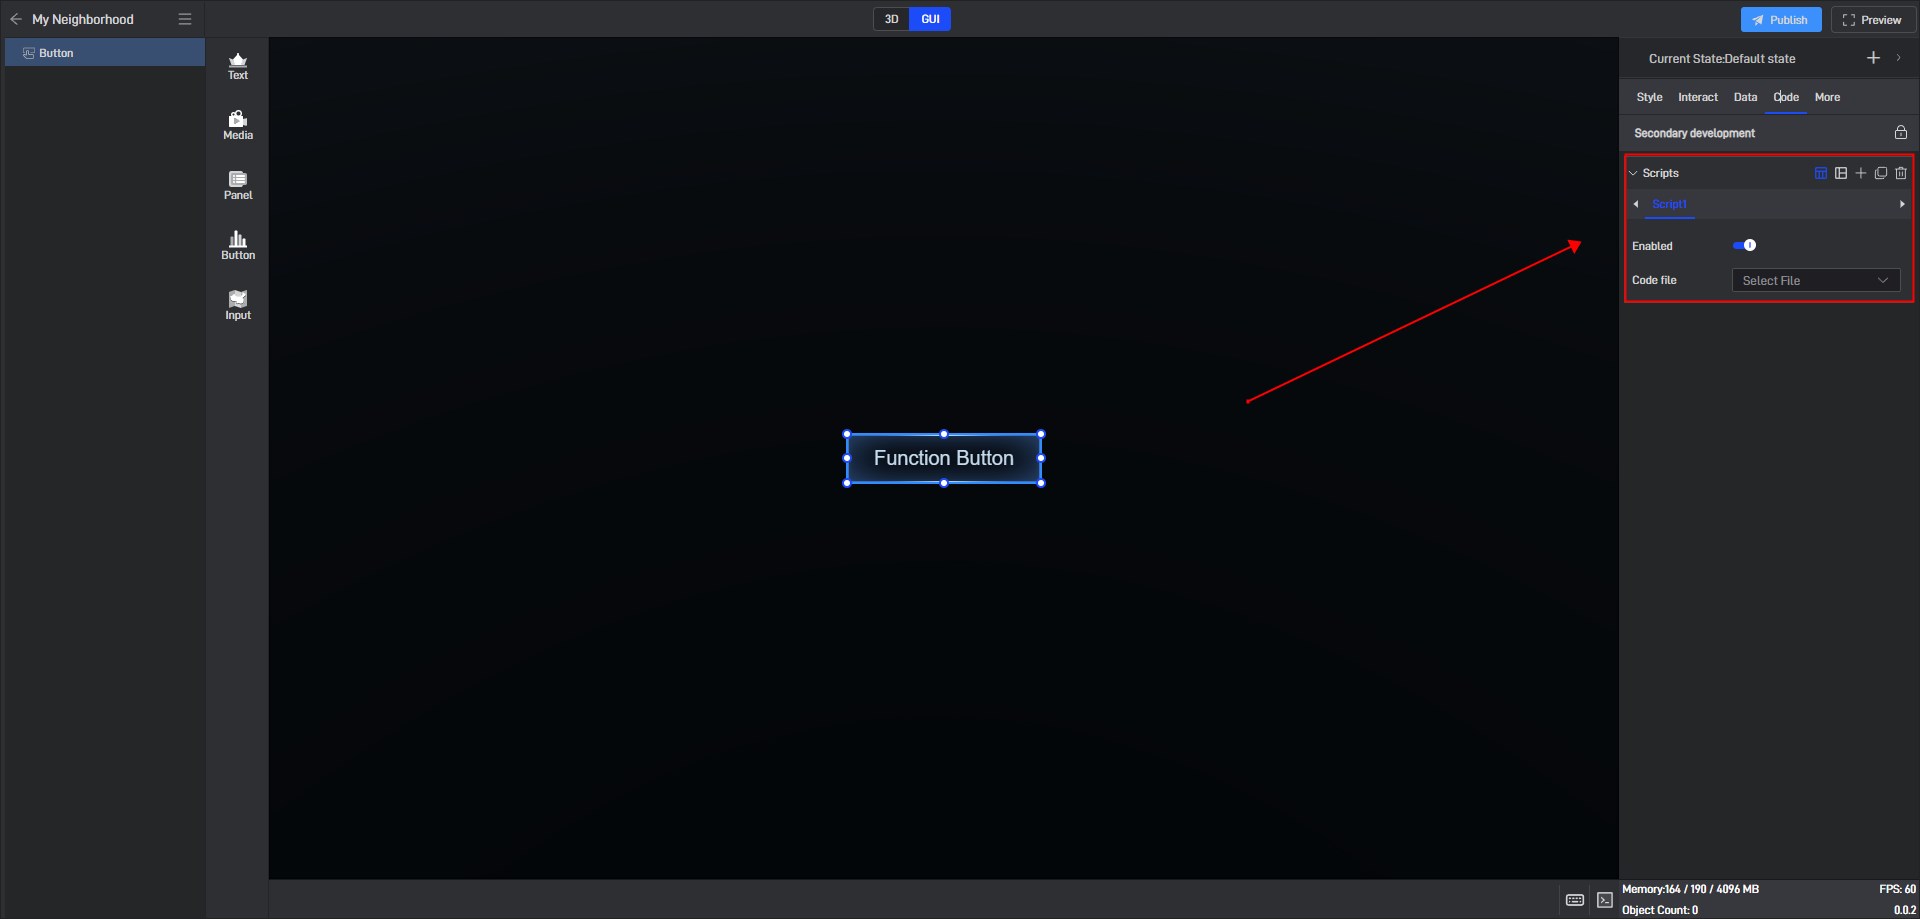
1.4 Add code
After clicking New, the system will automatically create a basic code template. You can also click the code file box to replace it with other local secondary development code files.
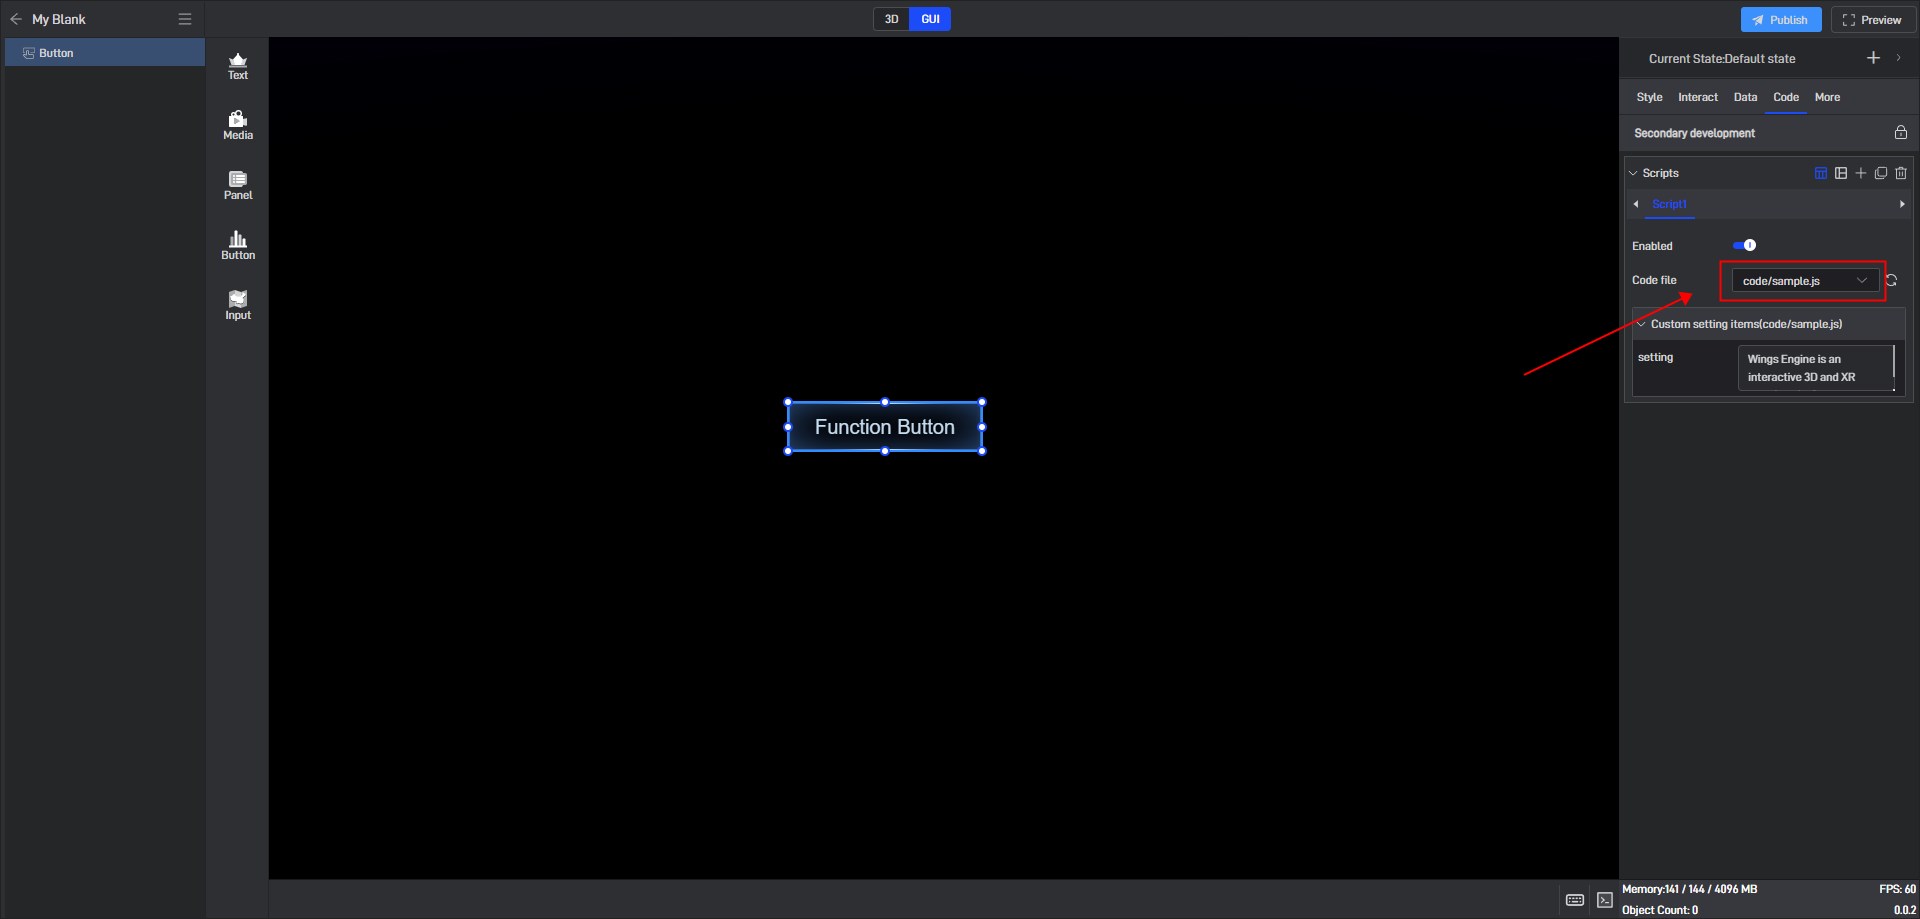
Sample code:
1 | class Demo { |
Tip: Pay attention to the code format here. “export” must be followed by “default”.
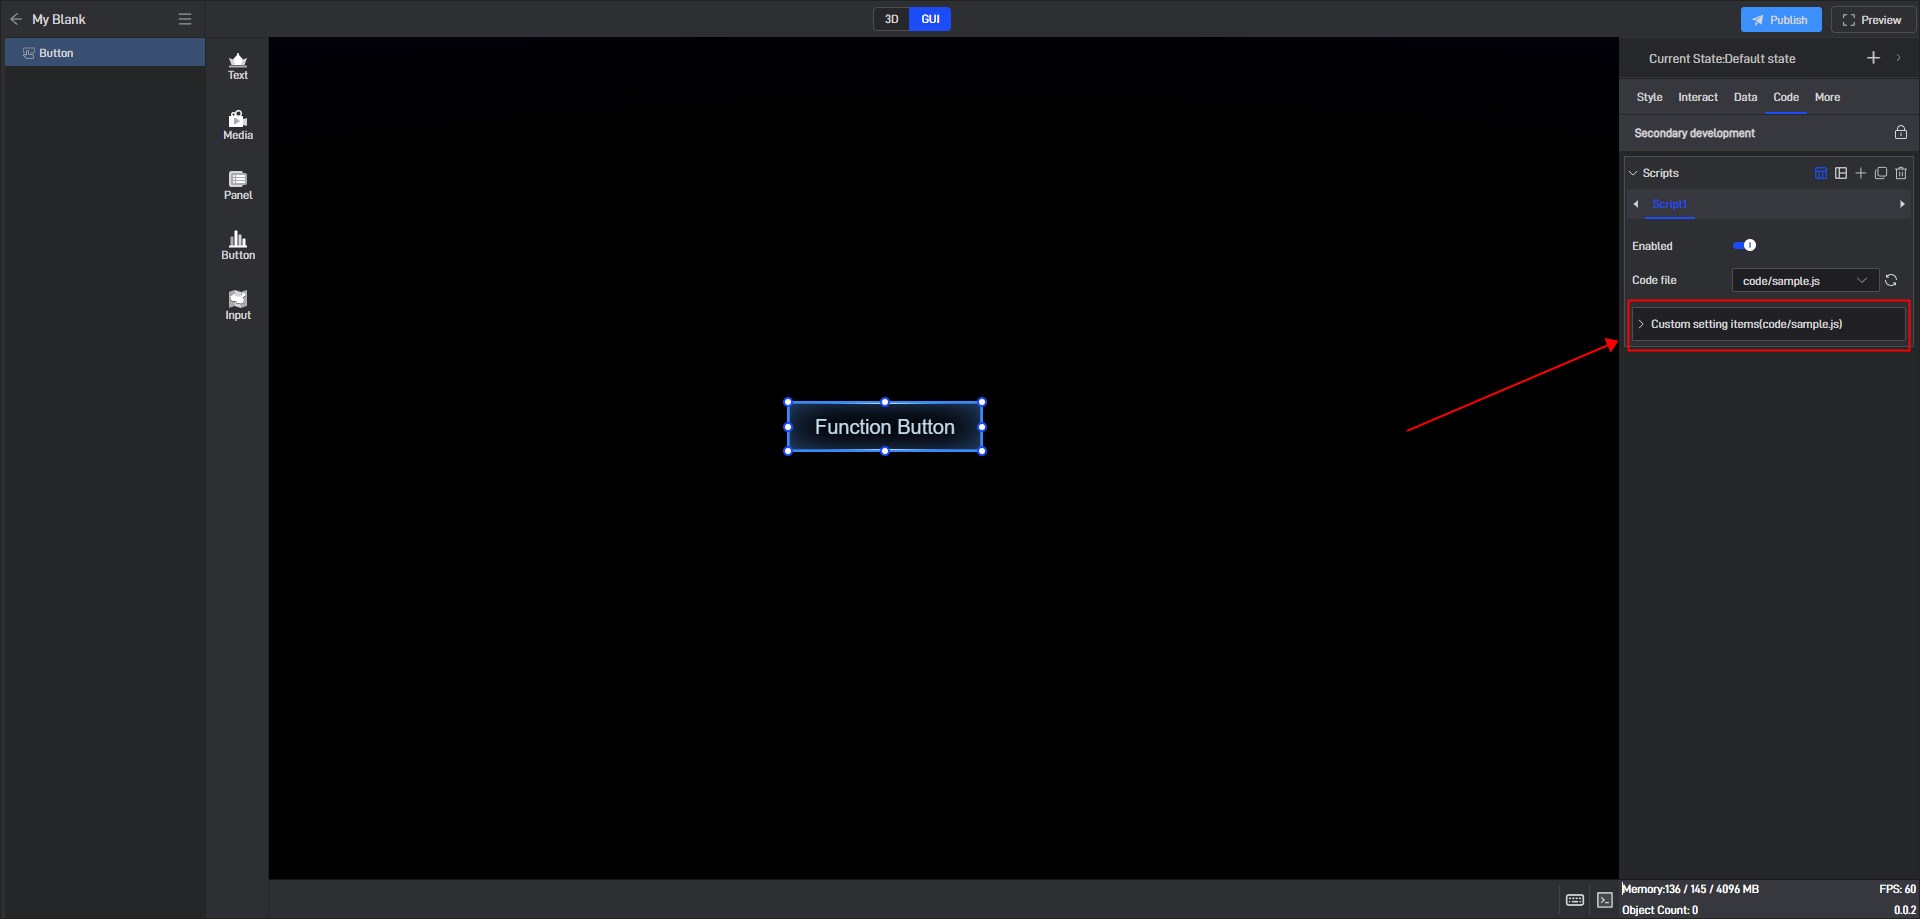
1.5 Custom settings
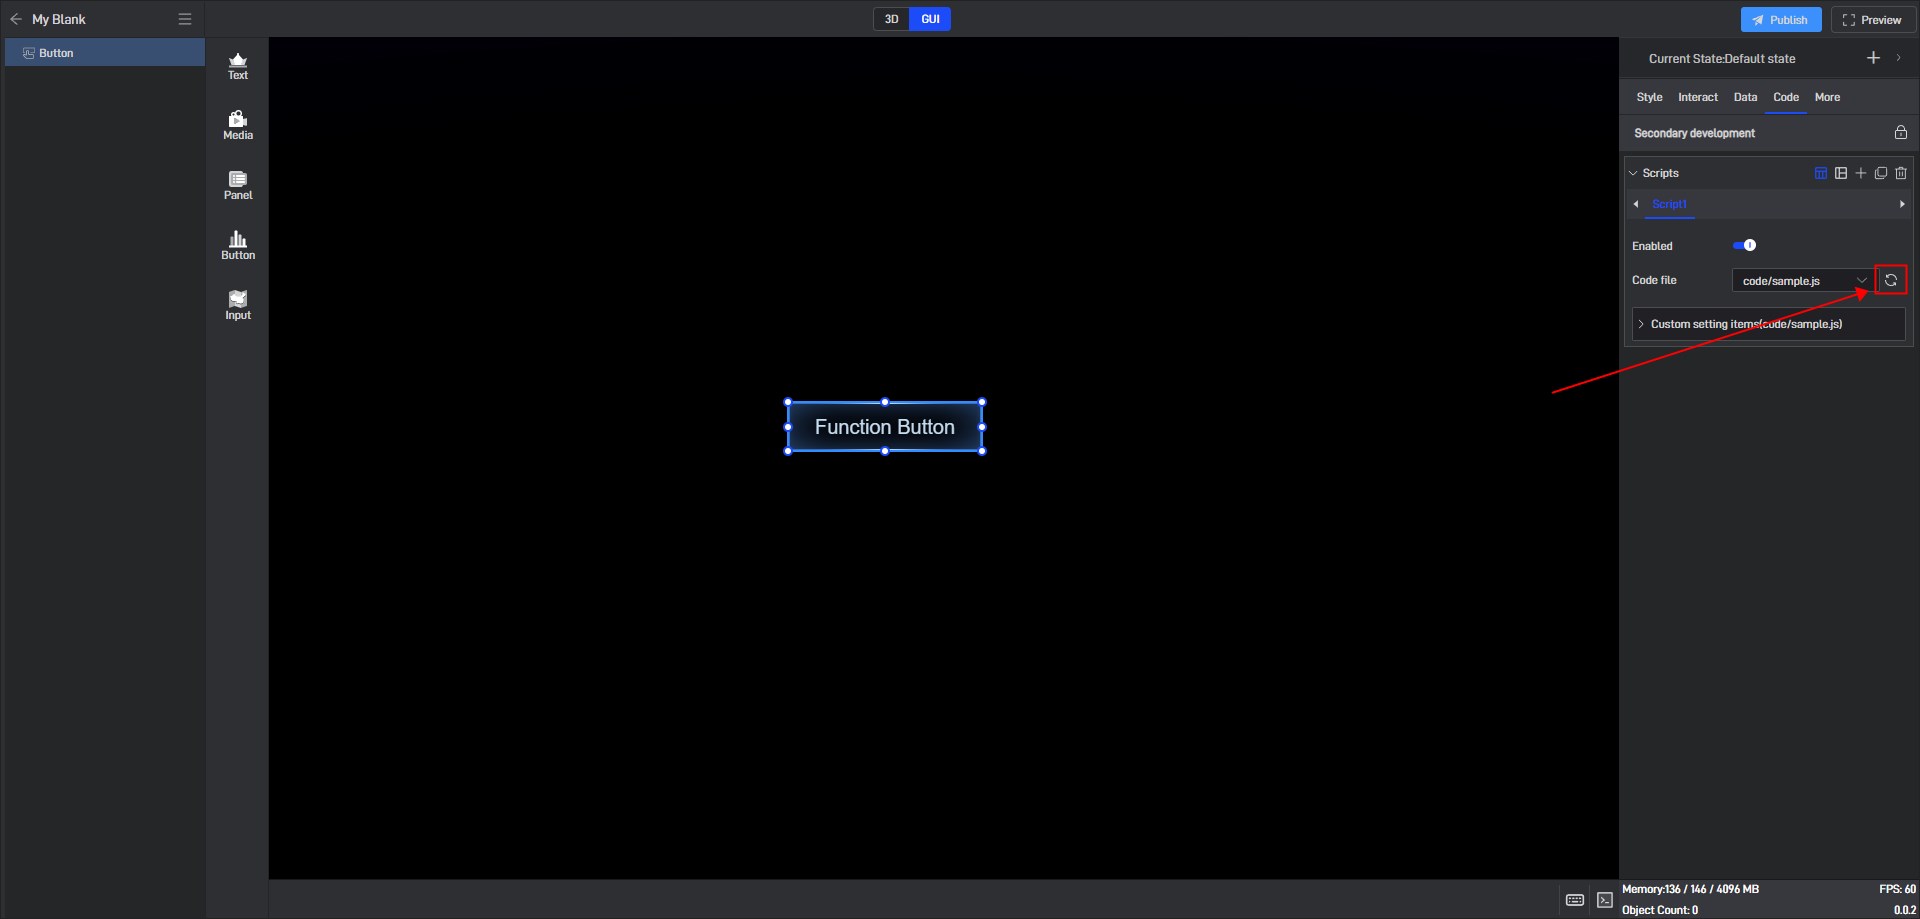
1.6 Code refresh
After modifying and saving the code, you can click the icon behind the code file box and select Refresh. The system will load and execute the latest code file. It will also automatically refresh when you close the project and reopen it.
2. Debugging method
Use the following code to print information when a property value is modified:
1 | /* |
In the project editing interface, click the debug window button in the lower right corner to open the console.
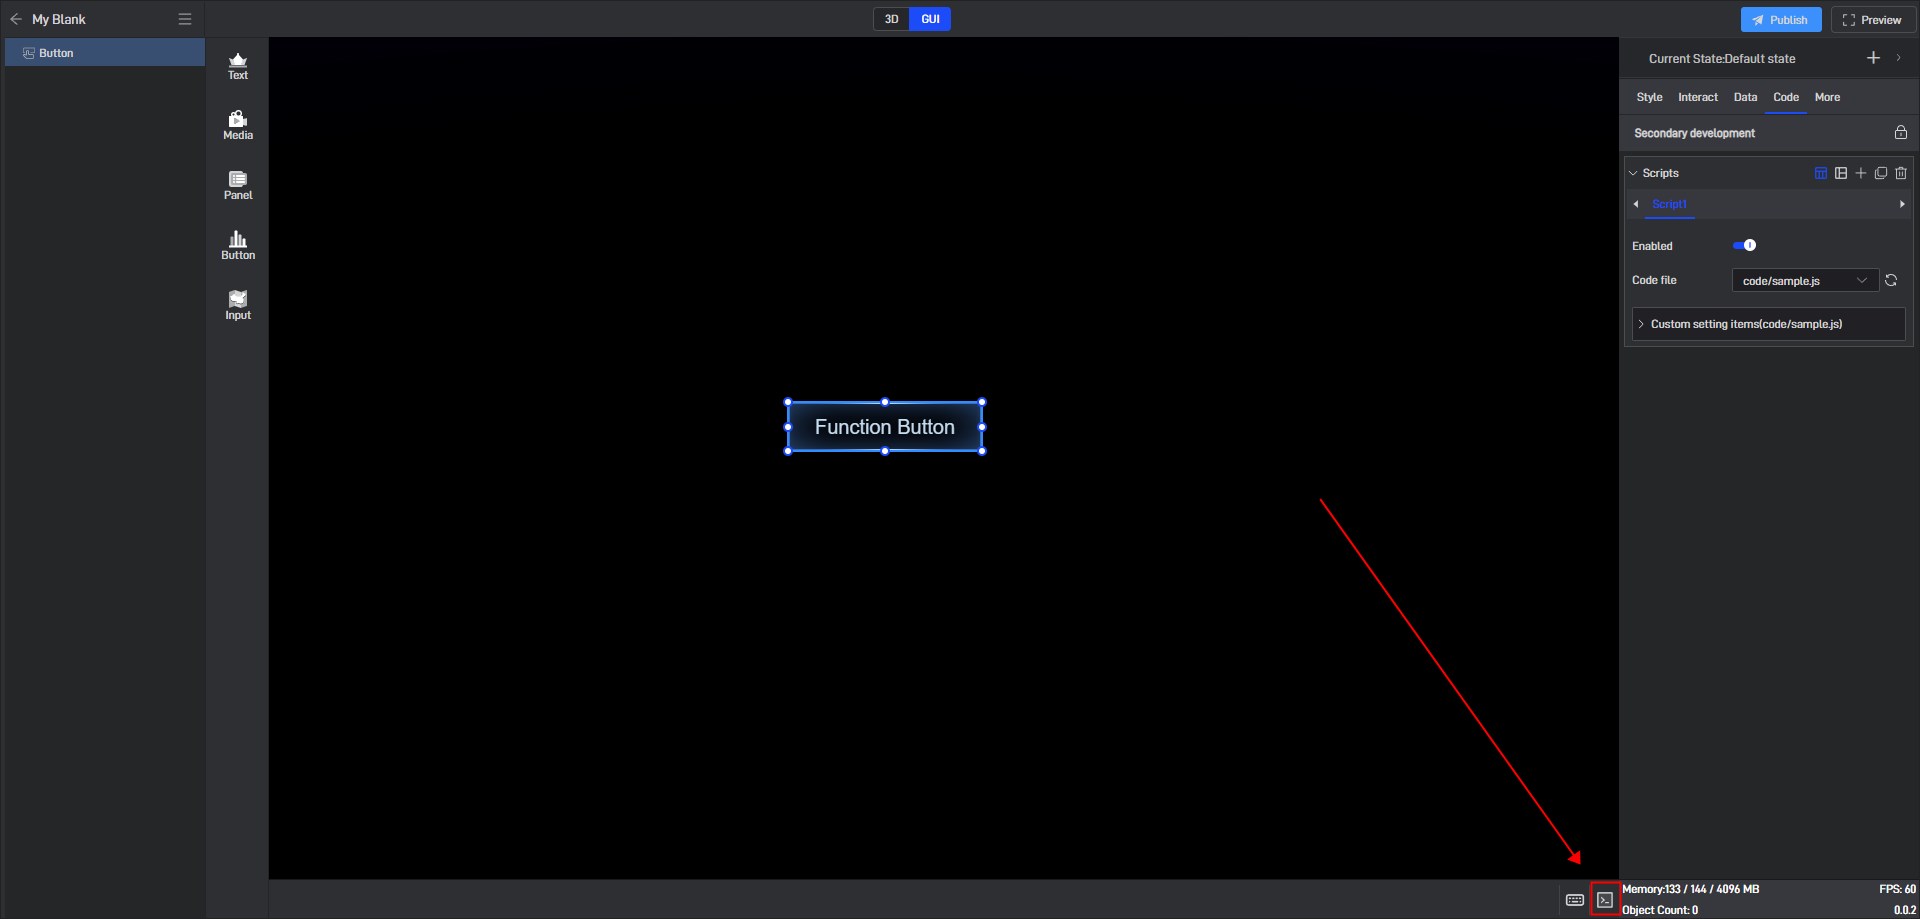
After modifying the custom properties, check the print information:
