Data Reading and Processing
The data processing in secondary development is mainly divided into three parts: reading data, monitoring data changes, and triggering and withdrawing data linkage.
0. Test data preparation
First, we prepare a test data table in Excel as follows:
| Area | Salesperson | Type | Product | Sales |
|---|---|---|---|---|
| A | 1 | drinks | coffee | 329 |
| B | 2 | drinks | juice | 725 |
| C | 3 | drinks | plum juice | 363 |
| D | 4 | nut | pistachio | 619 |
| E | 5 | nut | Pecans | 243 |
Importing data into Wings Engine:
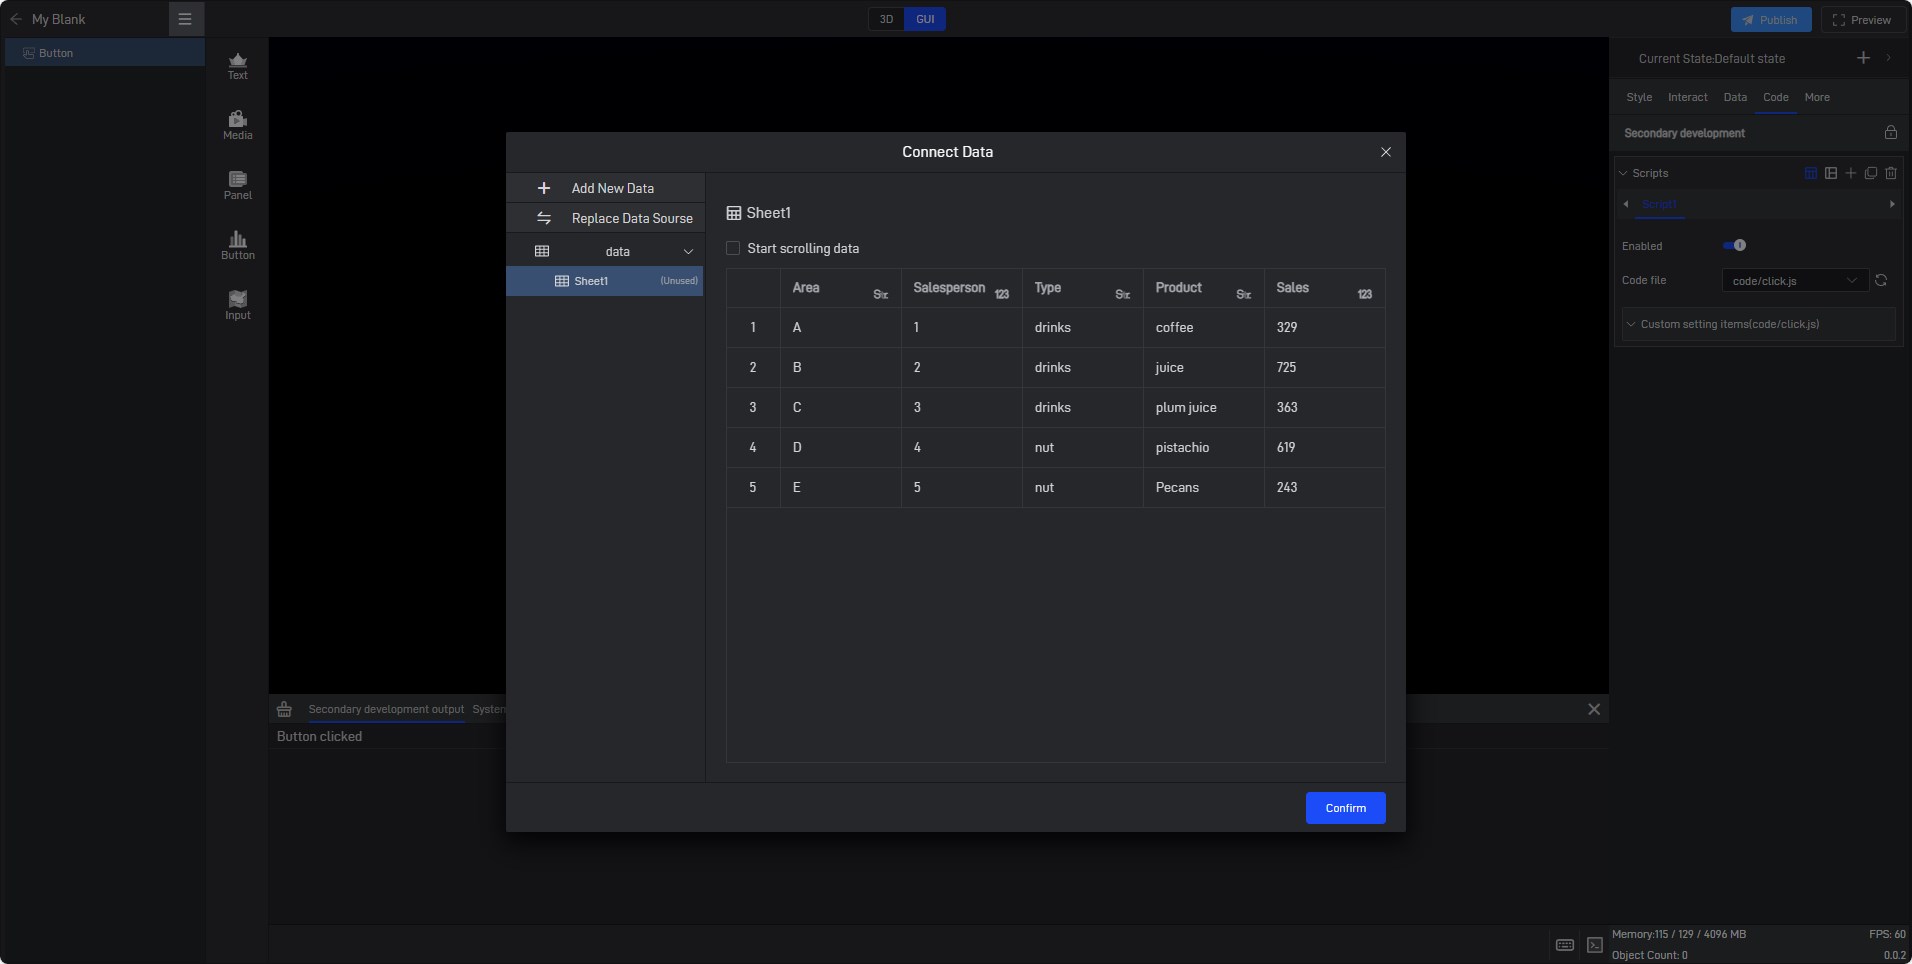
1. Data reading
There are currently two ways to read data in secondary development. One is to read directly from the attribute items defined in the secondary development, and the other is to directly read other data setting items of the existing component. We recommend the first form.
1.1 Secondary development data attributes
1.1.1 Reading a single attribute
As mentioned in the previous custom attribute panel, we can read by directly defining a data field in secondary development. Currently, two functions are provided, readData and readDataAsync. For details, please refer to the API documentation:
Tip: It is recommended to use the readData method for reading, because readData will trigger a callback both when reading for the first time and when the data changes. Therefore, the data processing code can be written uniformly in the callback function without having to handle the first reading and data changes separately.
1 | class ButtonSample { |
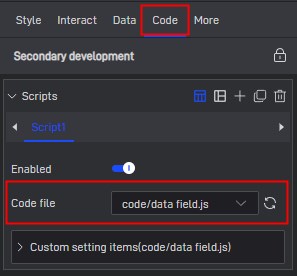
After loading, we can see a new data item under the data tab.
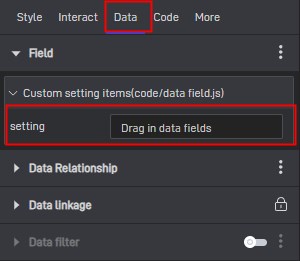
Drag the imported data into the fields:
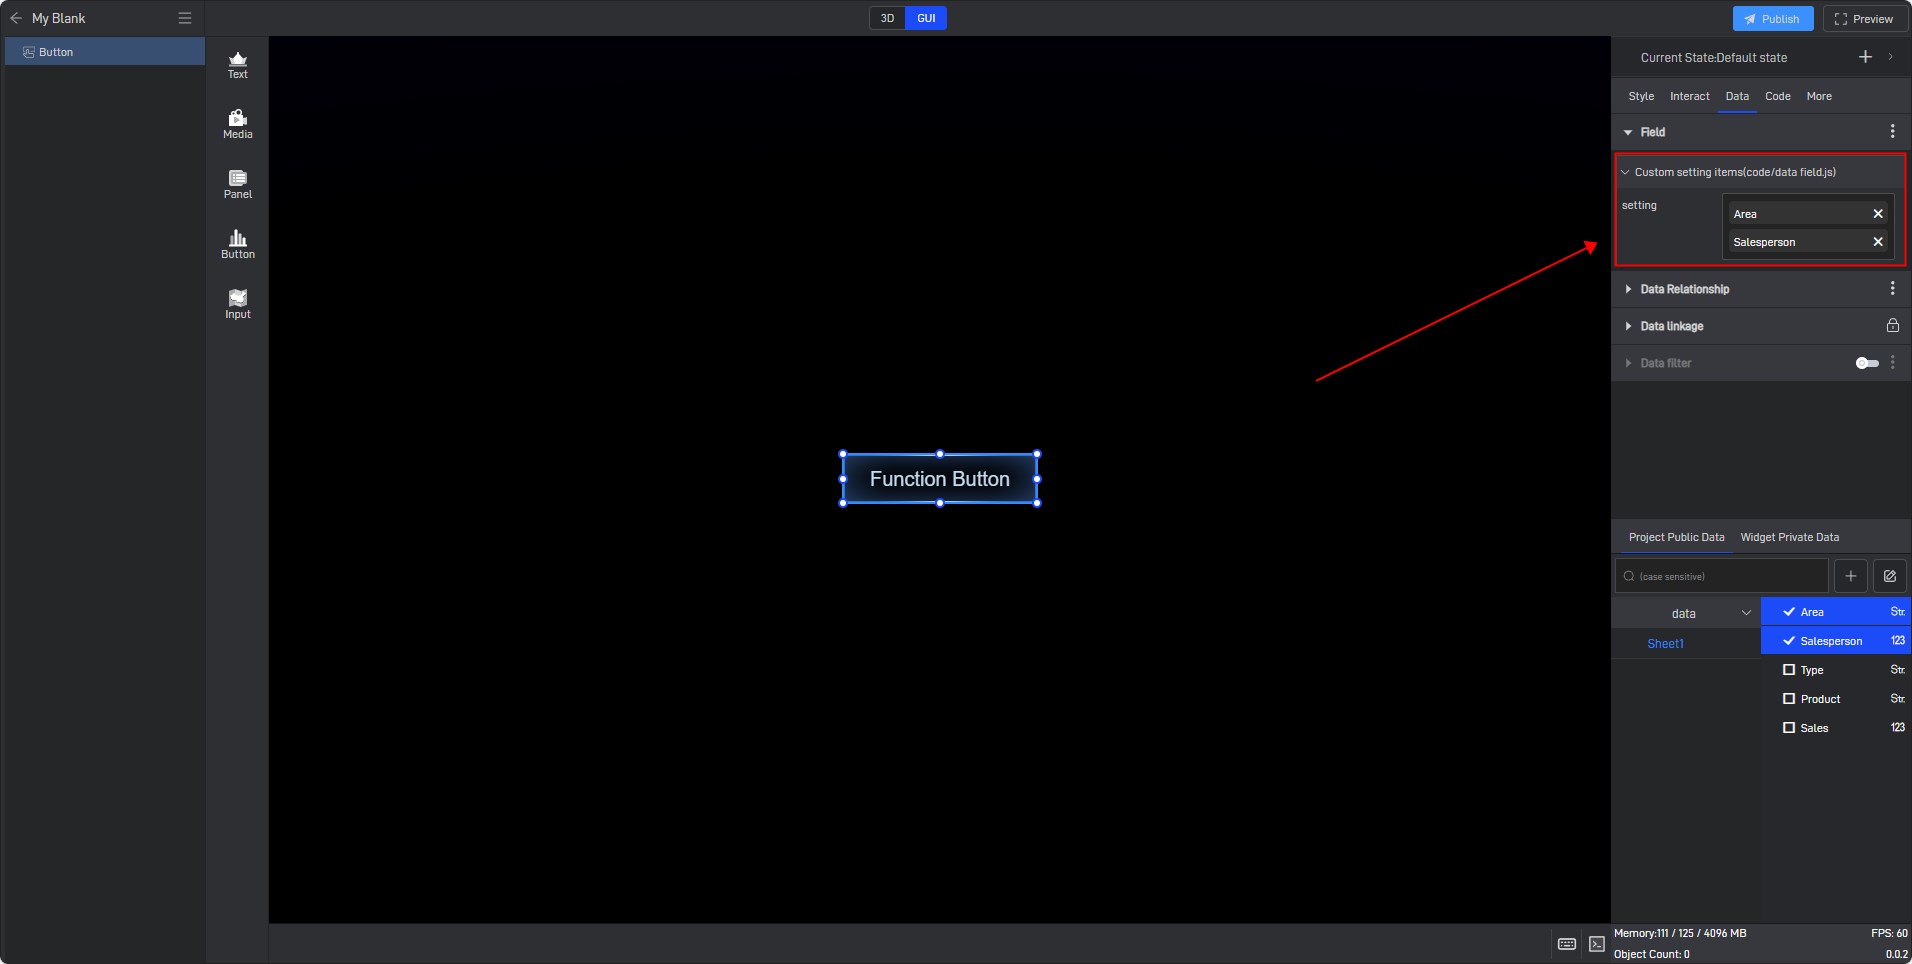
After setting, click the button to view the content of the print information:
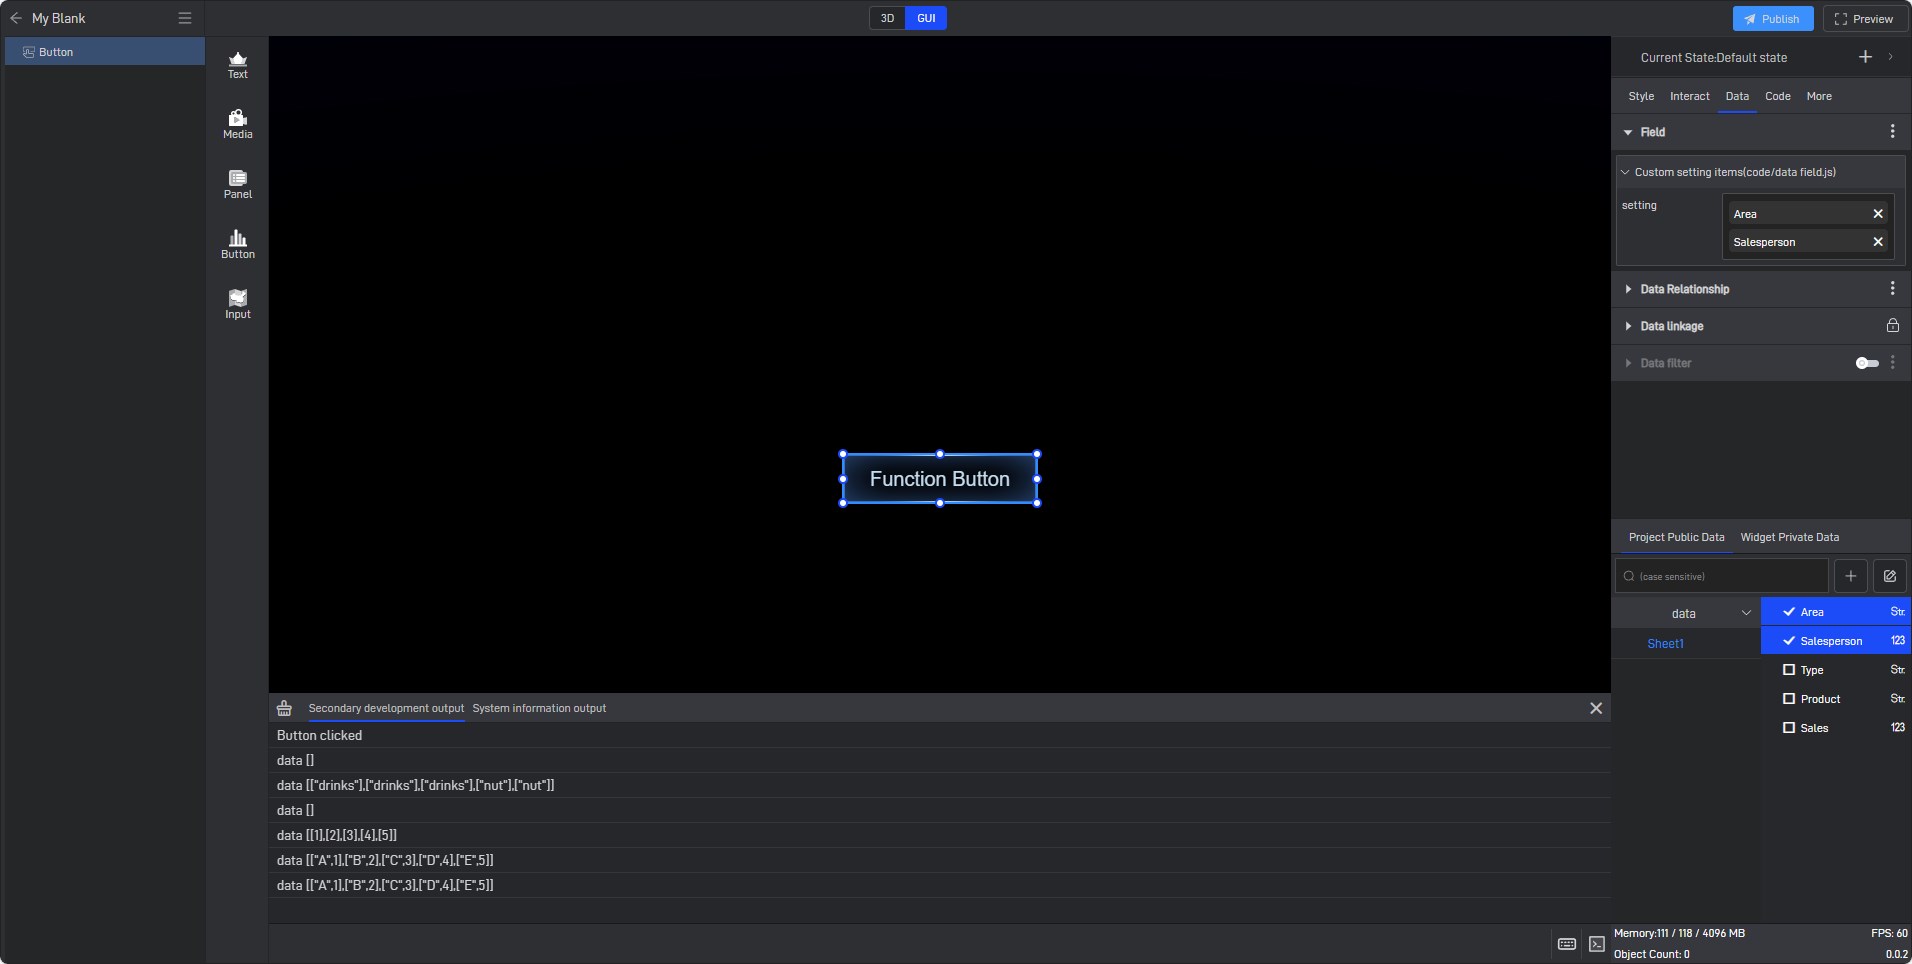
As you can see, the data is returned in the form of an array. If you want to get the data in other forms, you can also pass in the corresponding type:
1 | class ButtonSample { |
We currently provide three types of data reading methods: object, row, and column. The specific reading results are as follows:
1 | /** |
After reloading the code, the printed results are as follows:
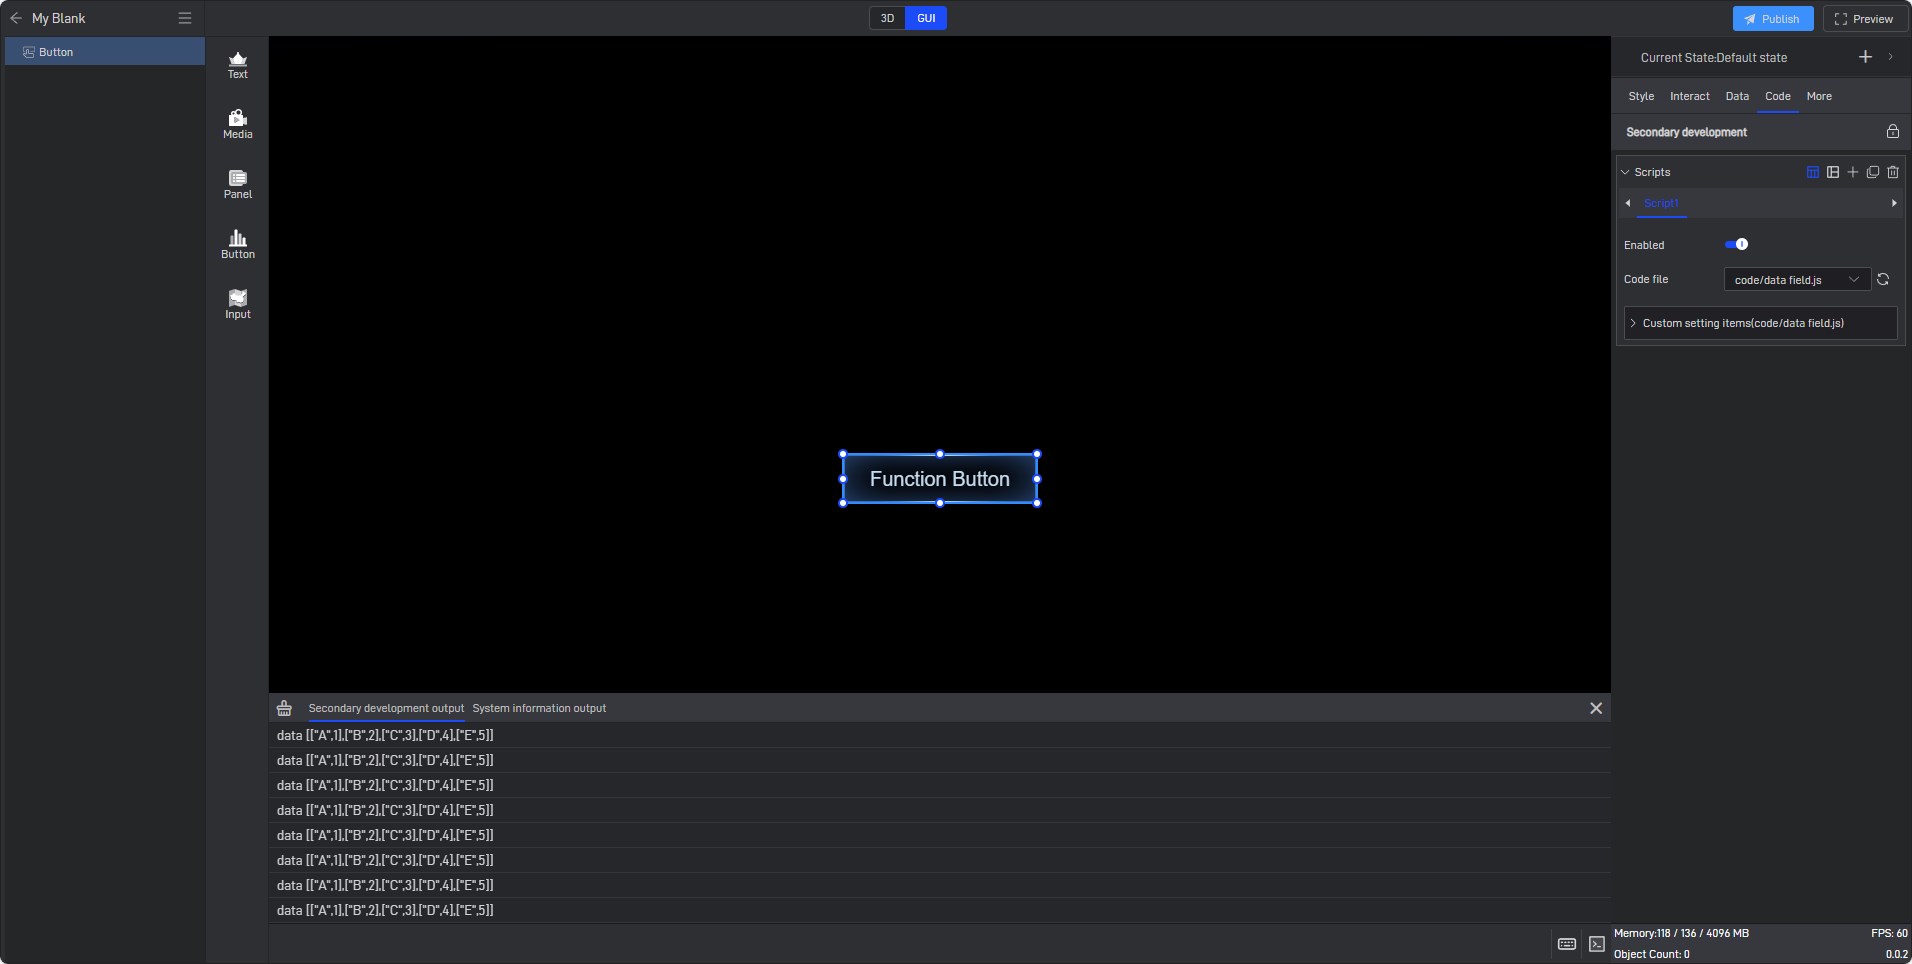
1.1.2 Merge reading of multiple attributes
Sometimes, we need multiple data attributes, and multiple attributes belong to the same attribute at the same time, as follows:
1 | class ButtonSample { |
1.2 Read existing data items of widgets
For data items of existing components, such as data fields in table data, secondary development also provides a way to read them, as follows:
First, we add a indicator card widget and bind the data:
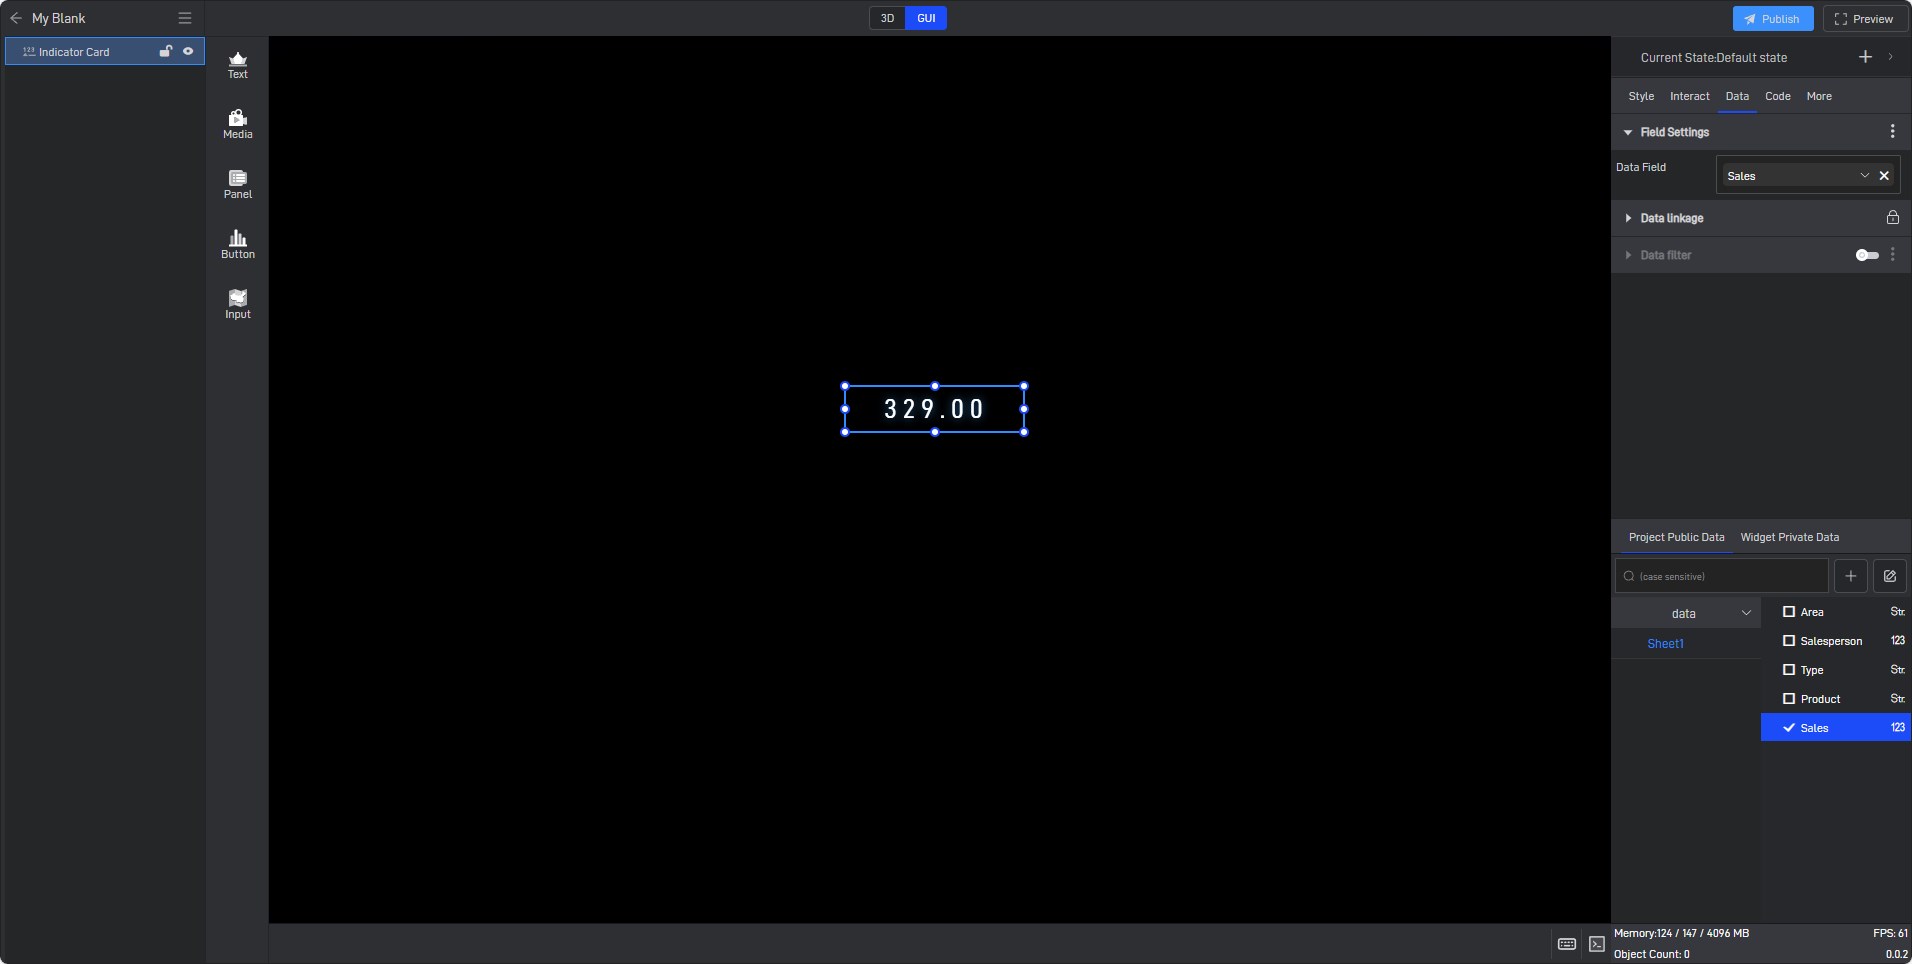
Since this data item is generated by the widget itself, there is no direct reference to this attribute in the er code, so you need to call the method on the Element class to read it. For details, refer to the following API documentation: Element class
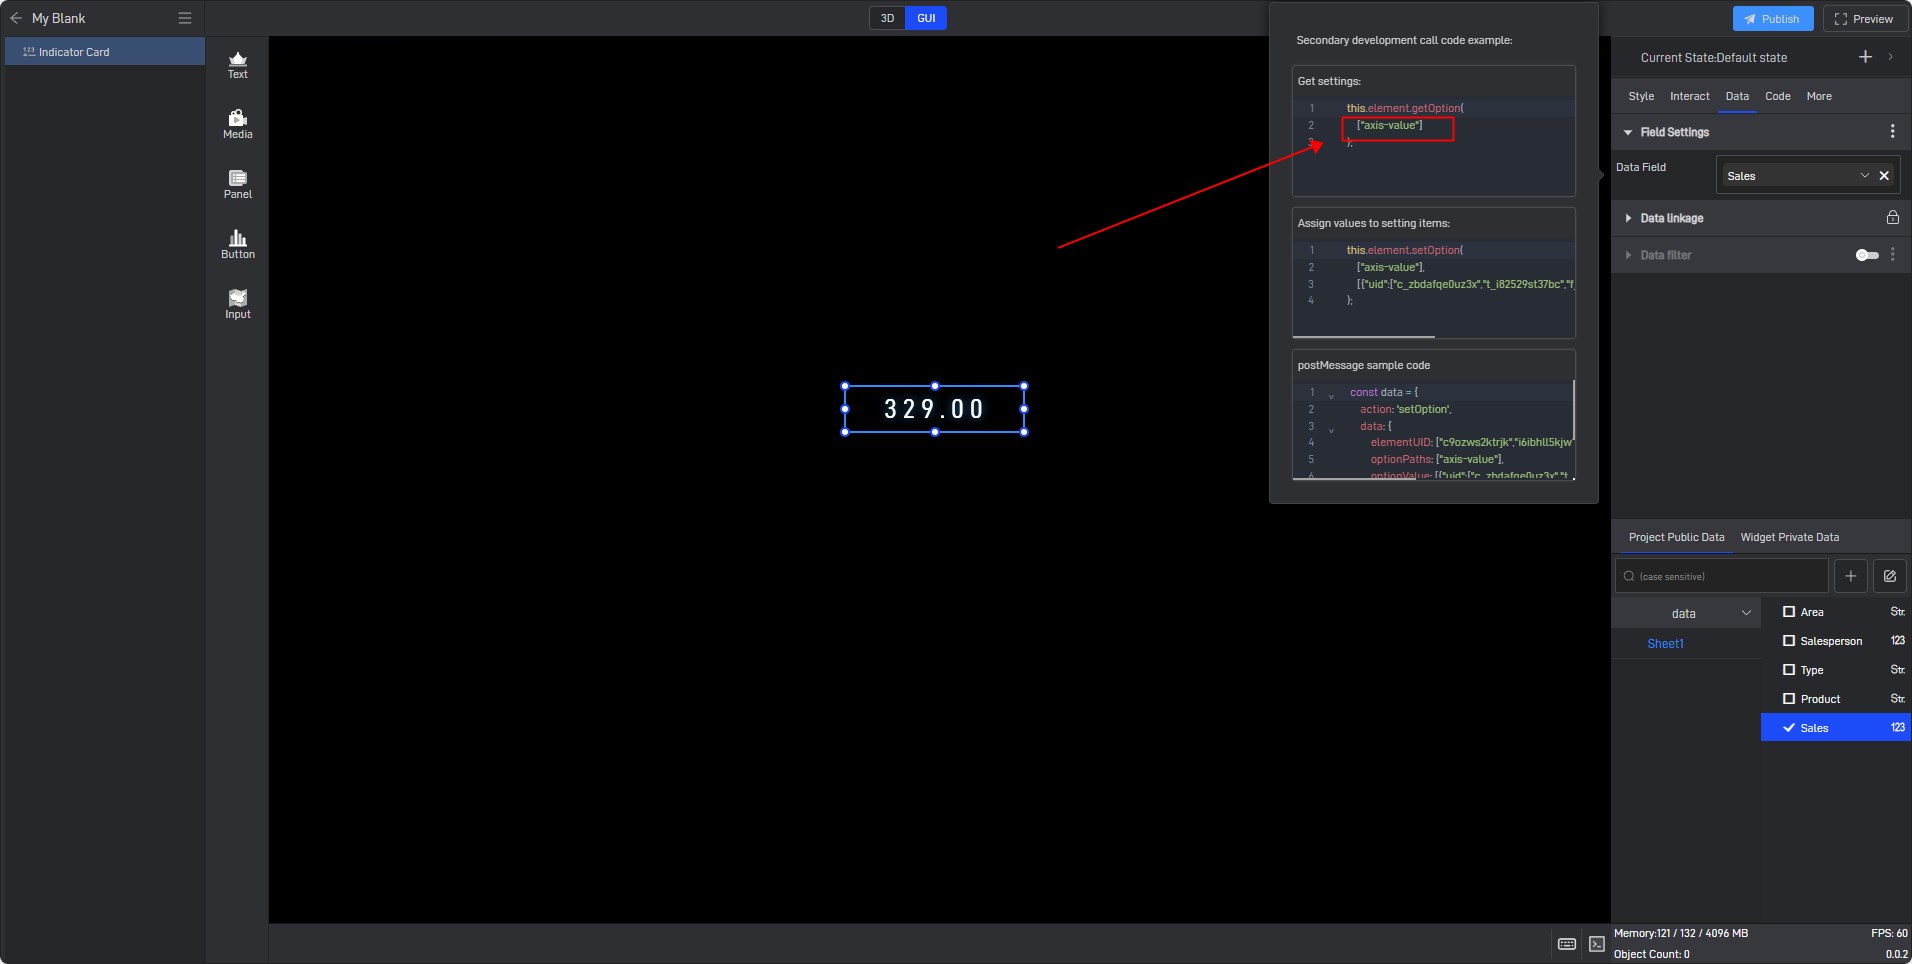
First, we need to get the path of the data field we need to read. Move the mouse to the data field, click on the three points, and choose to call the code example:
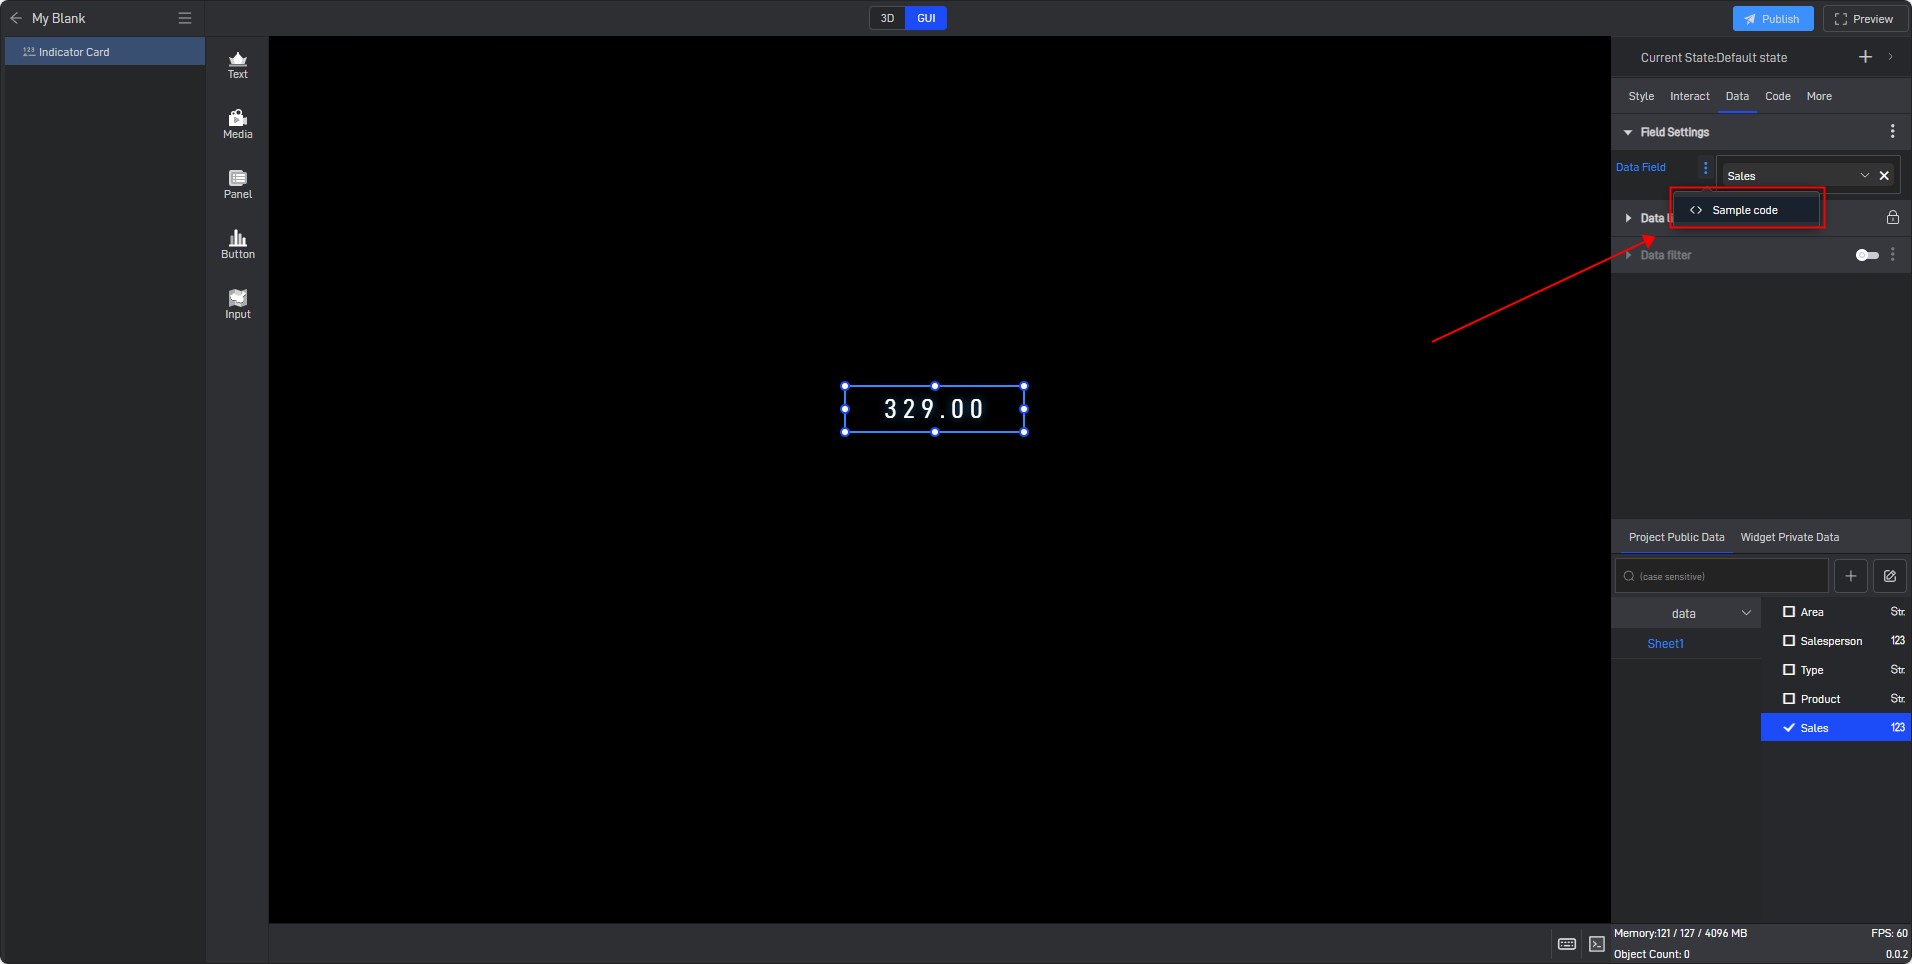
Open the window and copy the parameter value in getOption, which is the path of the attribute:
Similarly, we get the data content of the table in the click event:
Tip: We recommend using the readData method to read, because readData will trigger callbacks both when reading for the first time and when the data changes, so the data processing code can be written uniformly in the callback function, without having to handle the first reading and data changes separately.
1 | class TableSample { |
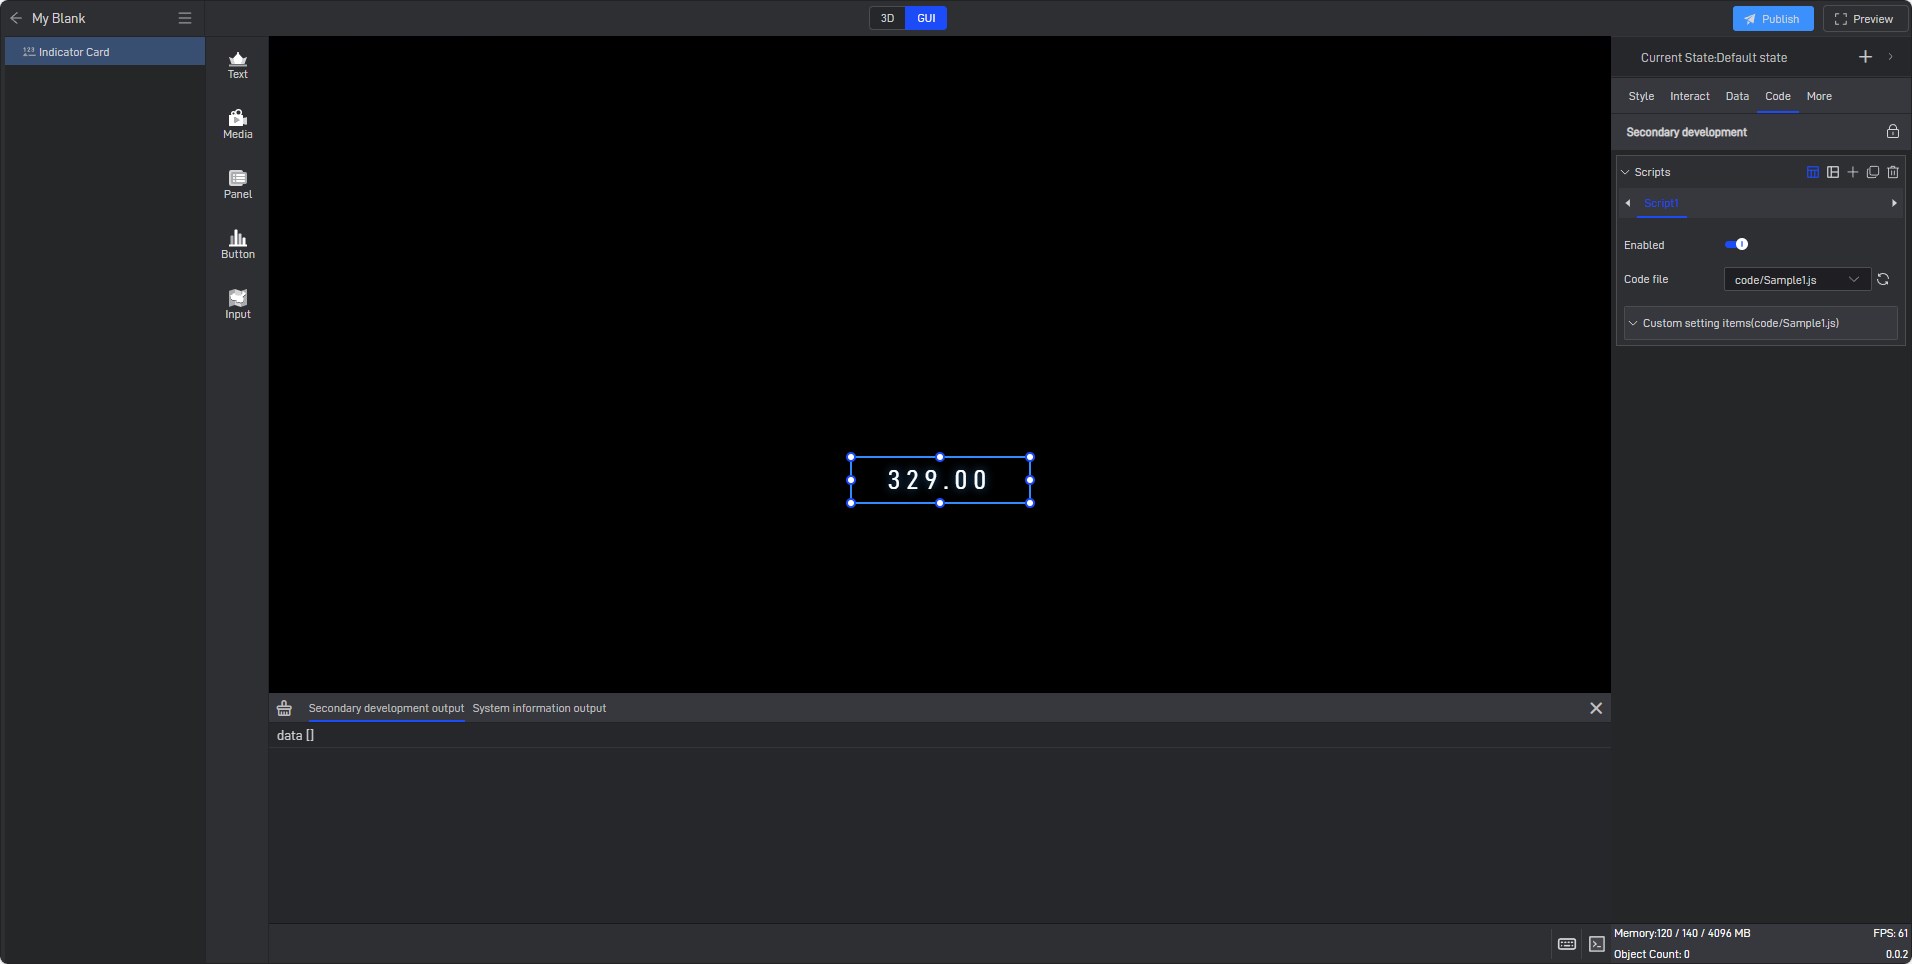
Click the indicator card to view the printed results:
2. Monitoring of data changes
Note that we can actually monitor data changes automatically when we use the readData method, and the callback will be automatically triggered when changes occur. However, sometimes we still need to monitor data changes separately. The following explains how to monitor in these cases.
There are actually two types of data changes: one is the change in data item settings, and the other is the change in data content:
2.1 Monitoring data field settings changes
There are also two types of changes in data field settings, which are the changes mentioned above, the data fields generated by the secondary development code or the changes in the data field settings that come with the component. The following introduces these two situations respectively:
2.1.1 Monitoring data field changes generated by secondary development code
You can refer to the previous monitoring method for secondary development property changes: onPropertyChanged. The specific code is as follows:
1 | class ButtonSample { |
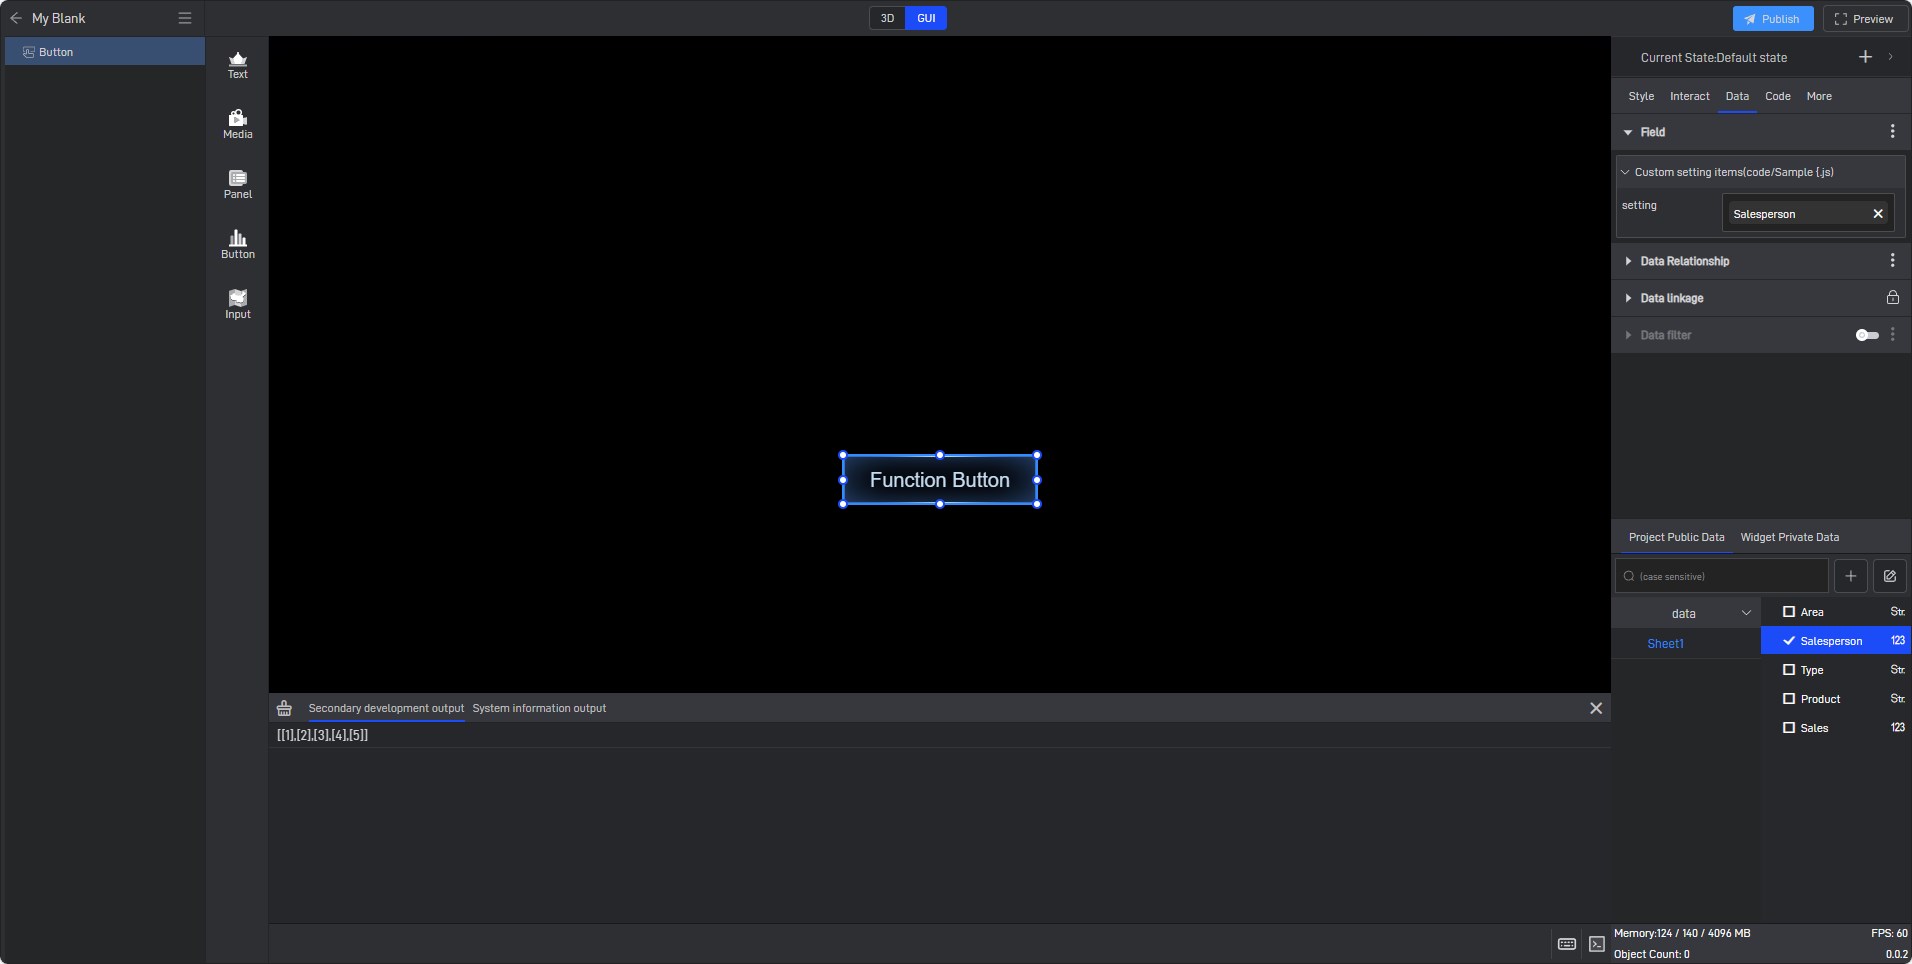
Drag the salesperson’s data field into the data field generated by the secondary development code. After releasing the mouse, you can see that the data results have been printed in the debug window:
2.1.2 Listening for changes in data fields that come with components
Different from the listening method in er, for listening to data fields that come with widgets, we use the method of listening to option-changed events on the Element class. For details, please refer to the API documentation: Element class
1 | class TableSample { |
2.2 Listening for changes in data content
To change the data content, you only need to listen to the data-changed event. The code is as follows:
1 | class TableSample { |
3. Data linkage
Sometimes, we need to directly trigger or cancel data linkage in the secondary development code. Here we implement a function to filter table data by clicking a button, and then click again to cancel the filtering linkage:
1 | class ButtonSample { |
We can also constrain multiple data conditions at the same time. The code is as follows:
1 | class ButtonSample { |