Marker Linkage and Selection
In addition to the functions of identification and pop-up window, markers may also need to change their status and quantity according to data changes. They may also need to be selected and bound to other widgets. This document will introduce these functions one by one:
1. Marker conditional style
The most common requirement for markers is that the faulty monitoring marking points need to be displayed in red based on data judgment. This requirement is implemented by using conditional styles in markers.
1.1 Adjust data fields
First, make some changes to the data in the document and add a status field.
| ID | Name | Office Number | Status |
|---|---|---|---|
| 1 | Build 1 | 11 | In Use |
| 2 | Build 2 | 23 | In Use |
| 3 | Build 3 | 35 | Under Repair |
| 4 | Build 4 | 48 | In Use |
After saving the file, since the data is in file format and cannot be refreshed directly, you need to use data replacement to replace the new data.
Import this data file.
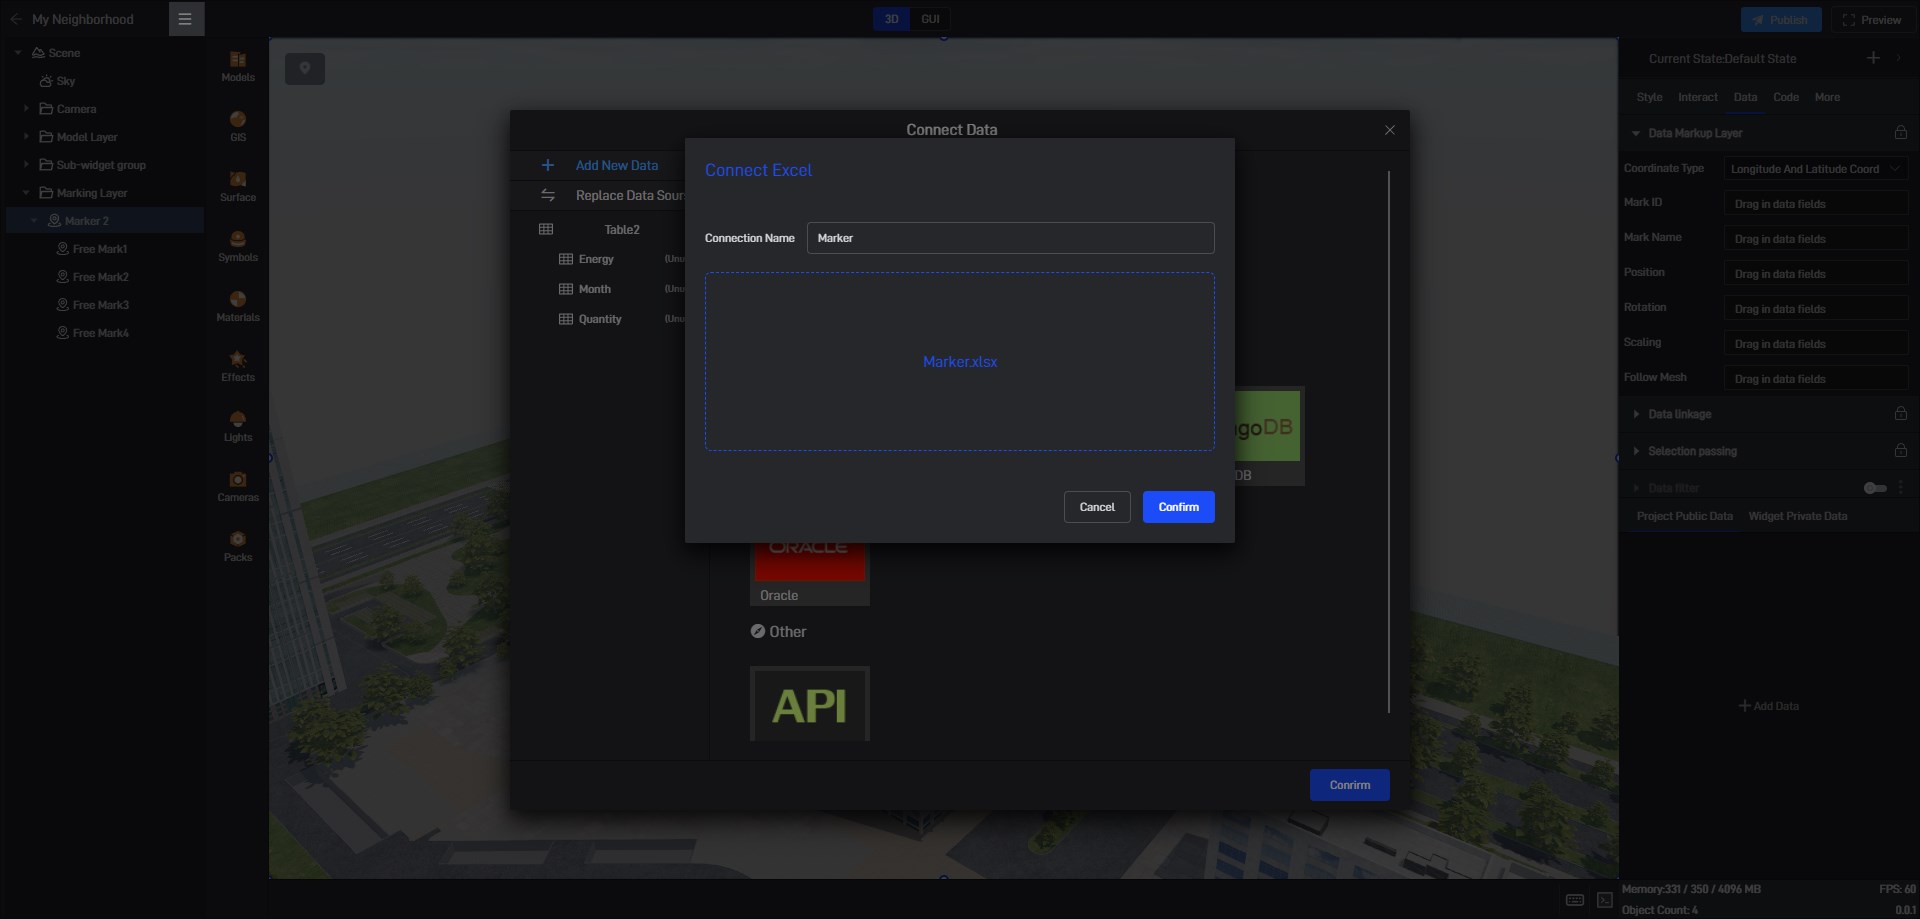
Then we click “Replace Data Source”:
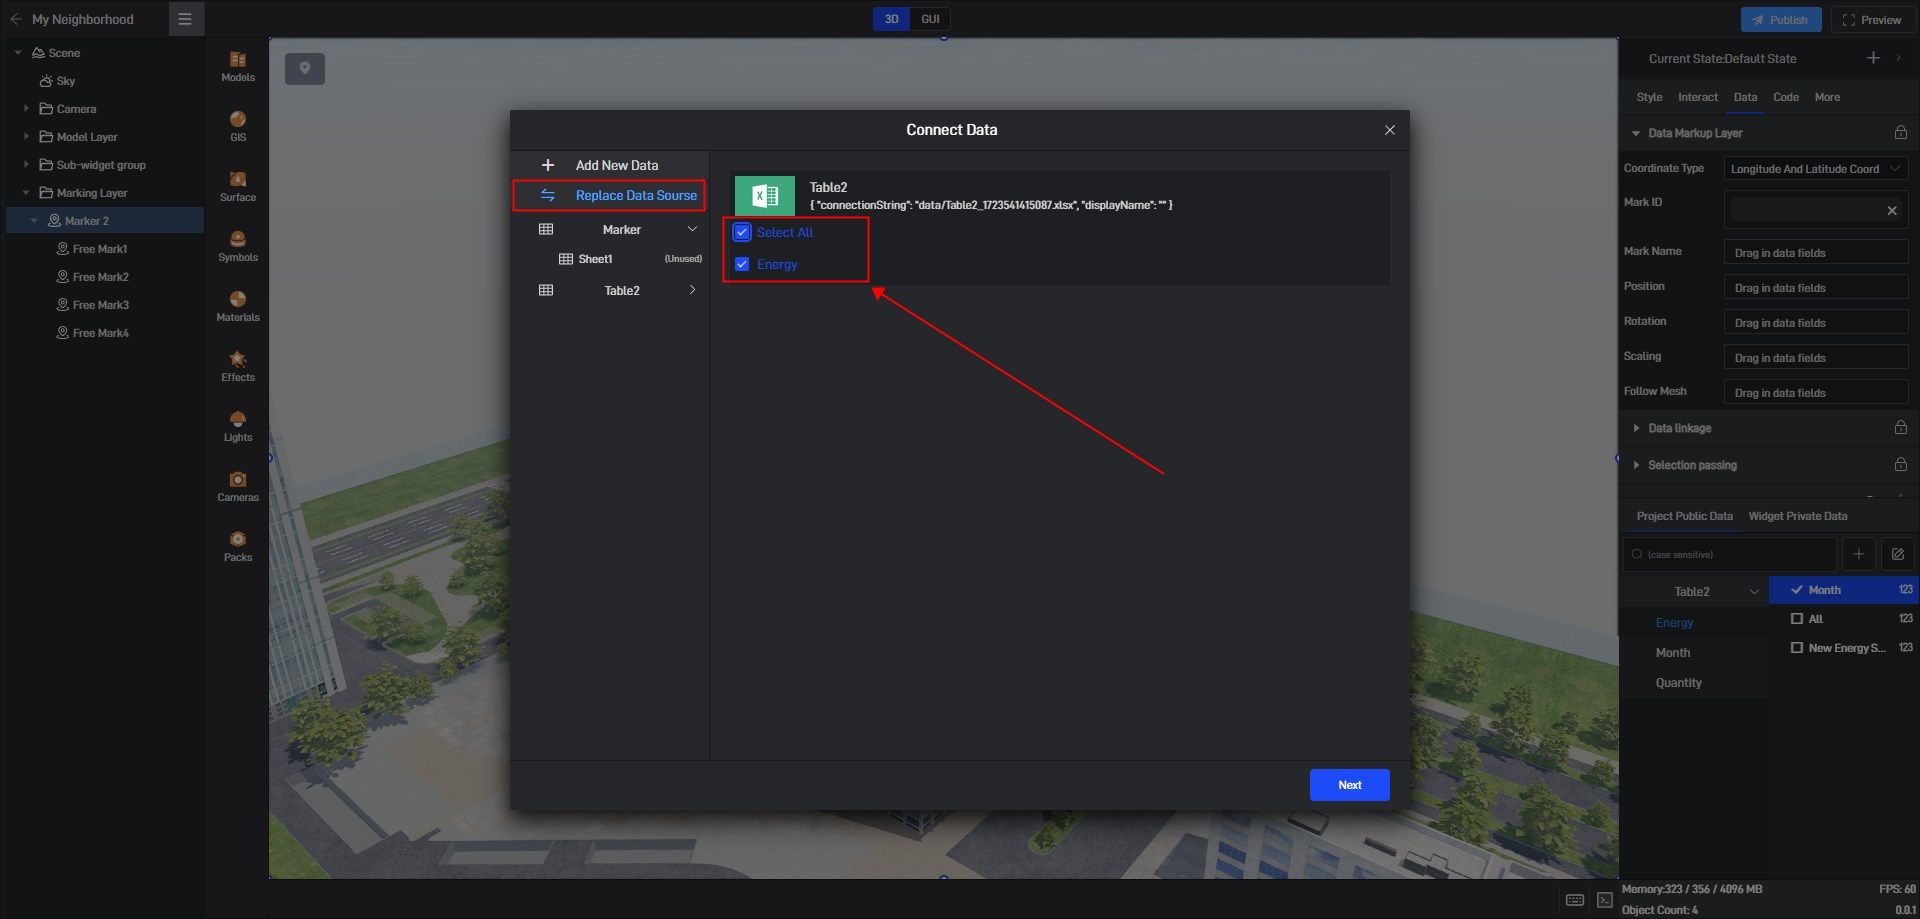
Then we choose to replace it with new data:
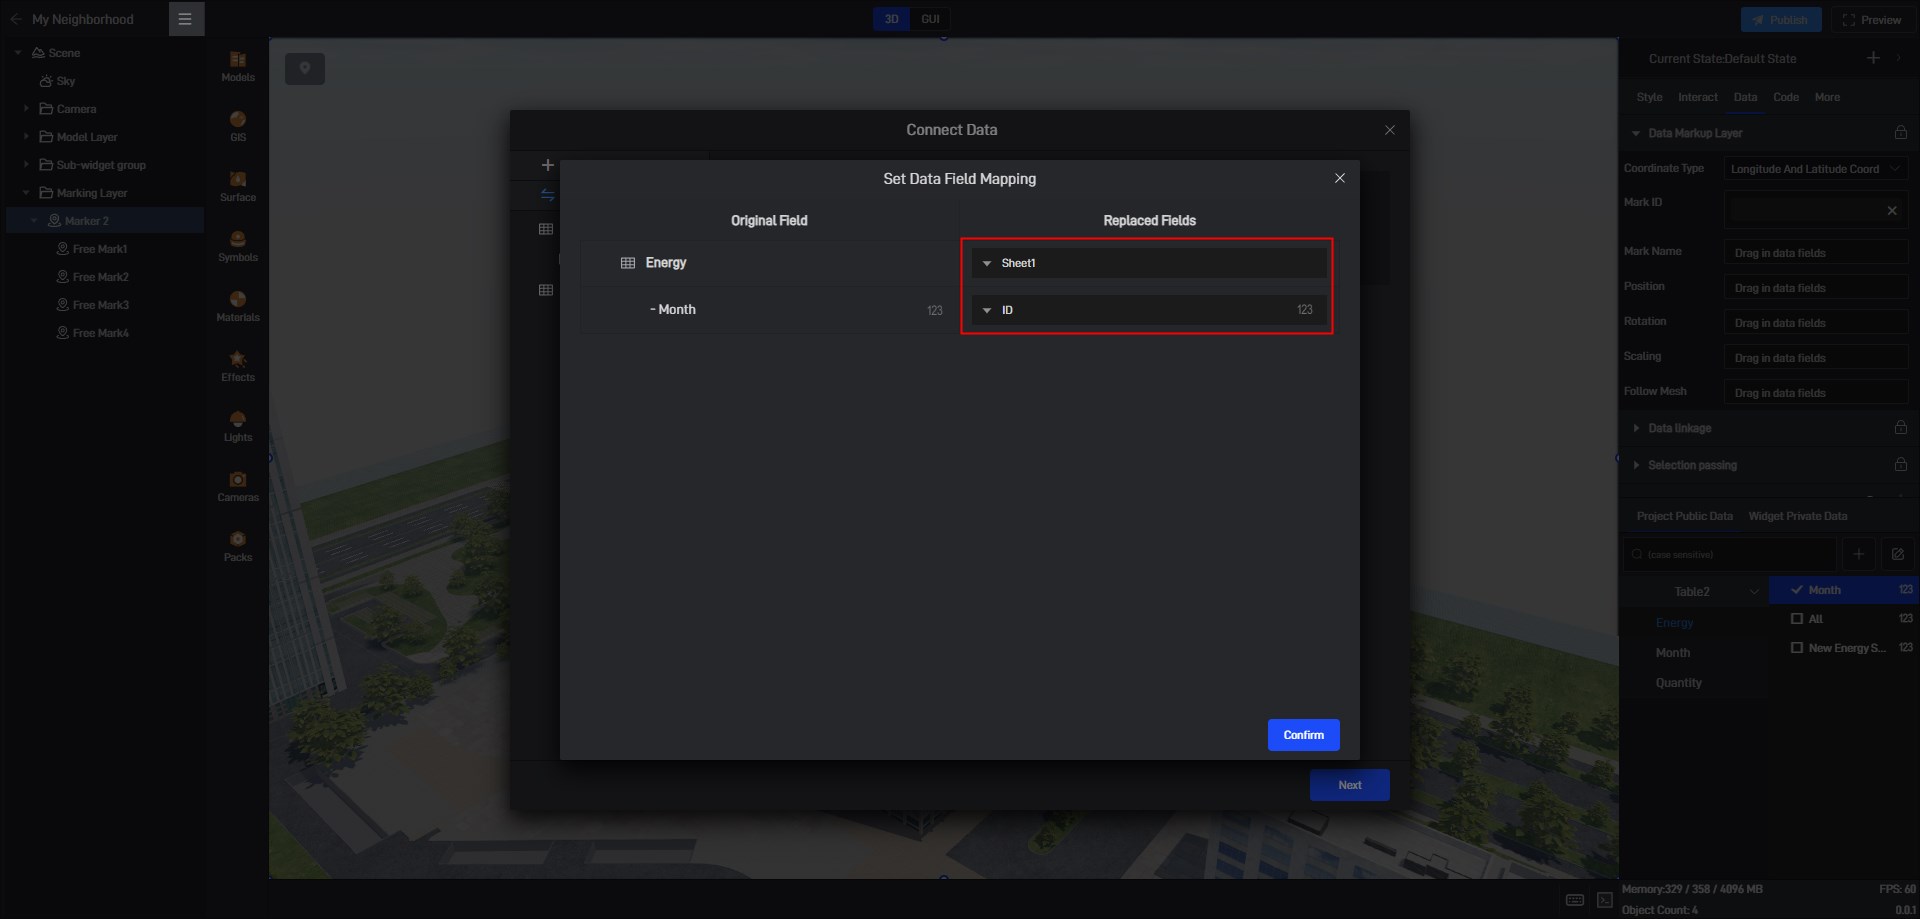
Then delete the previous data, and you can see the new fields in the new data:
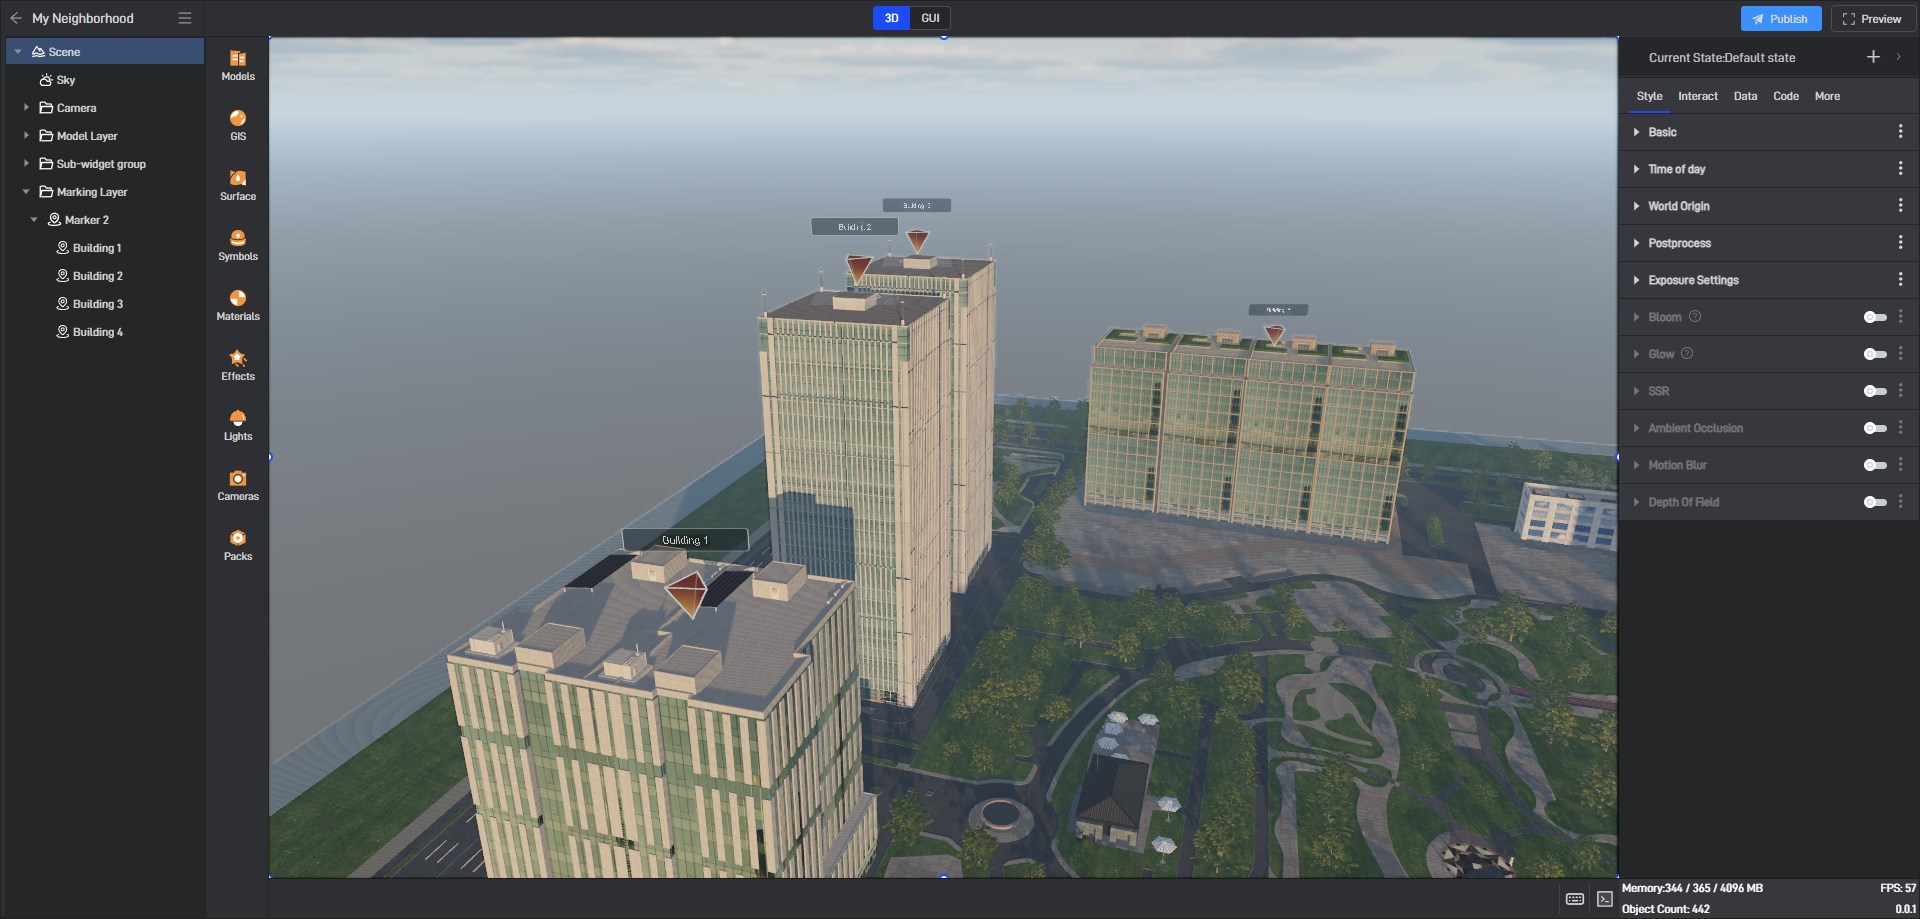
1.2 Add conditional styles
Select the tag group and add the status “Under Repair”:
2. Marker Association and Filtering
Sometimes, you only need to display markers that meet specific criteria. In this case, marker filtering comes into play. We add a drop-down menu to the screen and include two options: “In Use” and “Under Repair”.
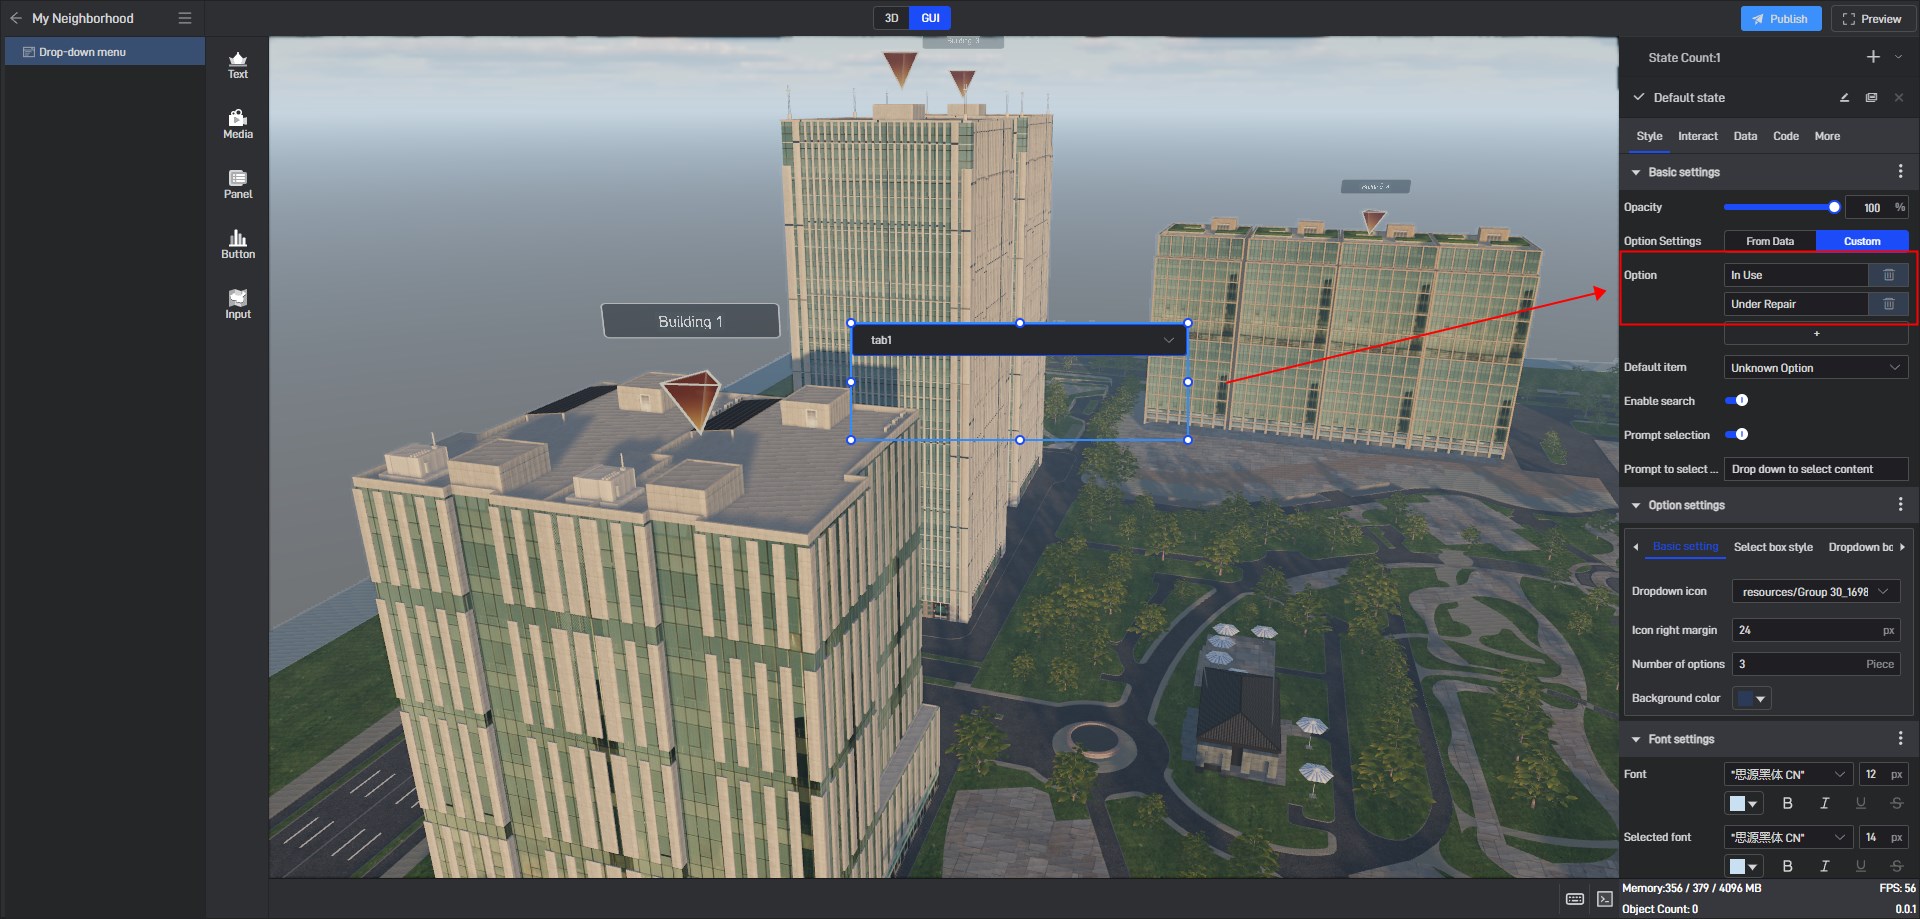
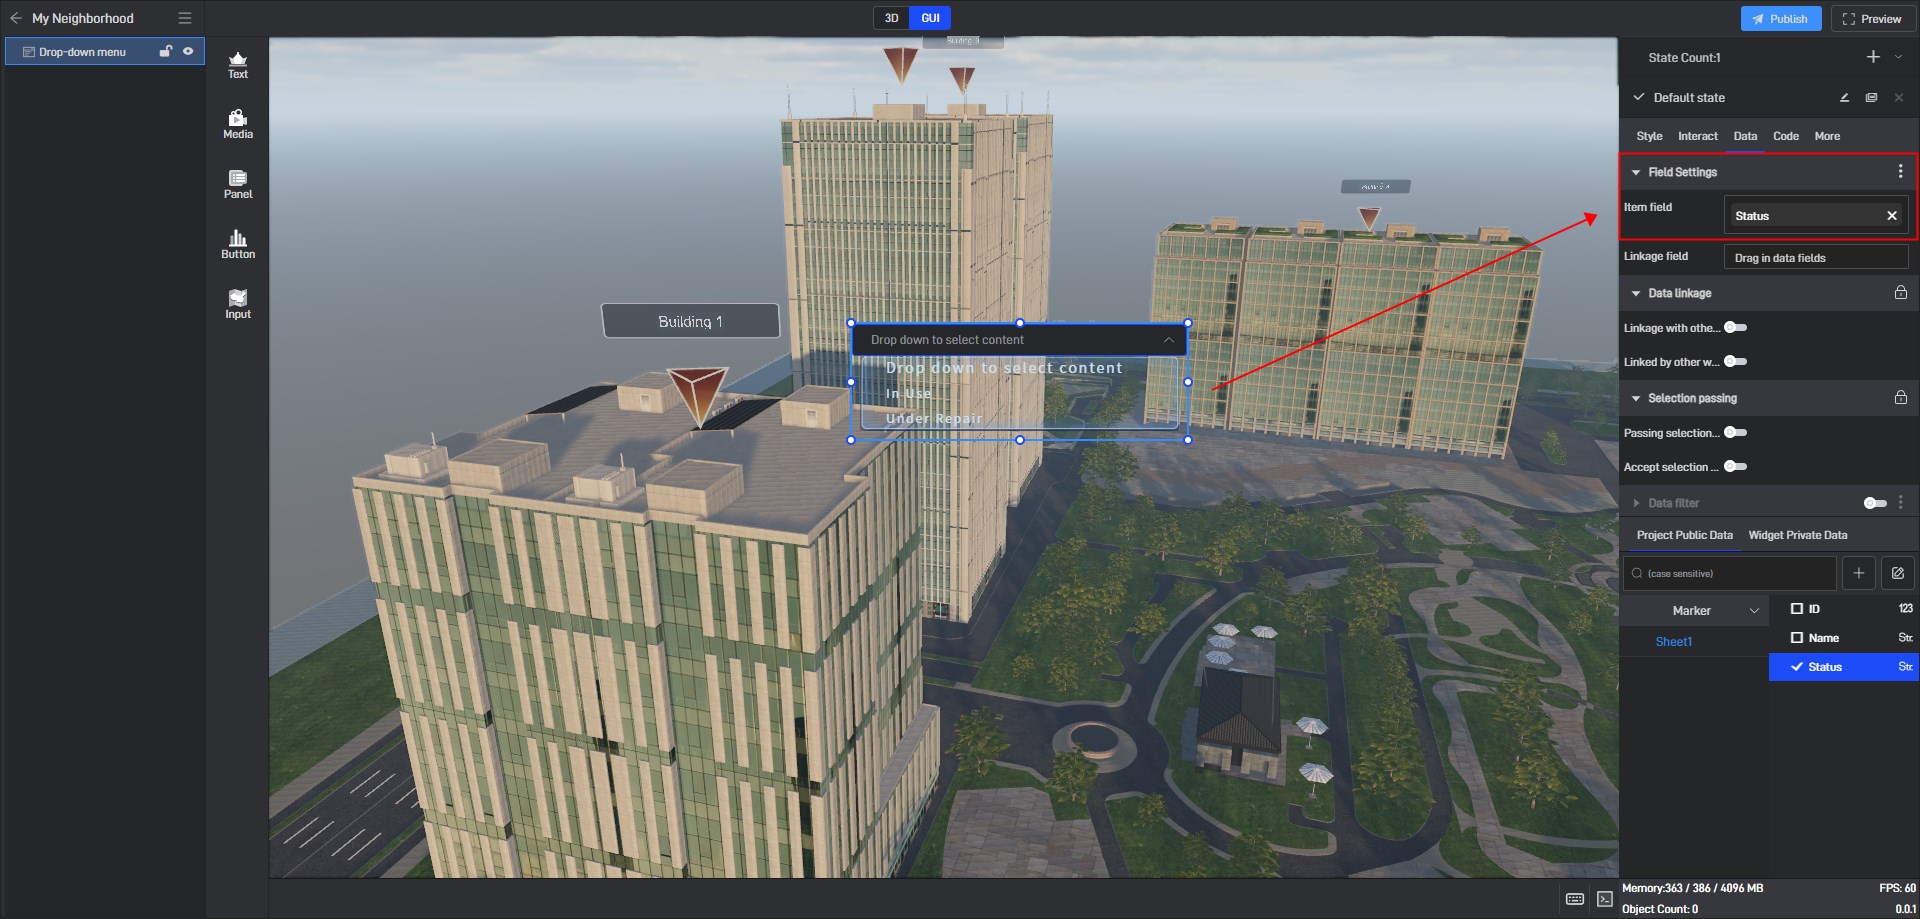
Then in the tab, fill in the field name of the status field in the linkage field.
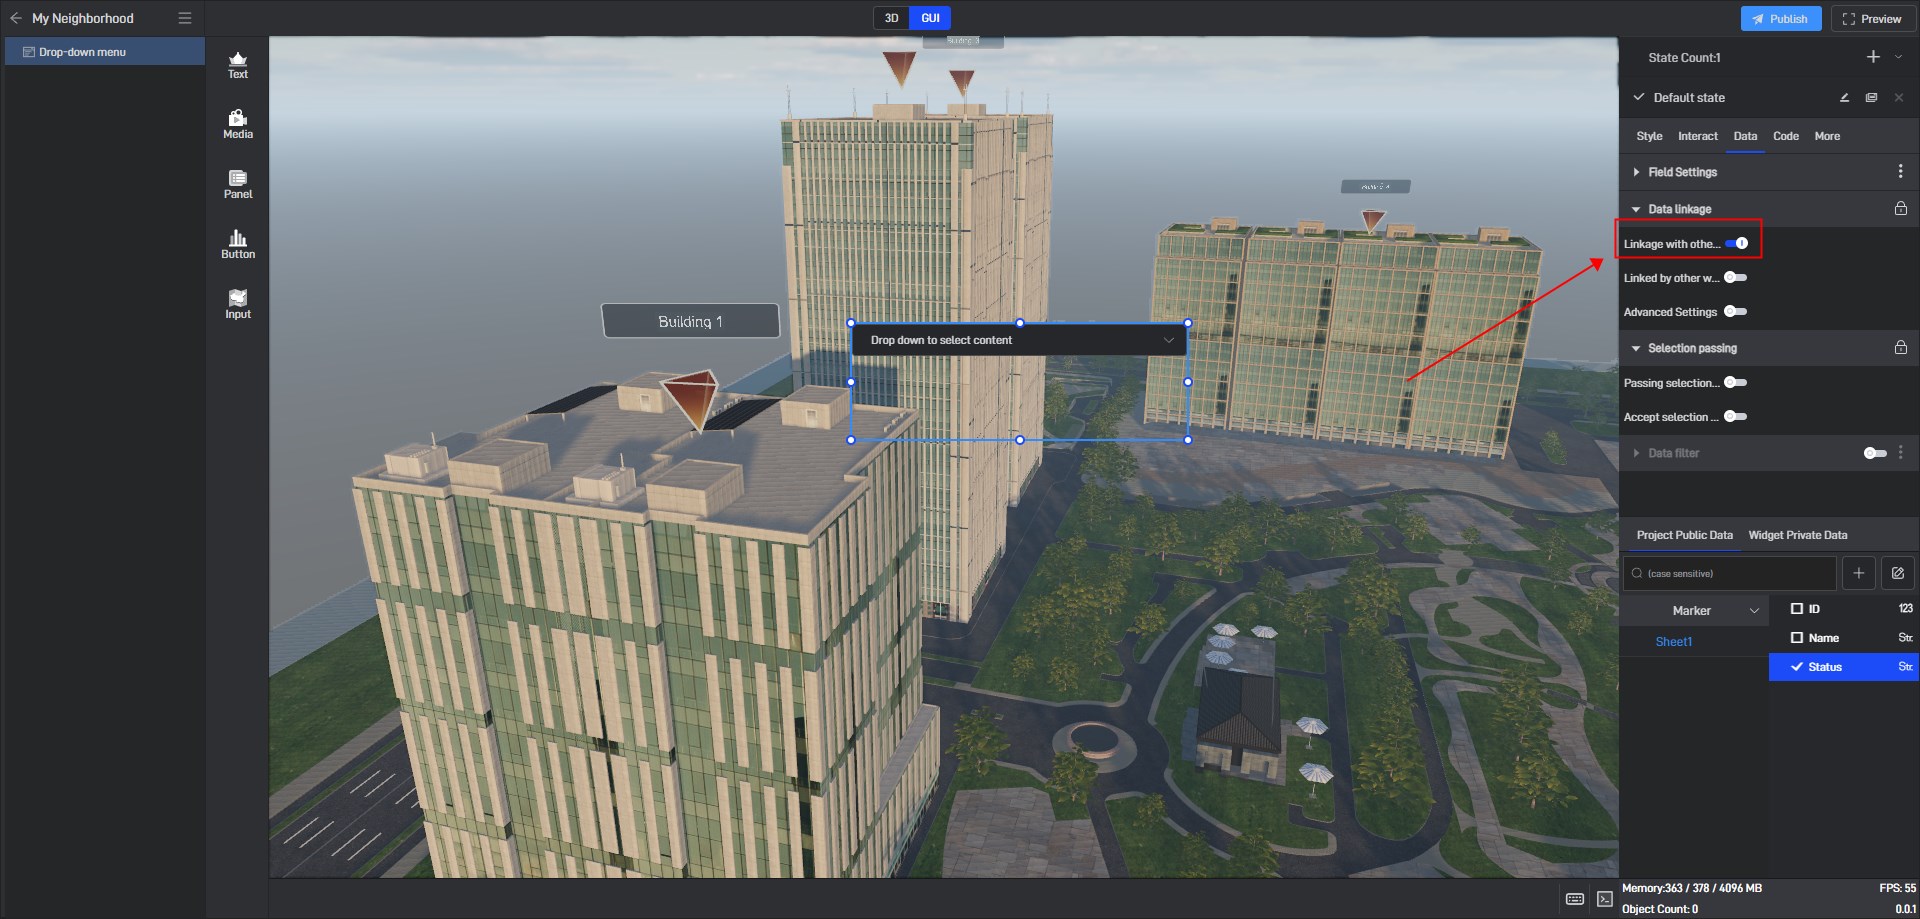
Then enable “Link with other widgets” in Data linkage.
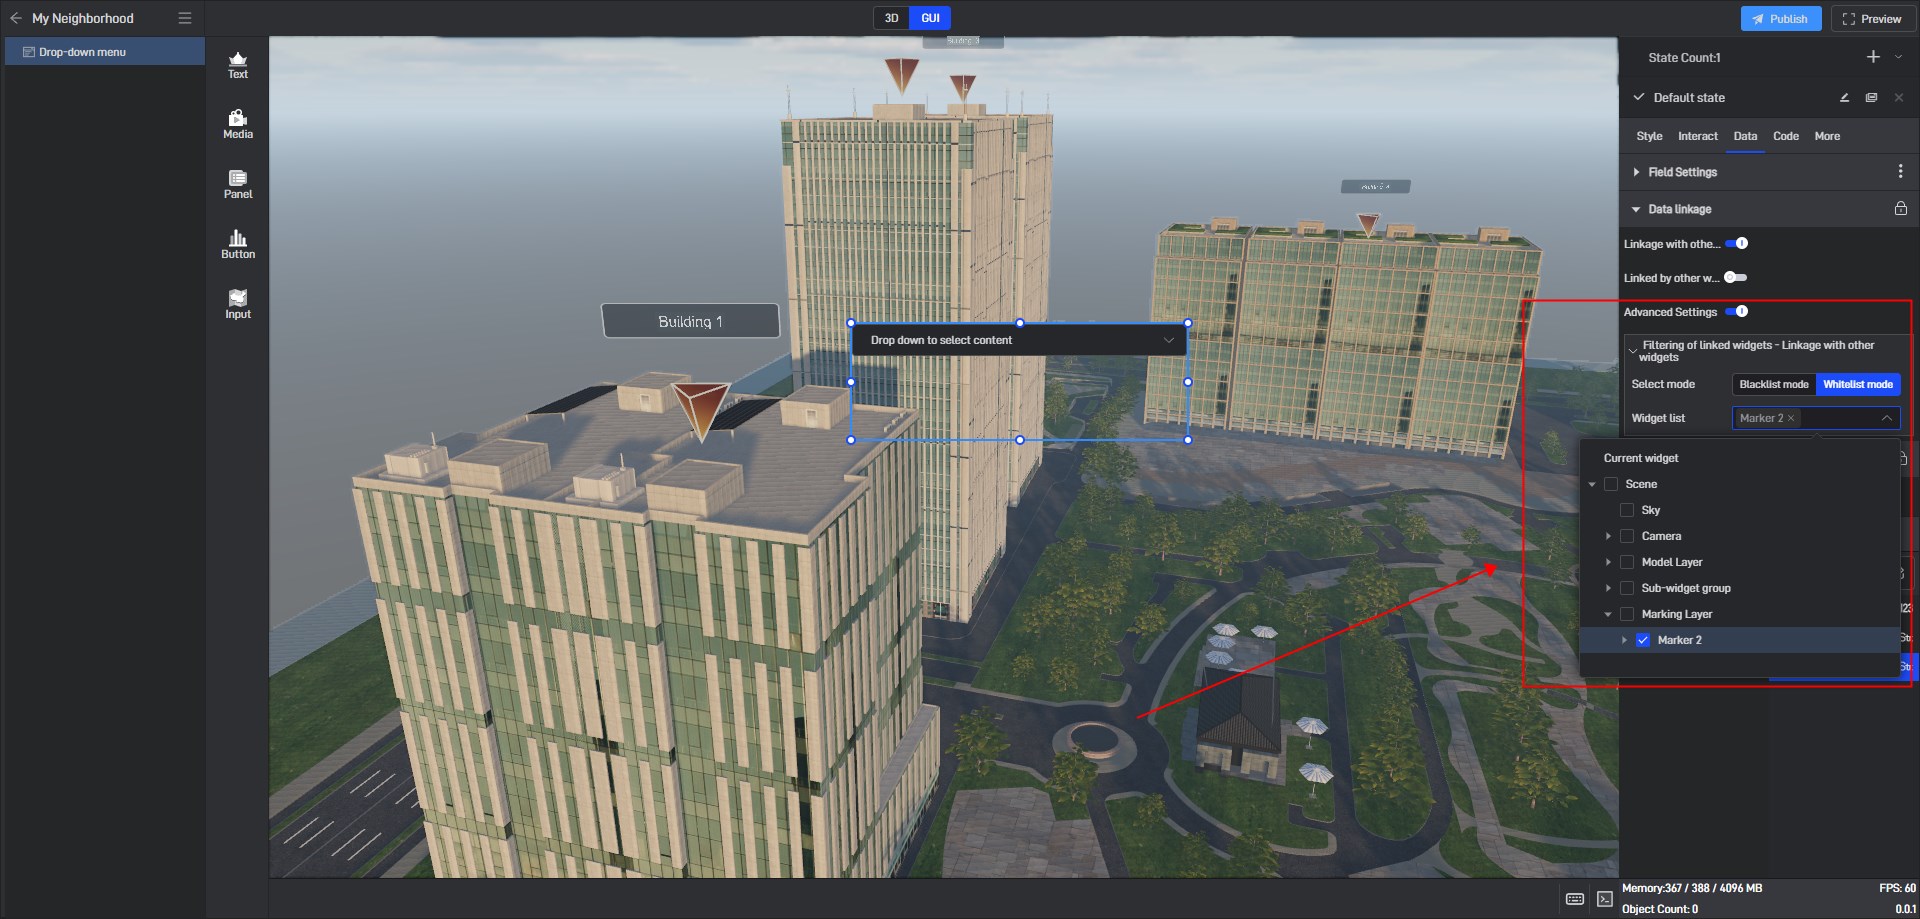
Tip: Data linkage will affect each other. If you want more precise control, you can open the advanced settings, switch to whitelist mode, and select the marker group.
Switch to the 3D scene, and turn on “Linked by other widgets” for the Marker group. Similarly, if you want precise control, you can also open the advanced settings, select the Linked by other widgets tab, and switch to whitelist mode, and select the drop-down widget.
3. Marker selection
3.1 Automatic selection of markers
There are two modes for automatic selection of markers: one is “Carousel”, the other “Distance detection”.
3.1.1 Carousel
Selecting the carousel setting is very simple. You just need to turn on the animation. The effect is as follows:

3.1.2 Distance Detection
Sometimes, we need to be able to pop up a panel when the camera approaches or when other objects approach. In the automatic selection of the mark group, switch to distance detection, turn on start detection, select the current main camera, and modify a suitable distance:
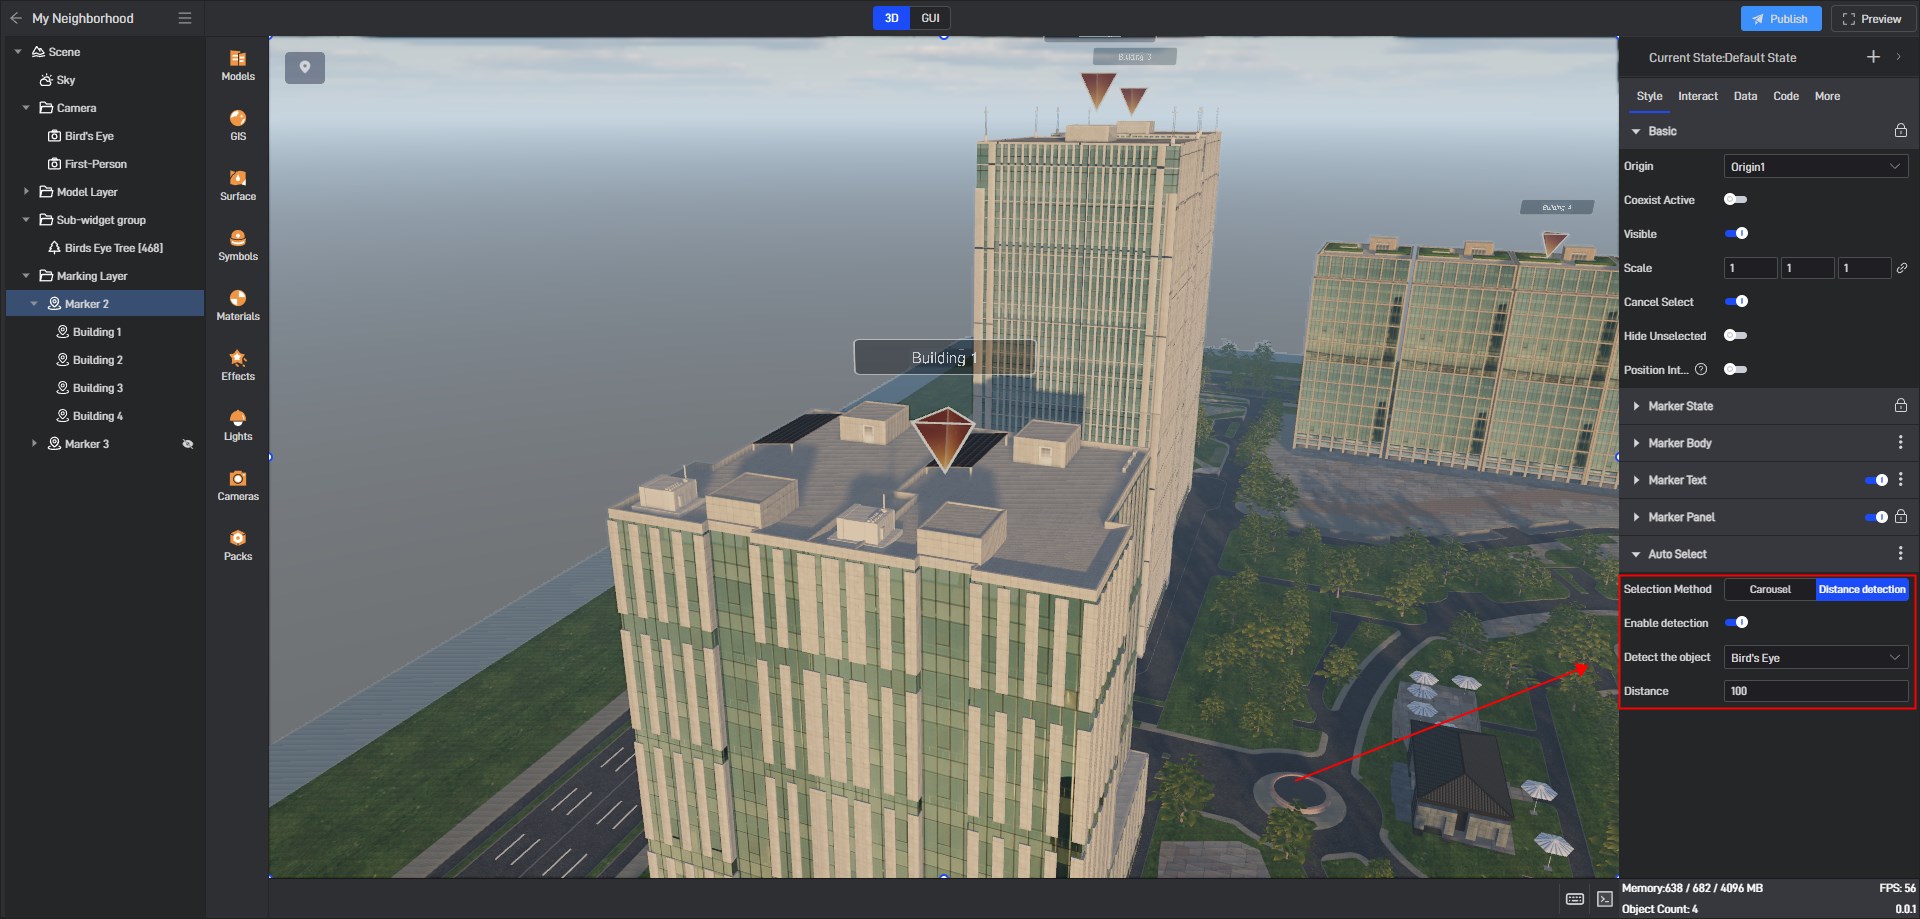
We can see the following effect, which can also be used with the camera path animation or the first-person camera.
