Set Data Filter
In some cases, we need the component to display only certain specific data, then we need to use “Data filter”.
The following is the sample data used in this tutorial.
| ID | Area |
|---|---|
| 1 | 179 |
| 2 | 217 |
| 3 | 342 |
| 4 | 416 |
Select the widget and find the “Data Filter” option in the “Data” interface.

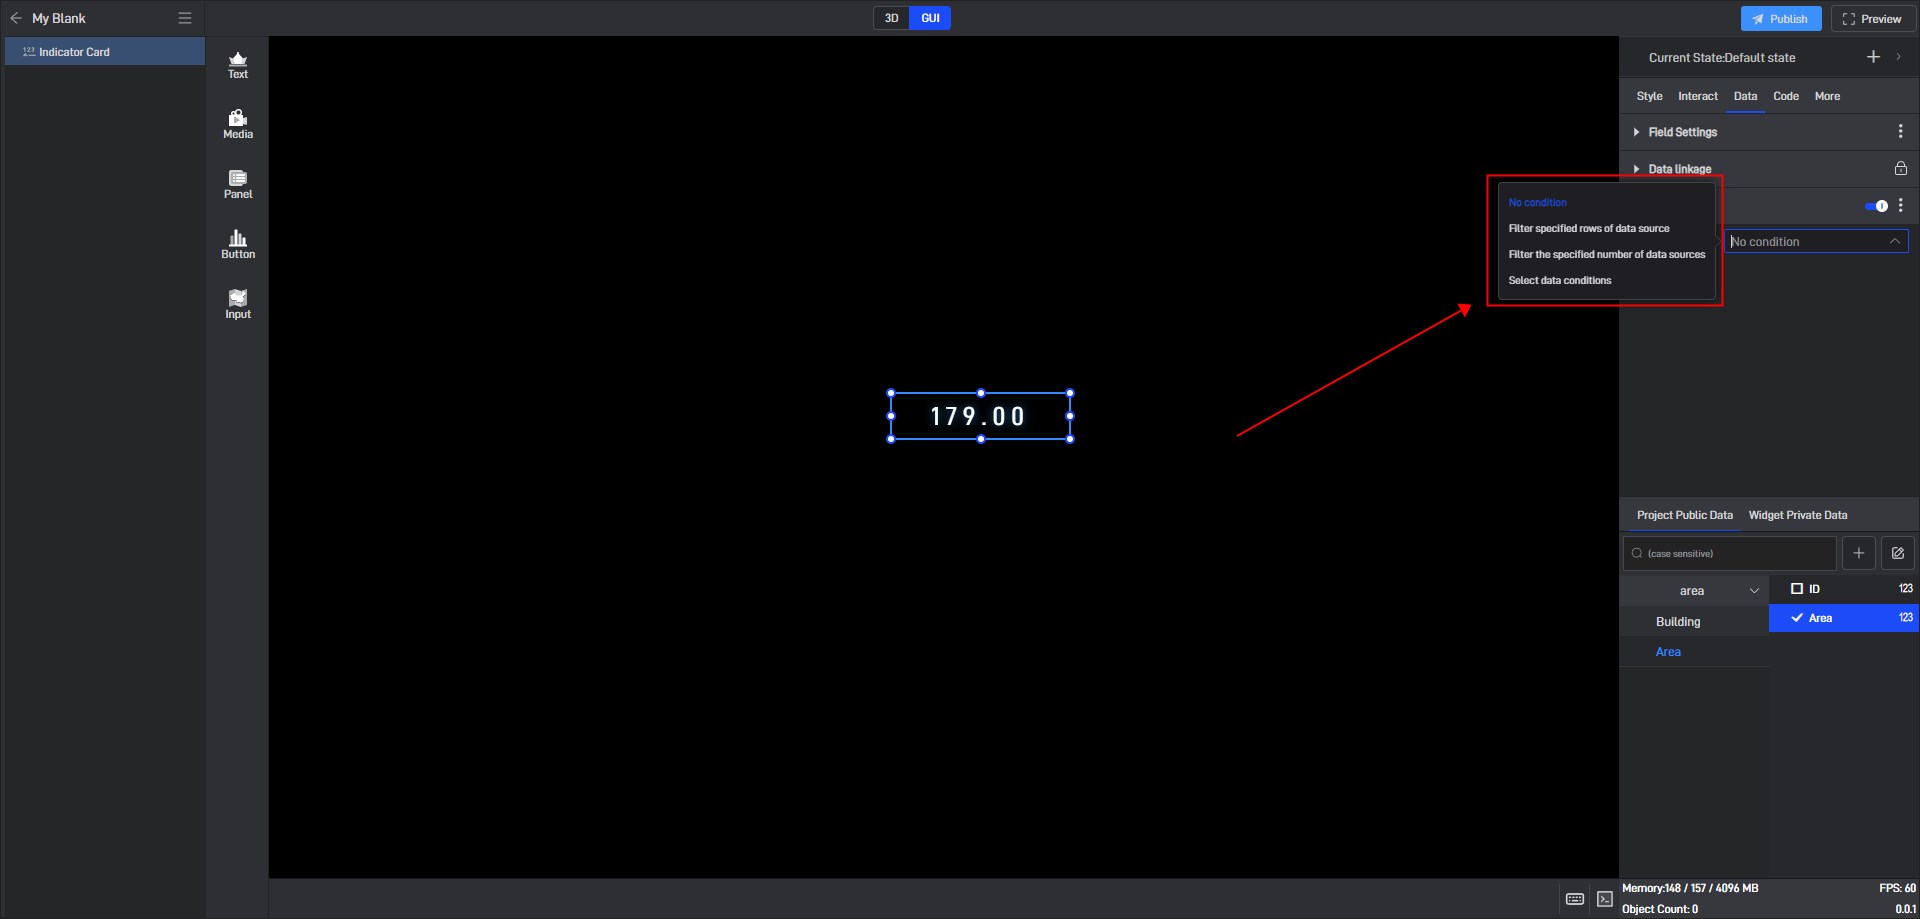
Turn on the “Data Filter” function, and you can see that the “Filter conditions” defaults to “No condition”, and the other options are: “Filter specified rows of data source”, “Filter a specified number of data sources”, and “Select data conditions”.

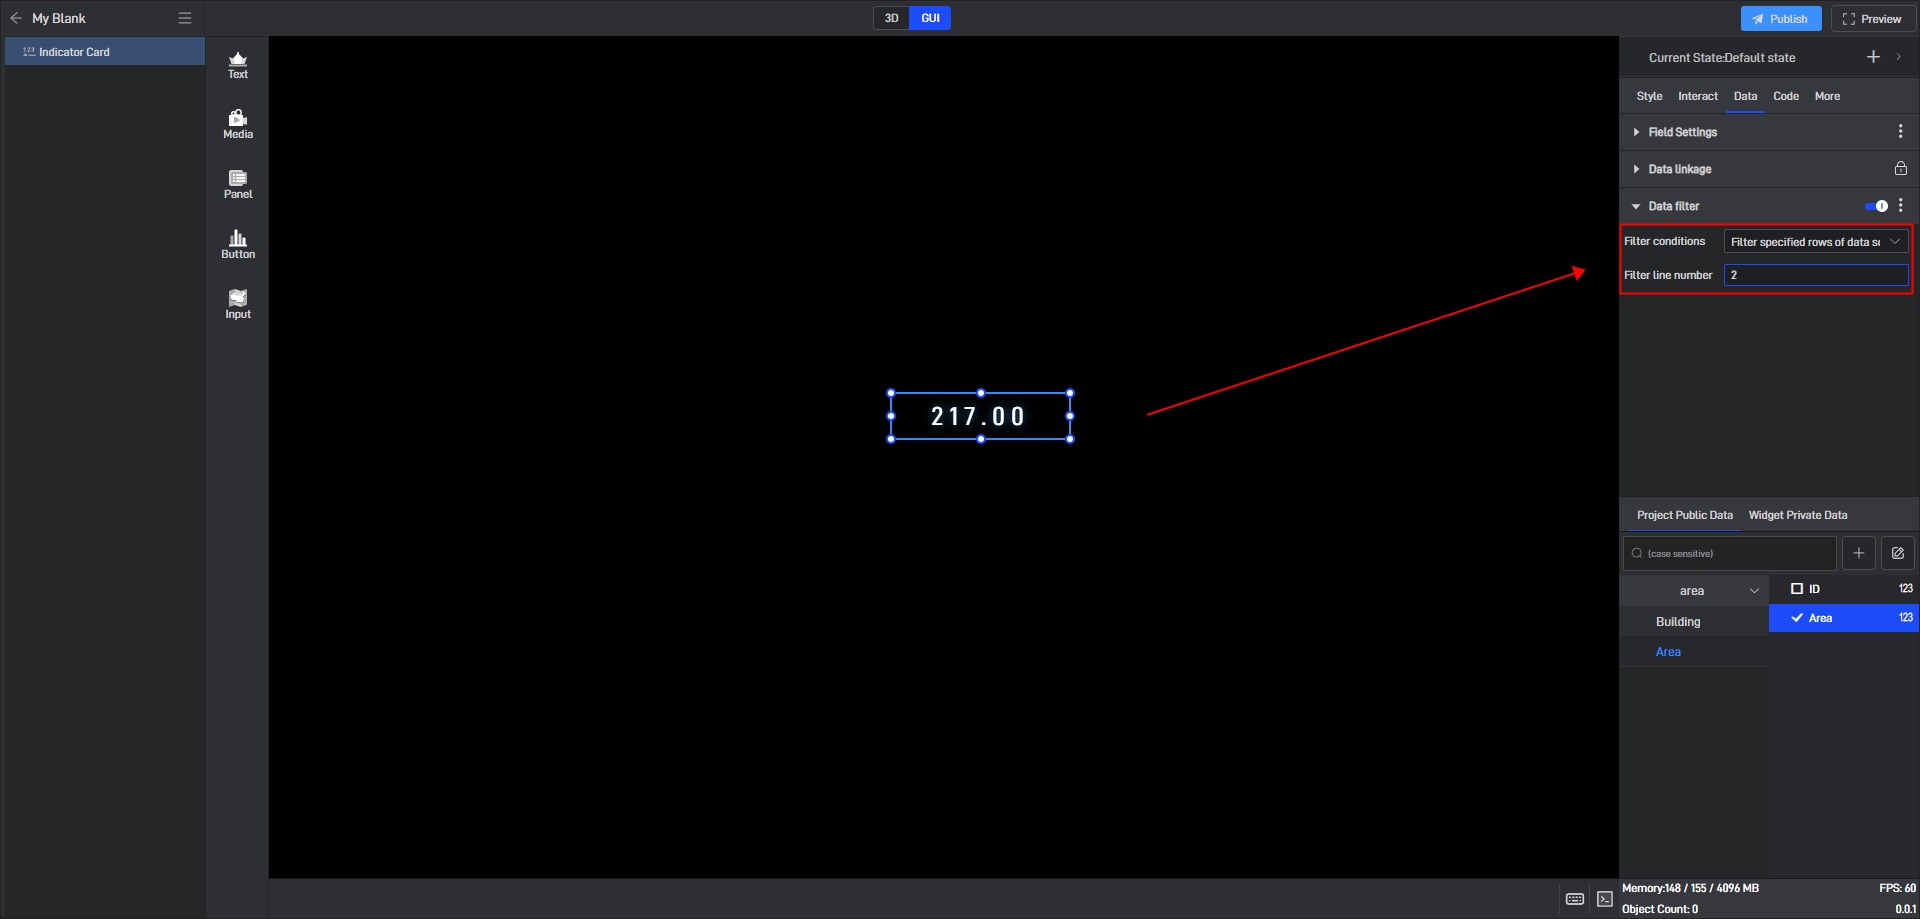
When you select “Filter specified rows of data source”, you can specify the widget to display a row of data in the data source, and the software will automatically start from the first identifiable row of valid data.

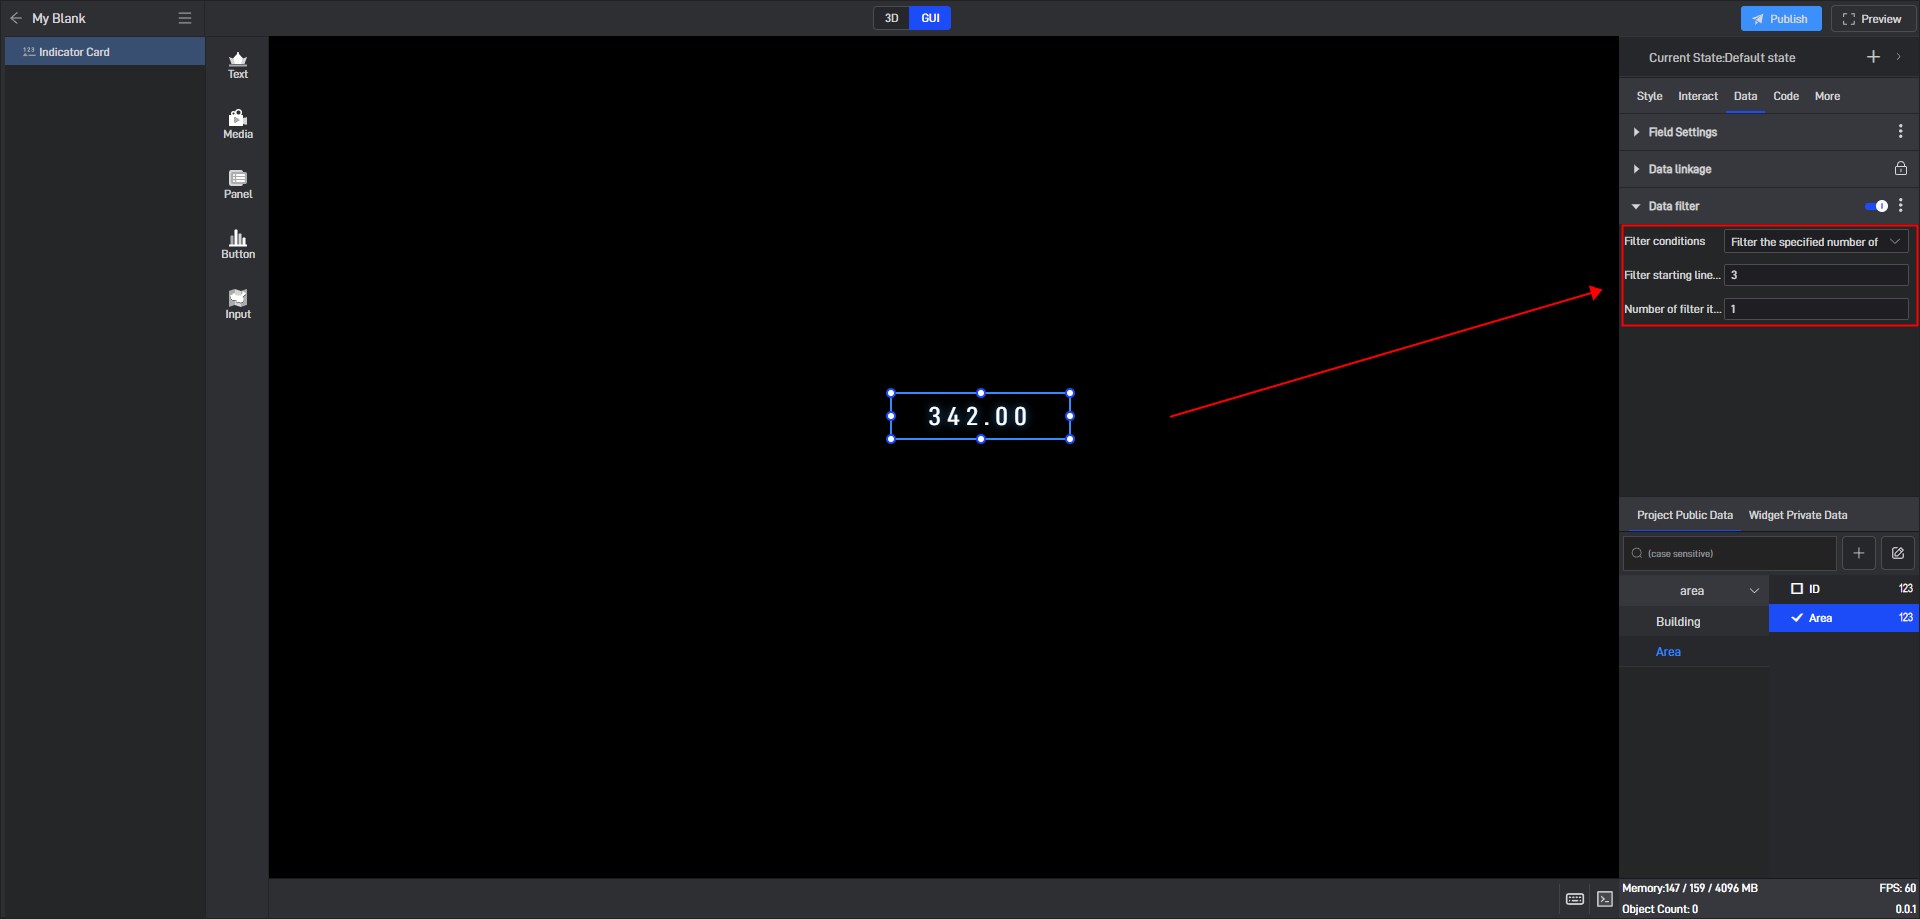
When you select “Filter a specified number of data sources”, you can specify that the widget starts filtering from a row of data in the data source and specify how many data to read from that row.

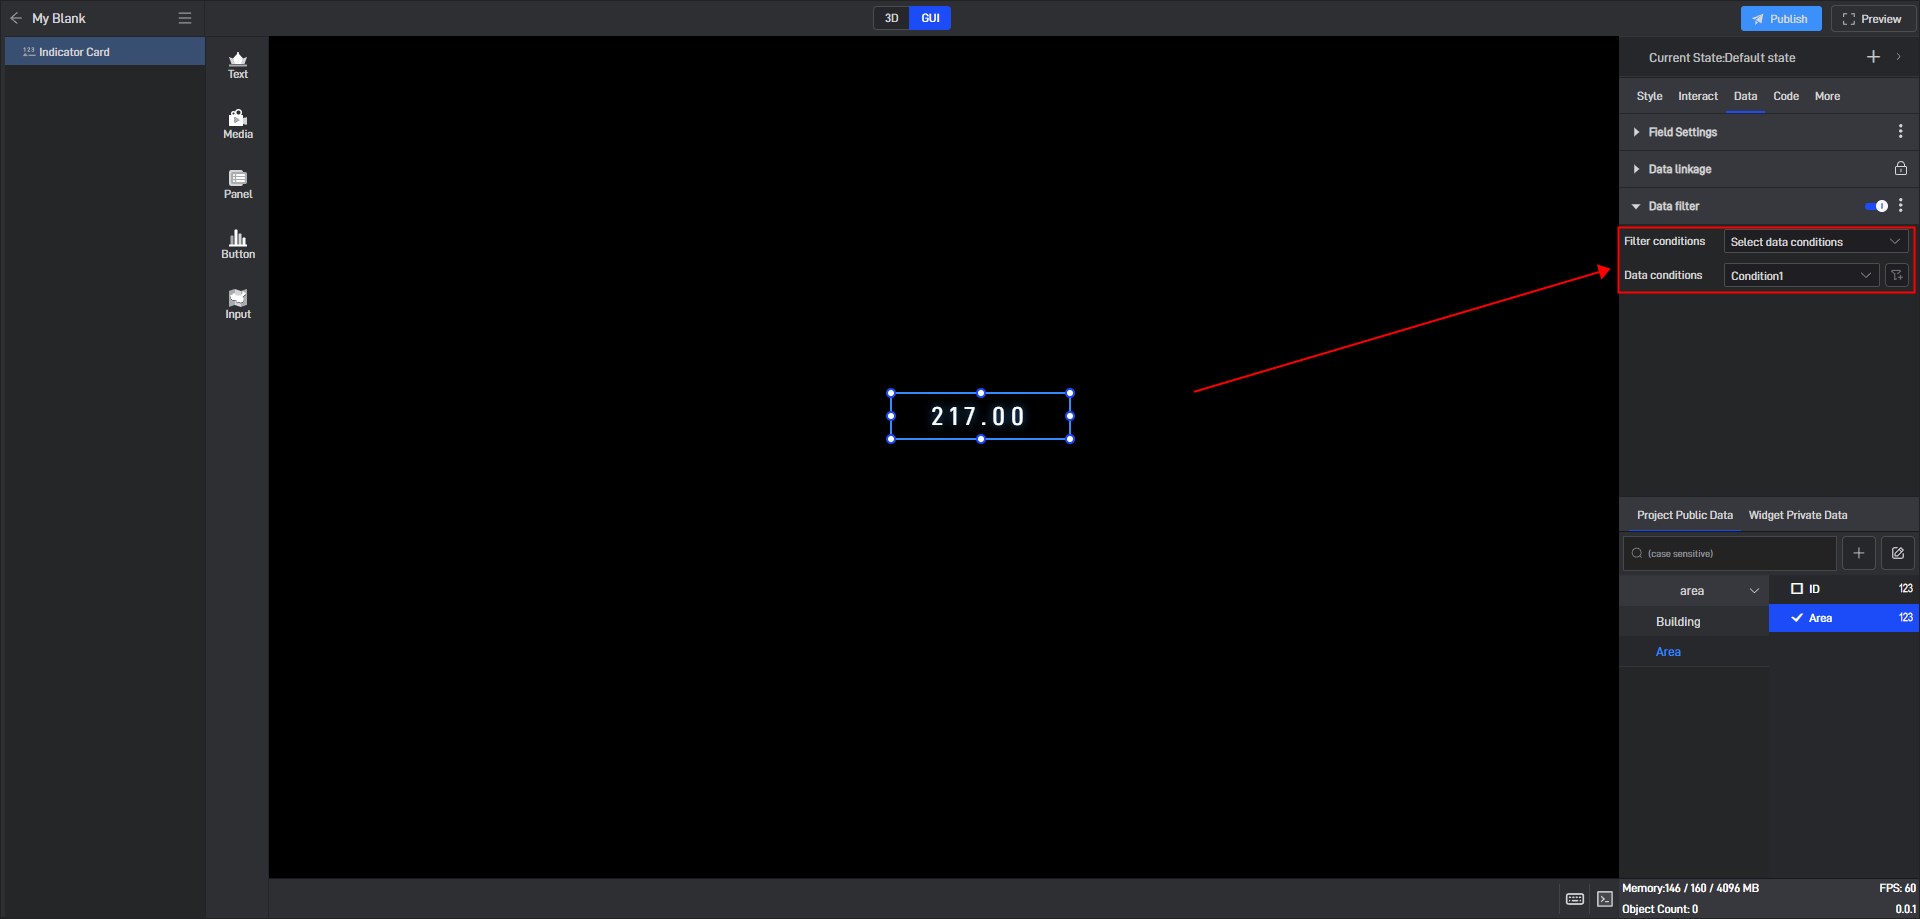
When you select “Select data conditions”, you can make the widget display corresponding data based on the existing data conditions.
