Multi-State Setup for Components
In Wings Engine, each component can have multiple states, with only one default state initially.
Each state is independent, allowing you to configure data and styles within each state. States can switch between each other by setting state trigger conditions.
For example, in the **”Single Line Text” **component, you can add a new state by clicking the “Add State” button below “Preview”.
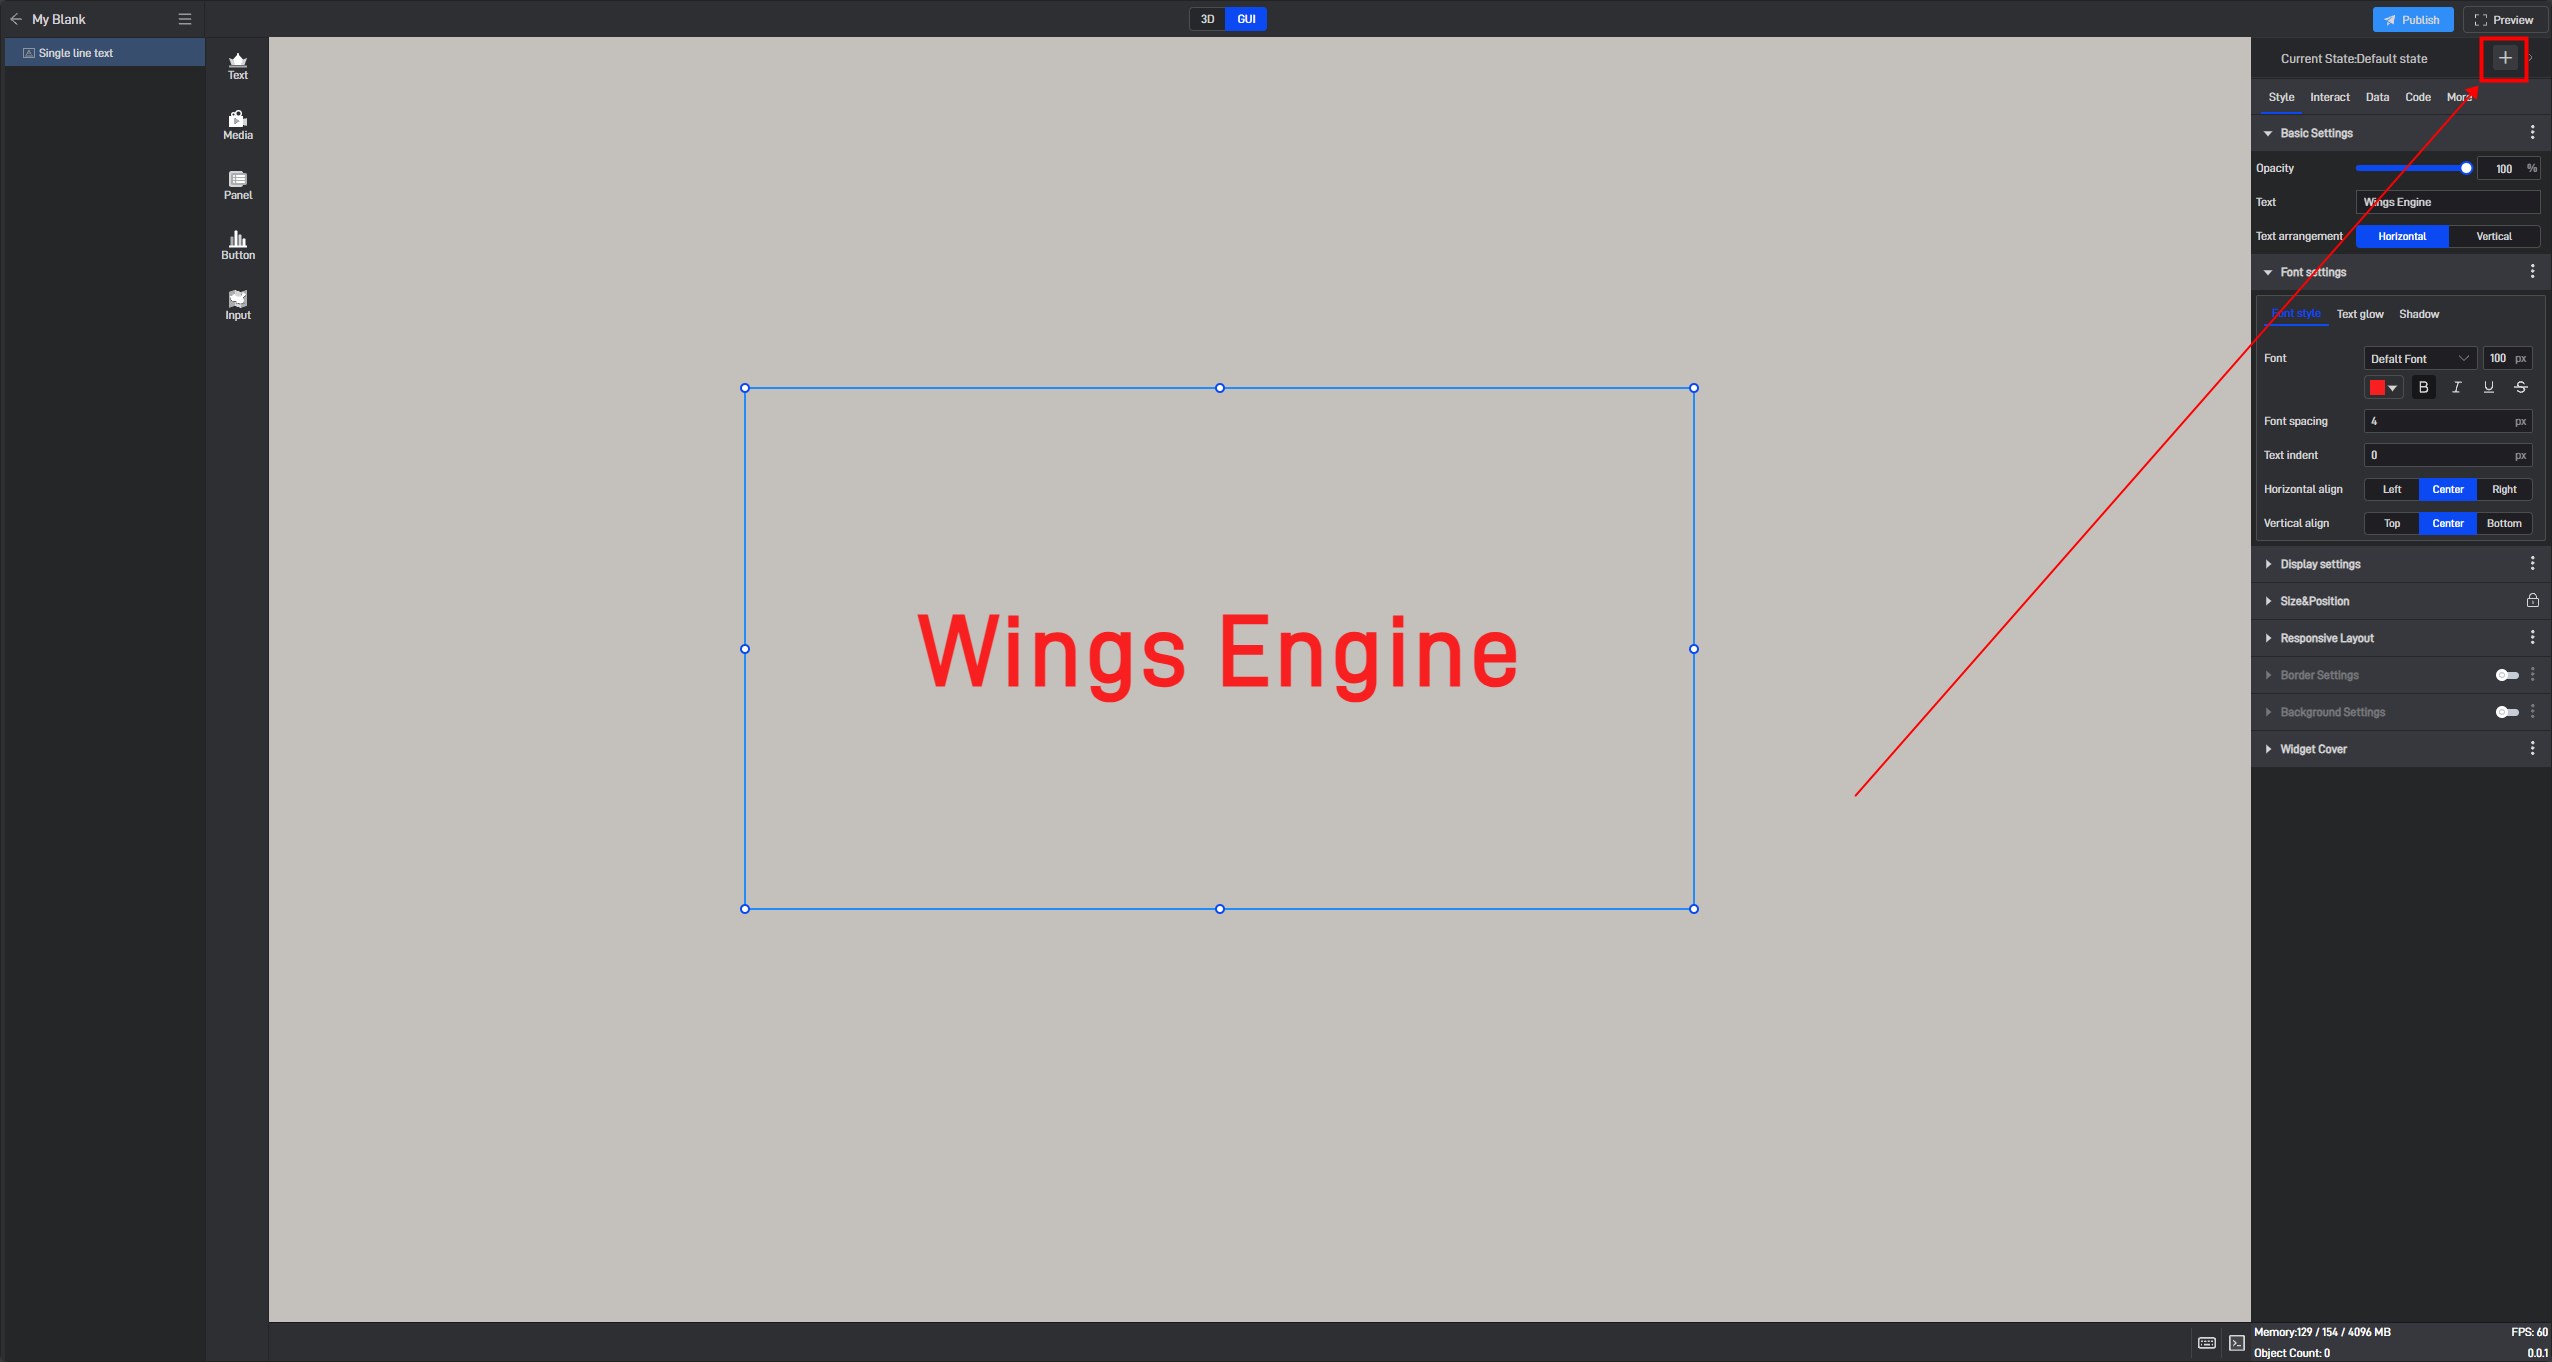
In the pop-up settings window, you can configure the newly added state.
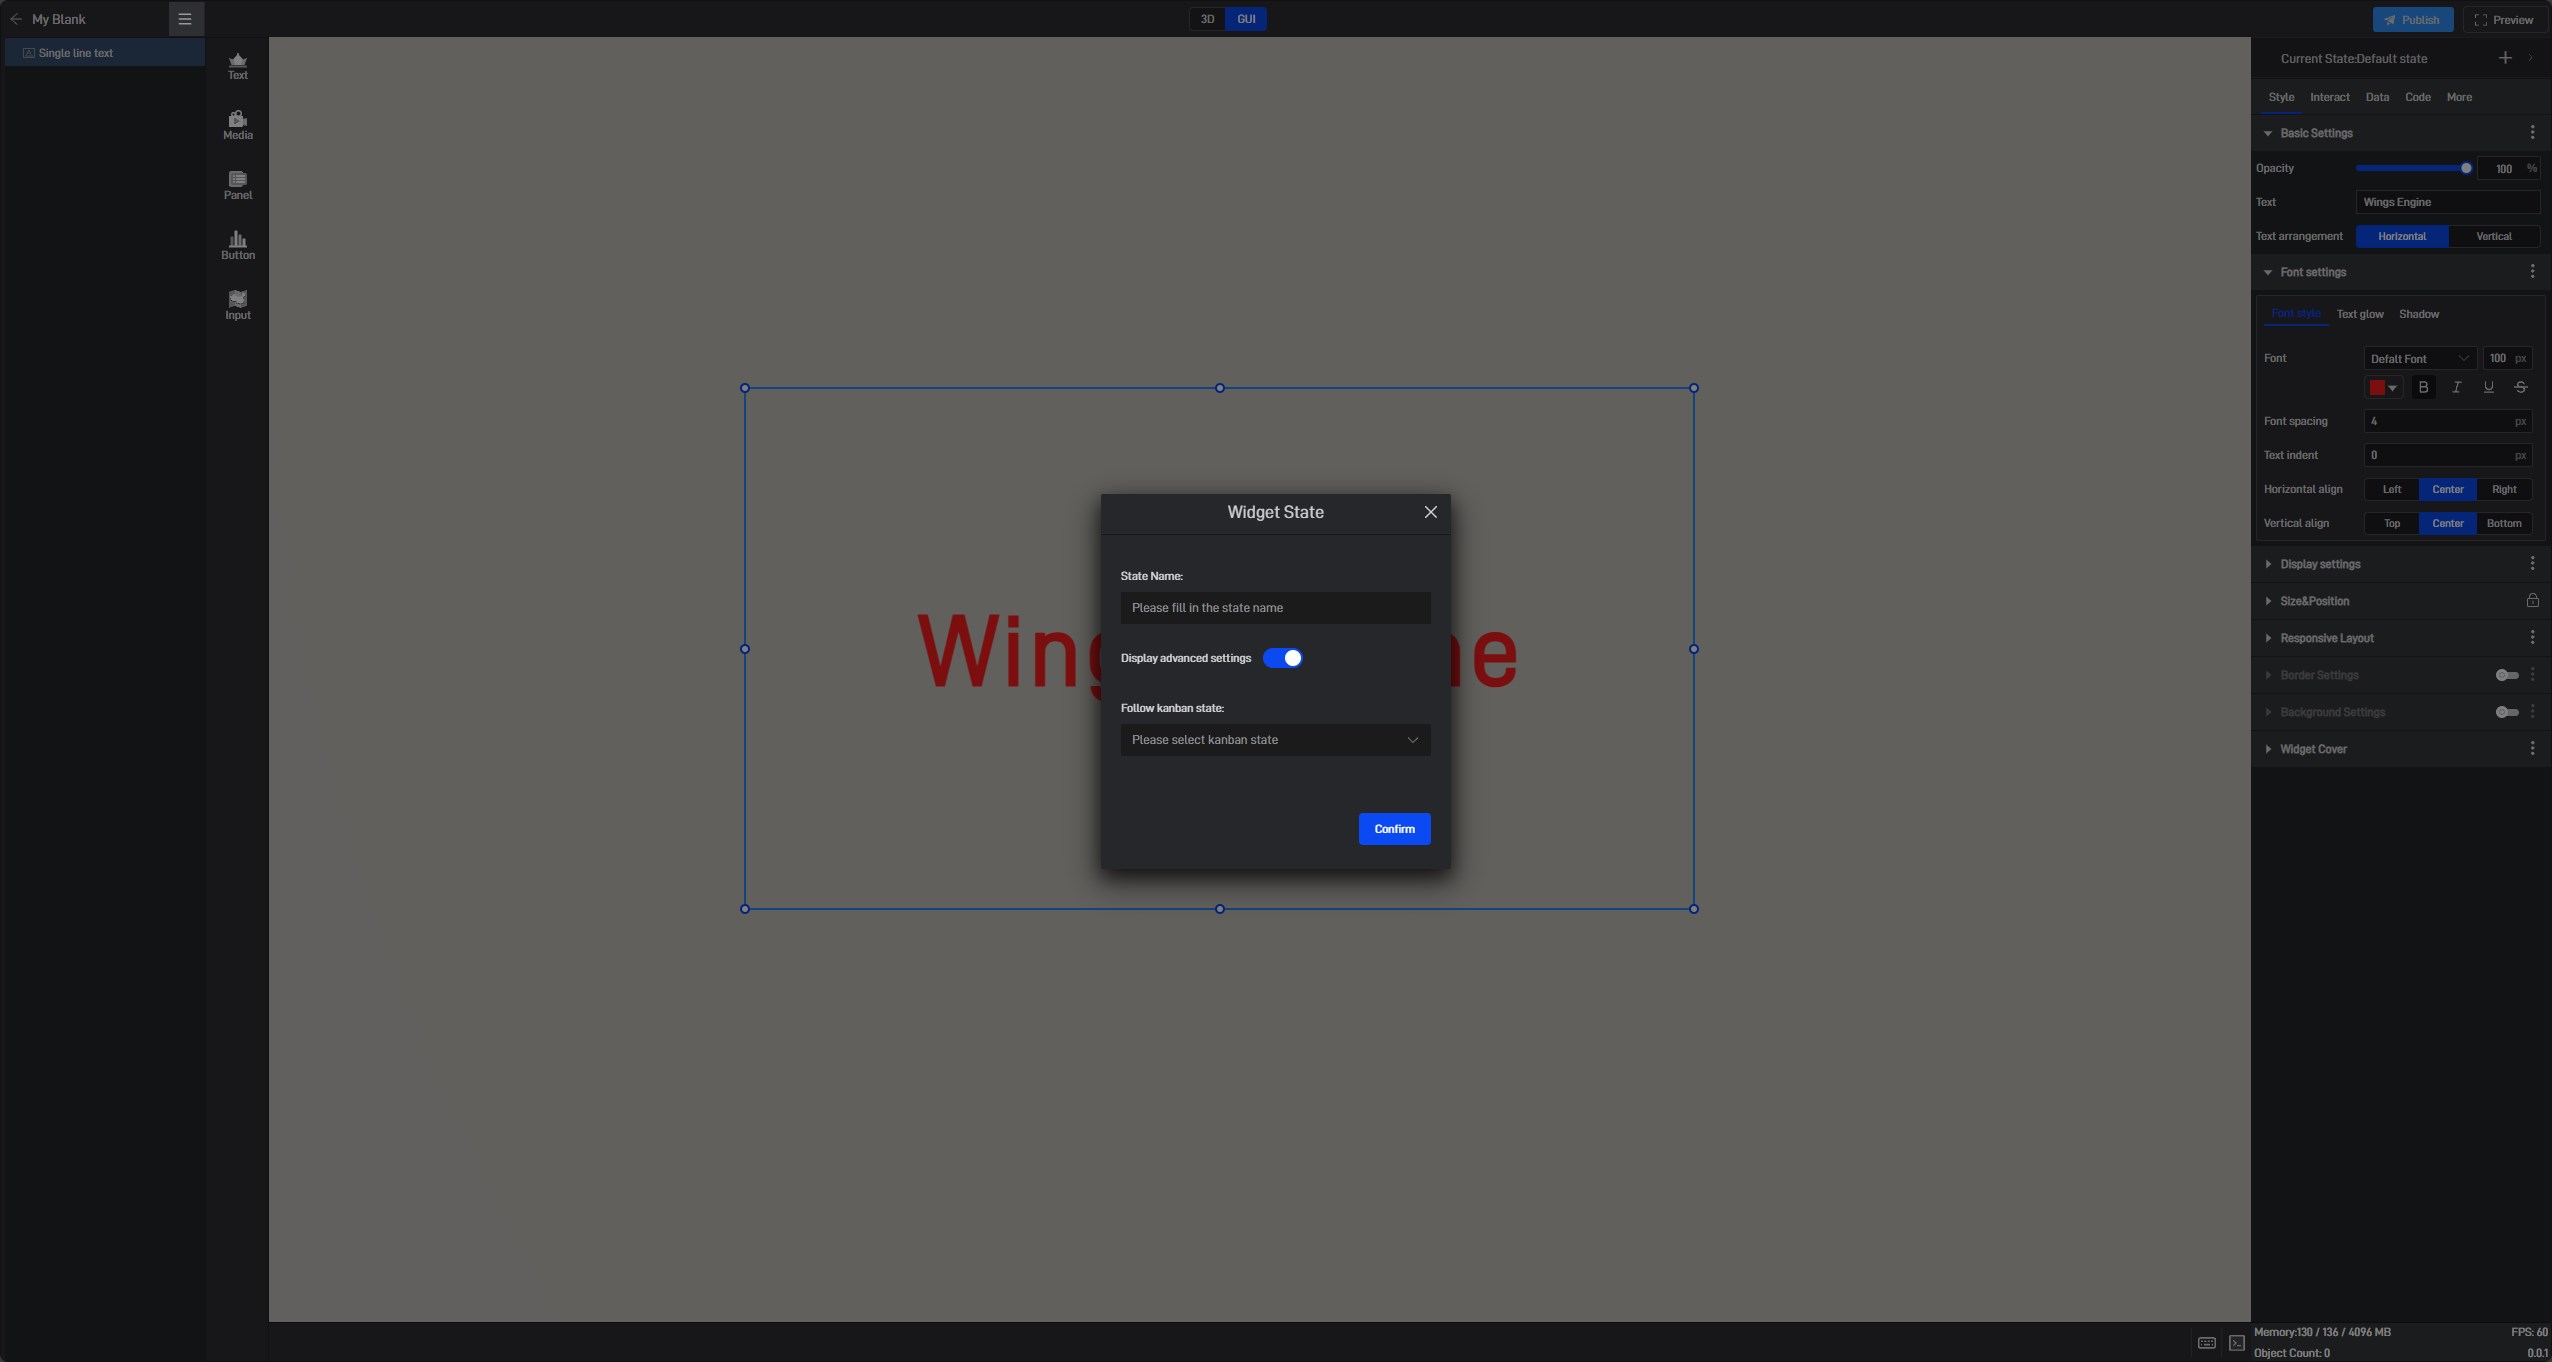
The settings include “State Name” ,“Follow Screen State” and “Switch on Data Condition”.
Similar to components, each screen can also have multiple states. In the** “Follow Screen State”** setting, you can choose which screen state the currently created state will follow. The initial data and style values of the state will align with the selected screen state.
The “Switch on Data Condition” option allows you to choose one or more data conditions for the current state. When the data fields added to the component meet the conditions set here, the component will automatically switch to the current state.
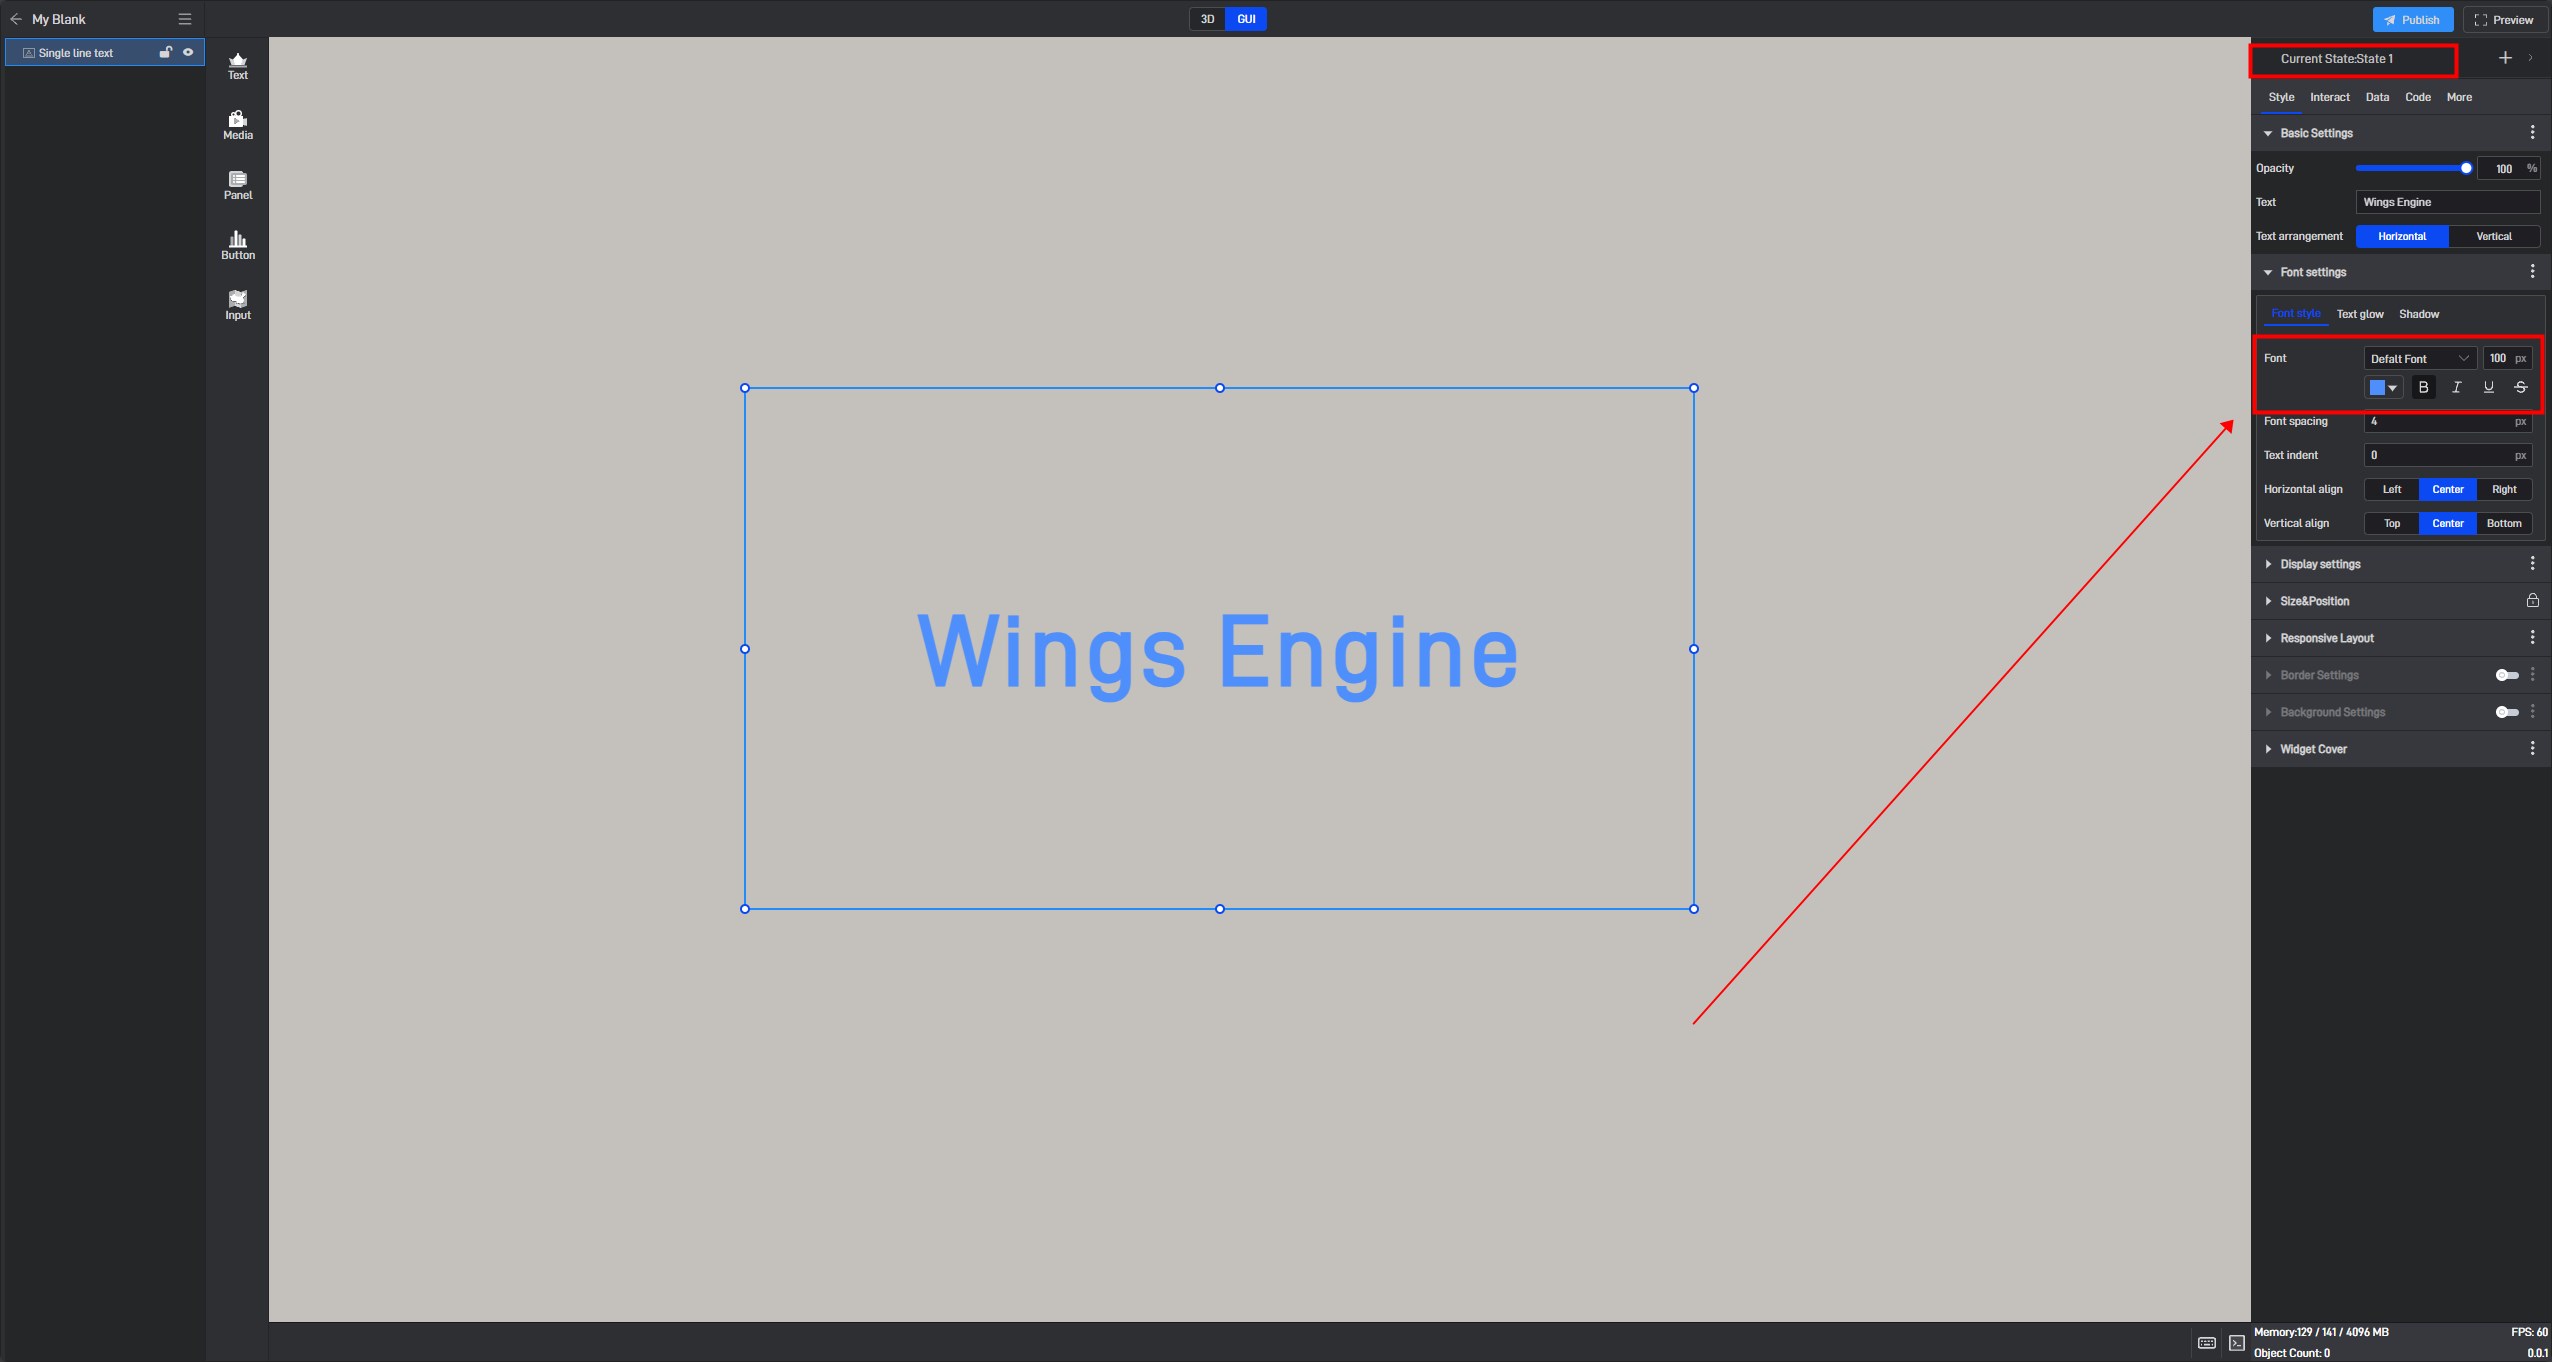
After completing the setup, a new state will be added to the current component, and the component will automatically switch to the newly added state (in this case, we only modified the color in the new state).
State switching conditions need to be set in “Interaction” .Click “Add Interaction” to configure the interaction.
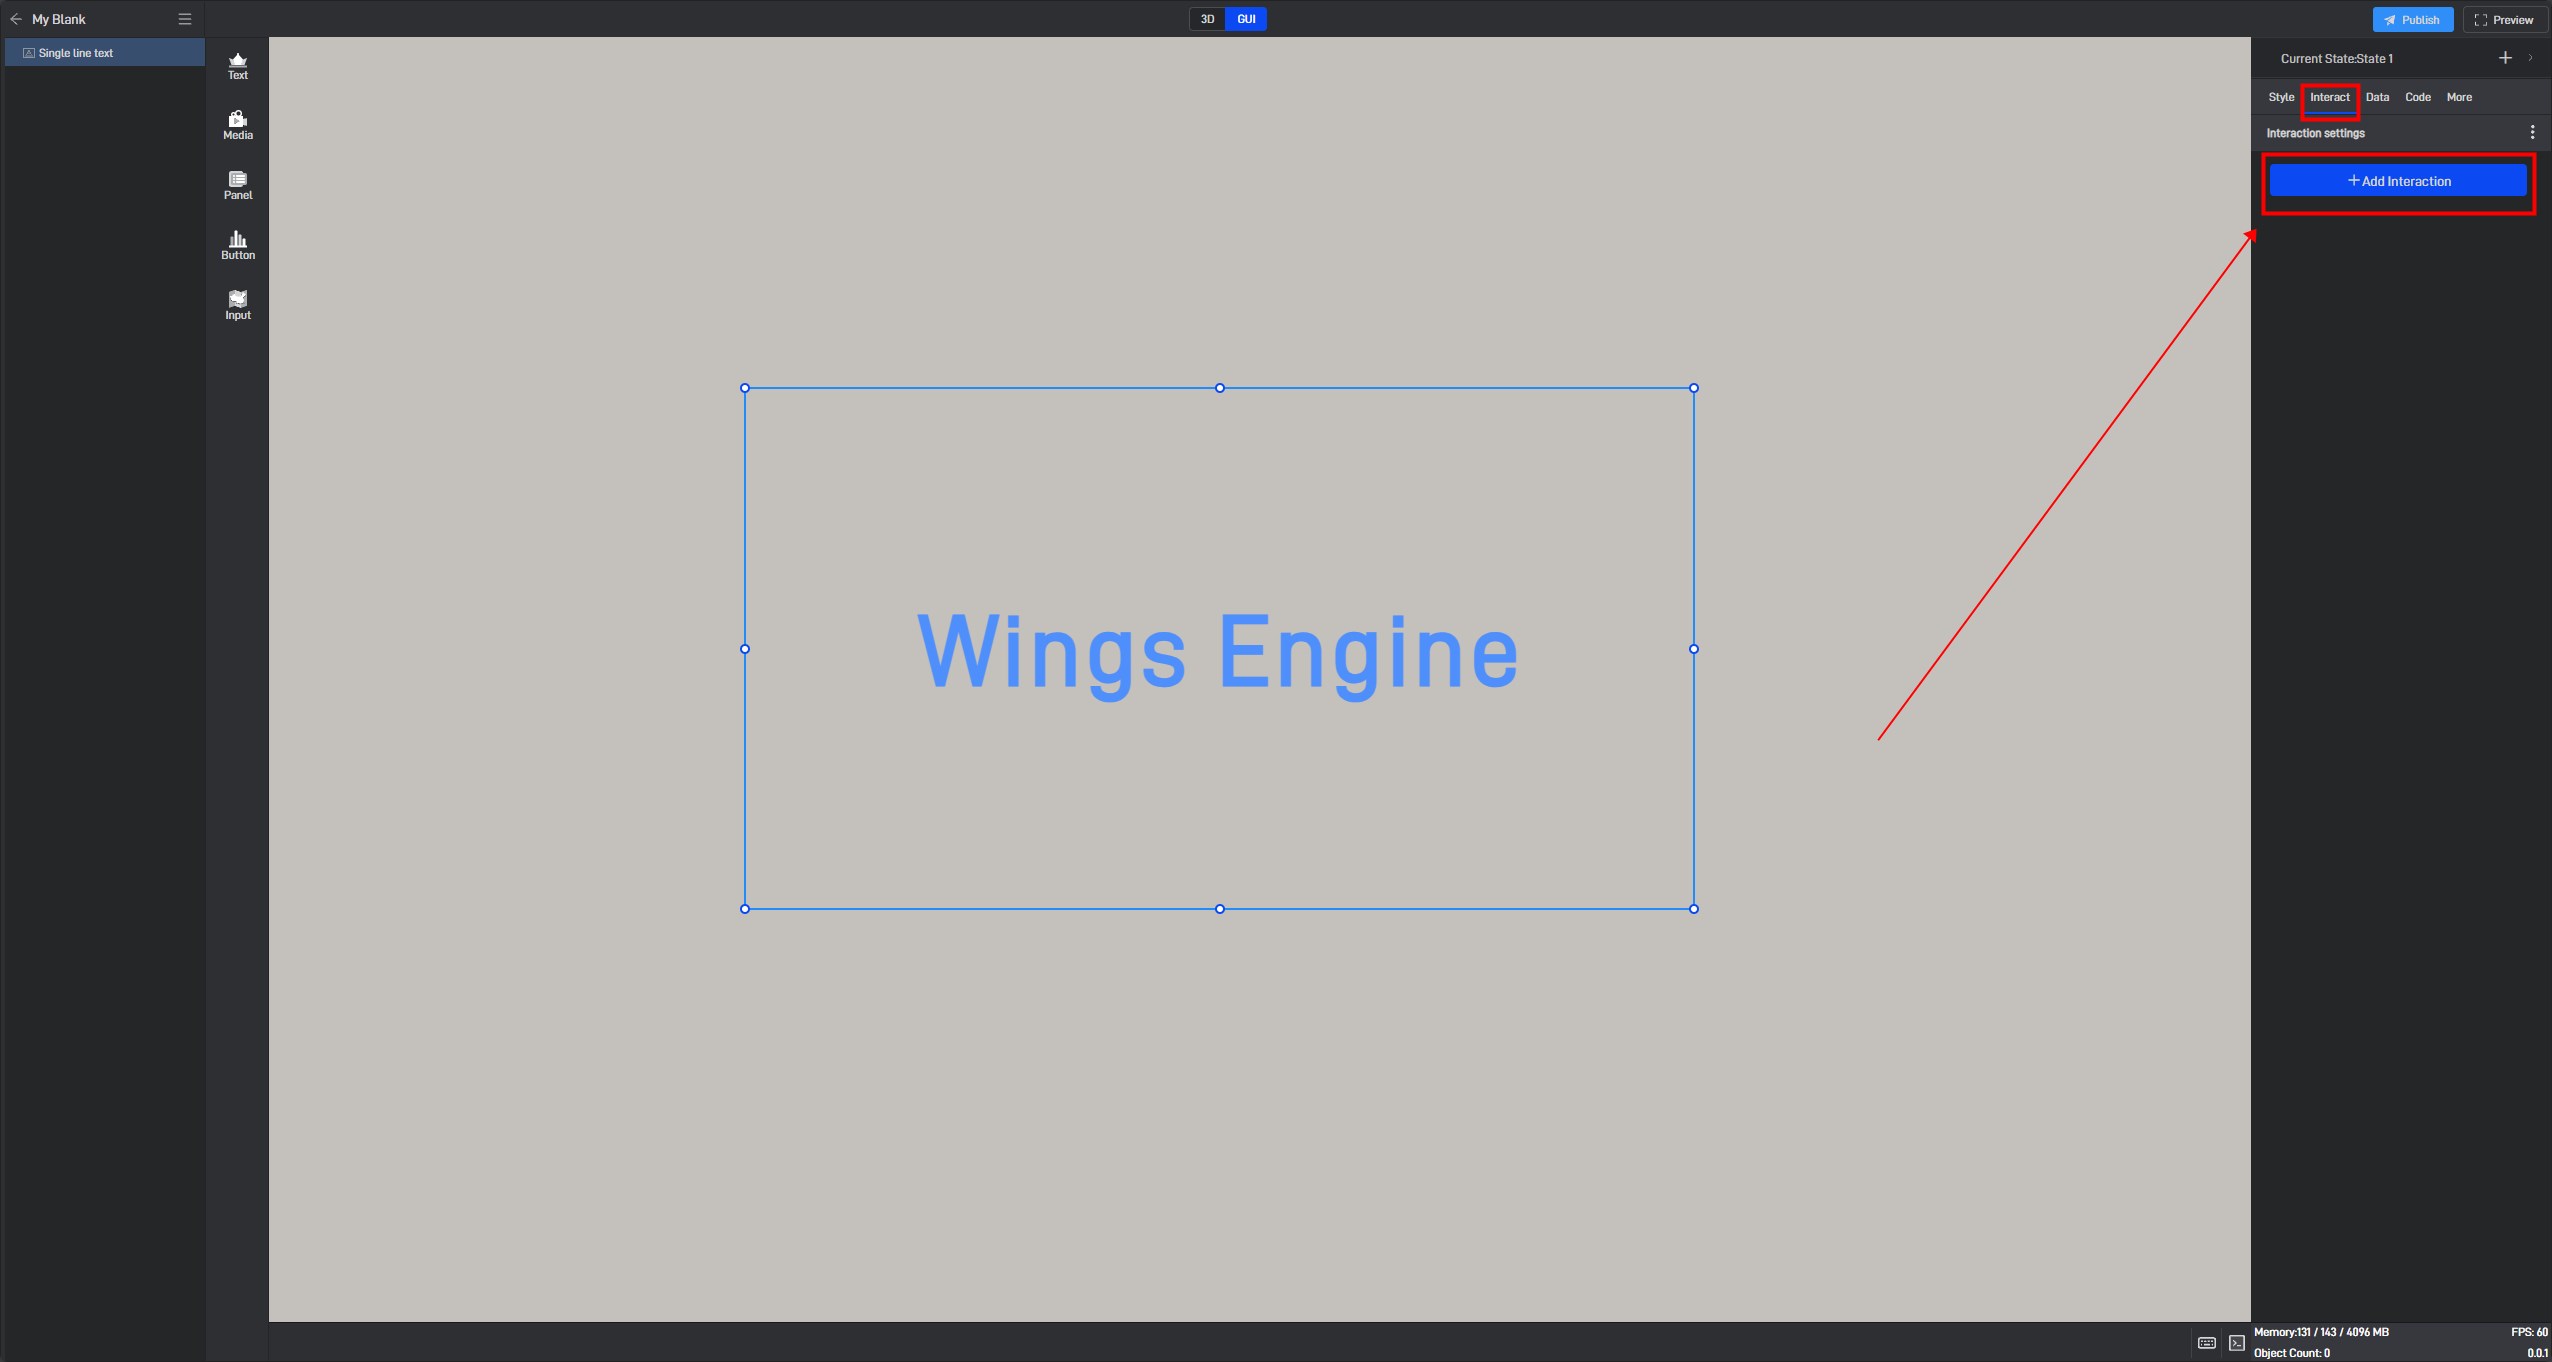
Refer to this tutorial for detailed instructions on how to configure **”Add Interaction”**→_→ Setting Interactions.
For “Add Interaction” ,set the “Action” to “Switch State” ,then select the target component as the “Single Line Text” component, and choose the state where the text color is red as “State 1”.
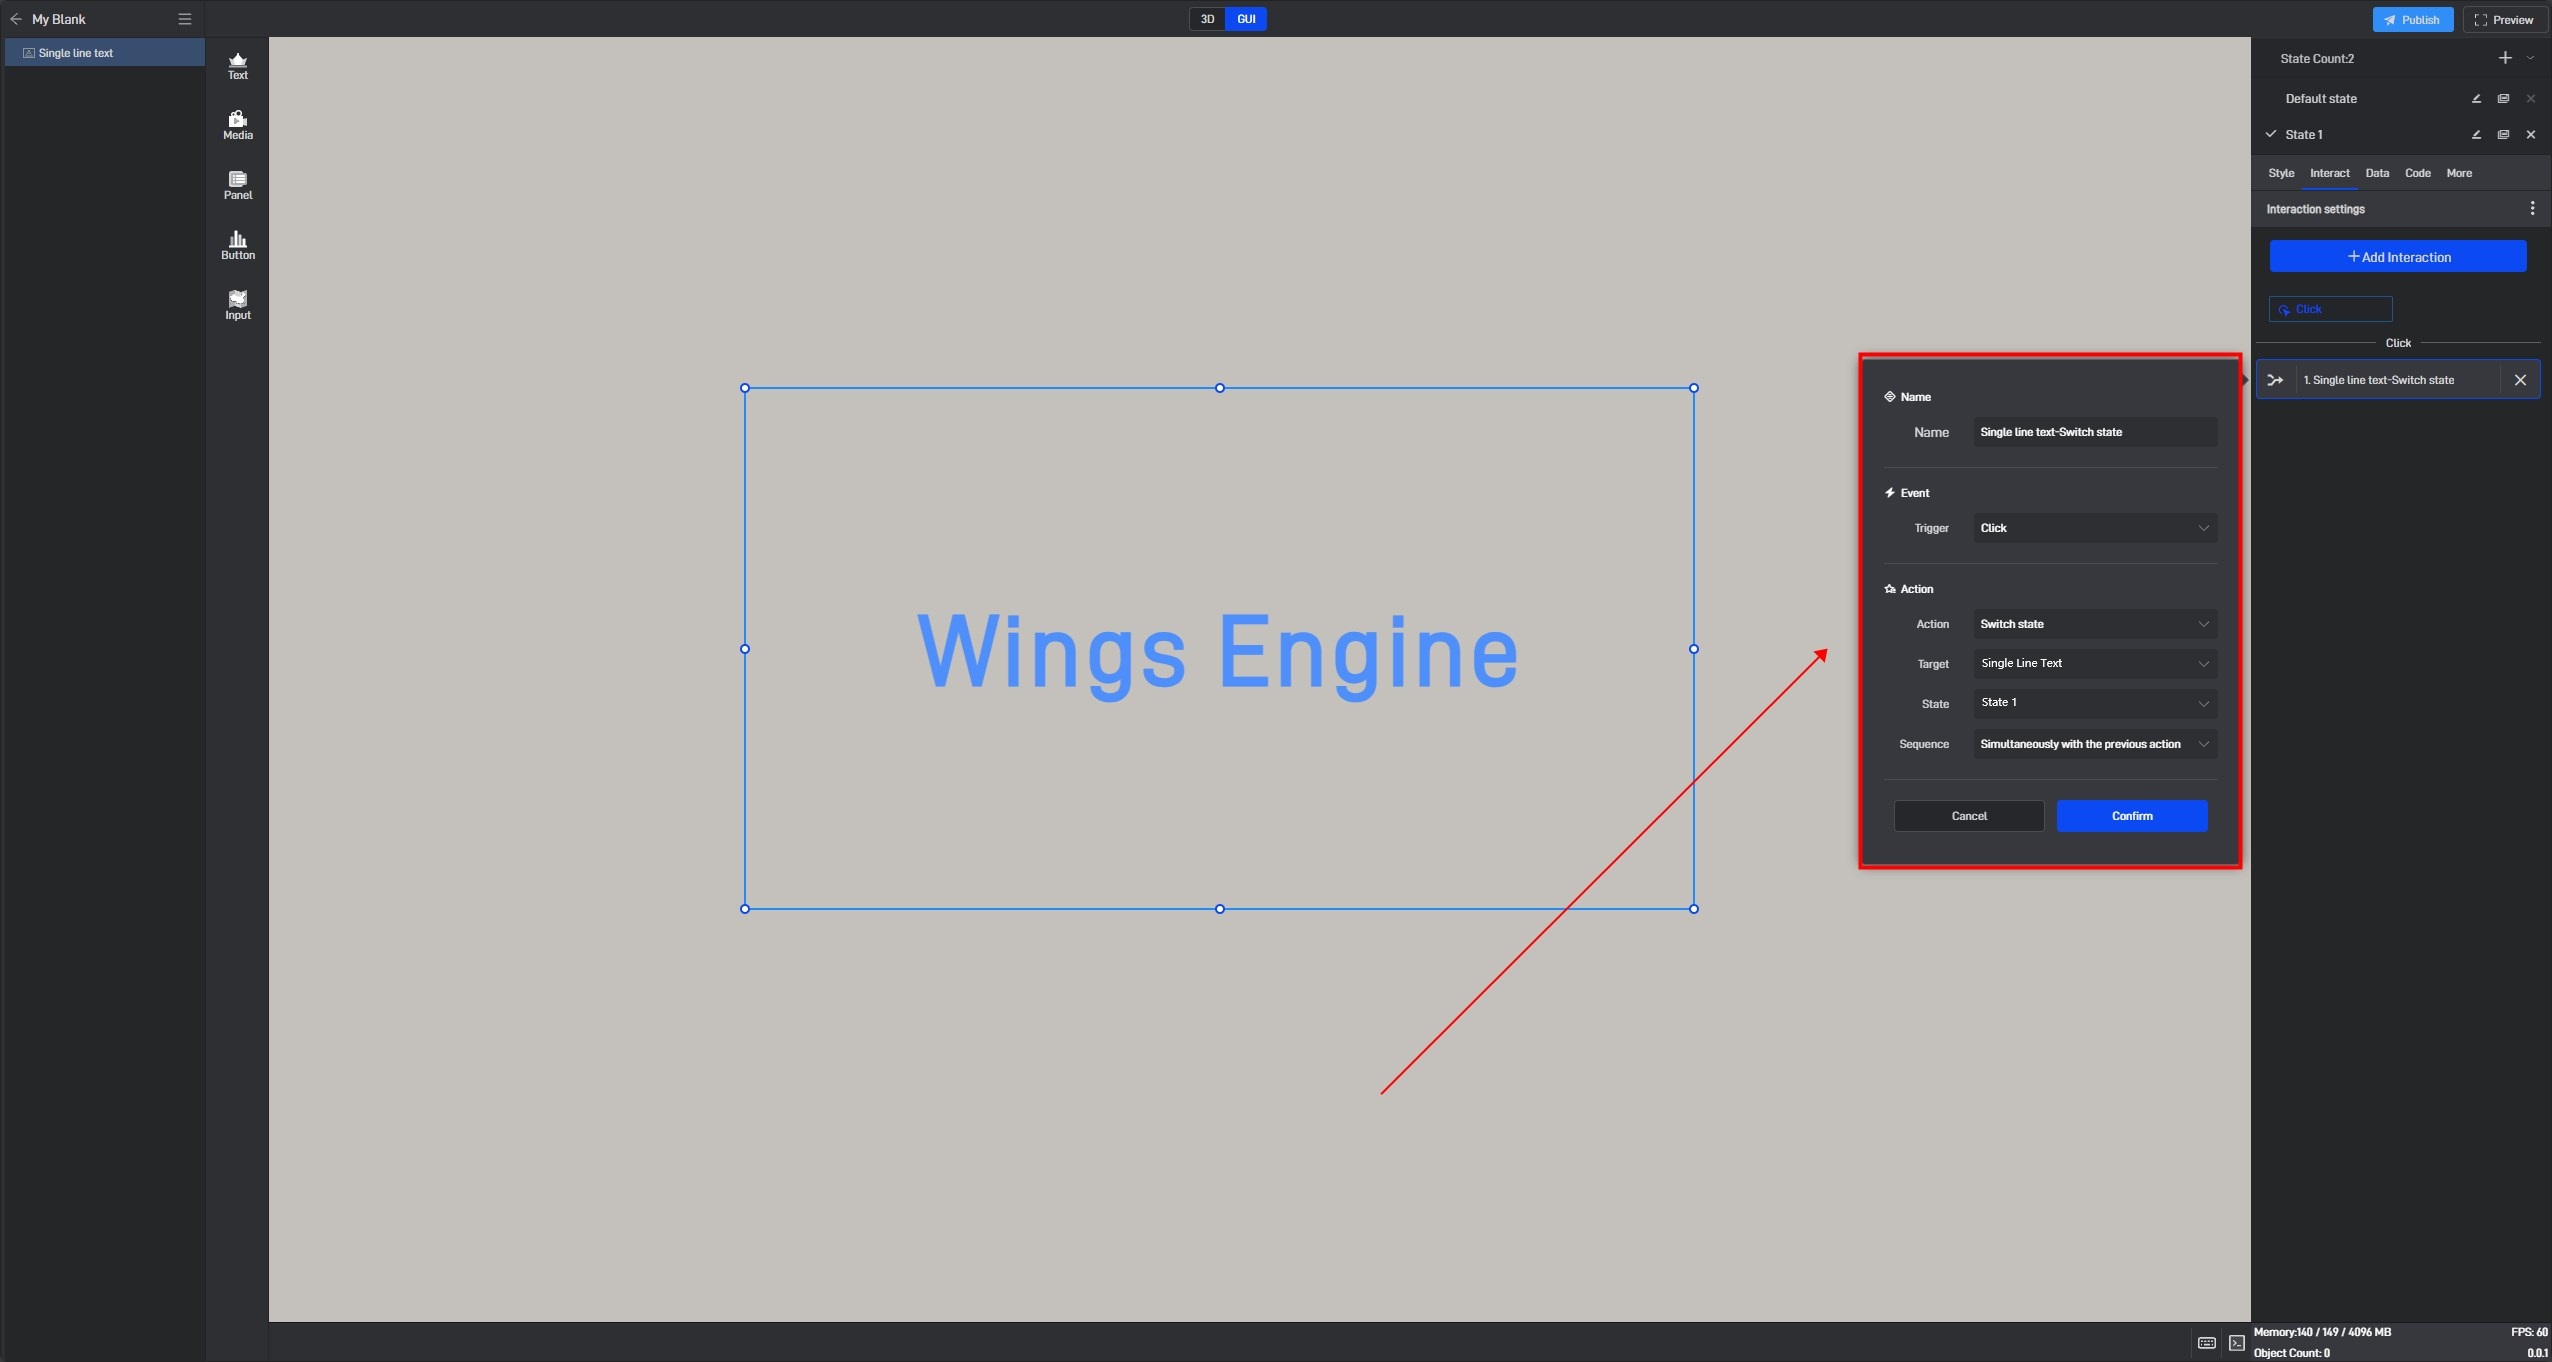
Click “Confirm” to see the interaction you just set up.
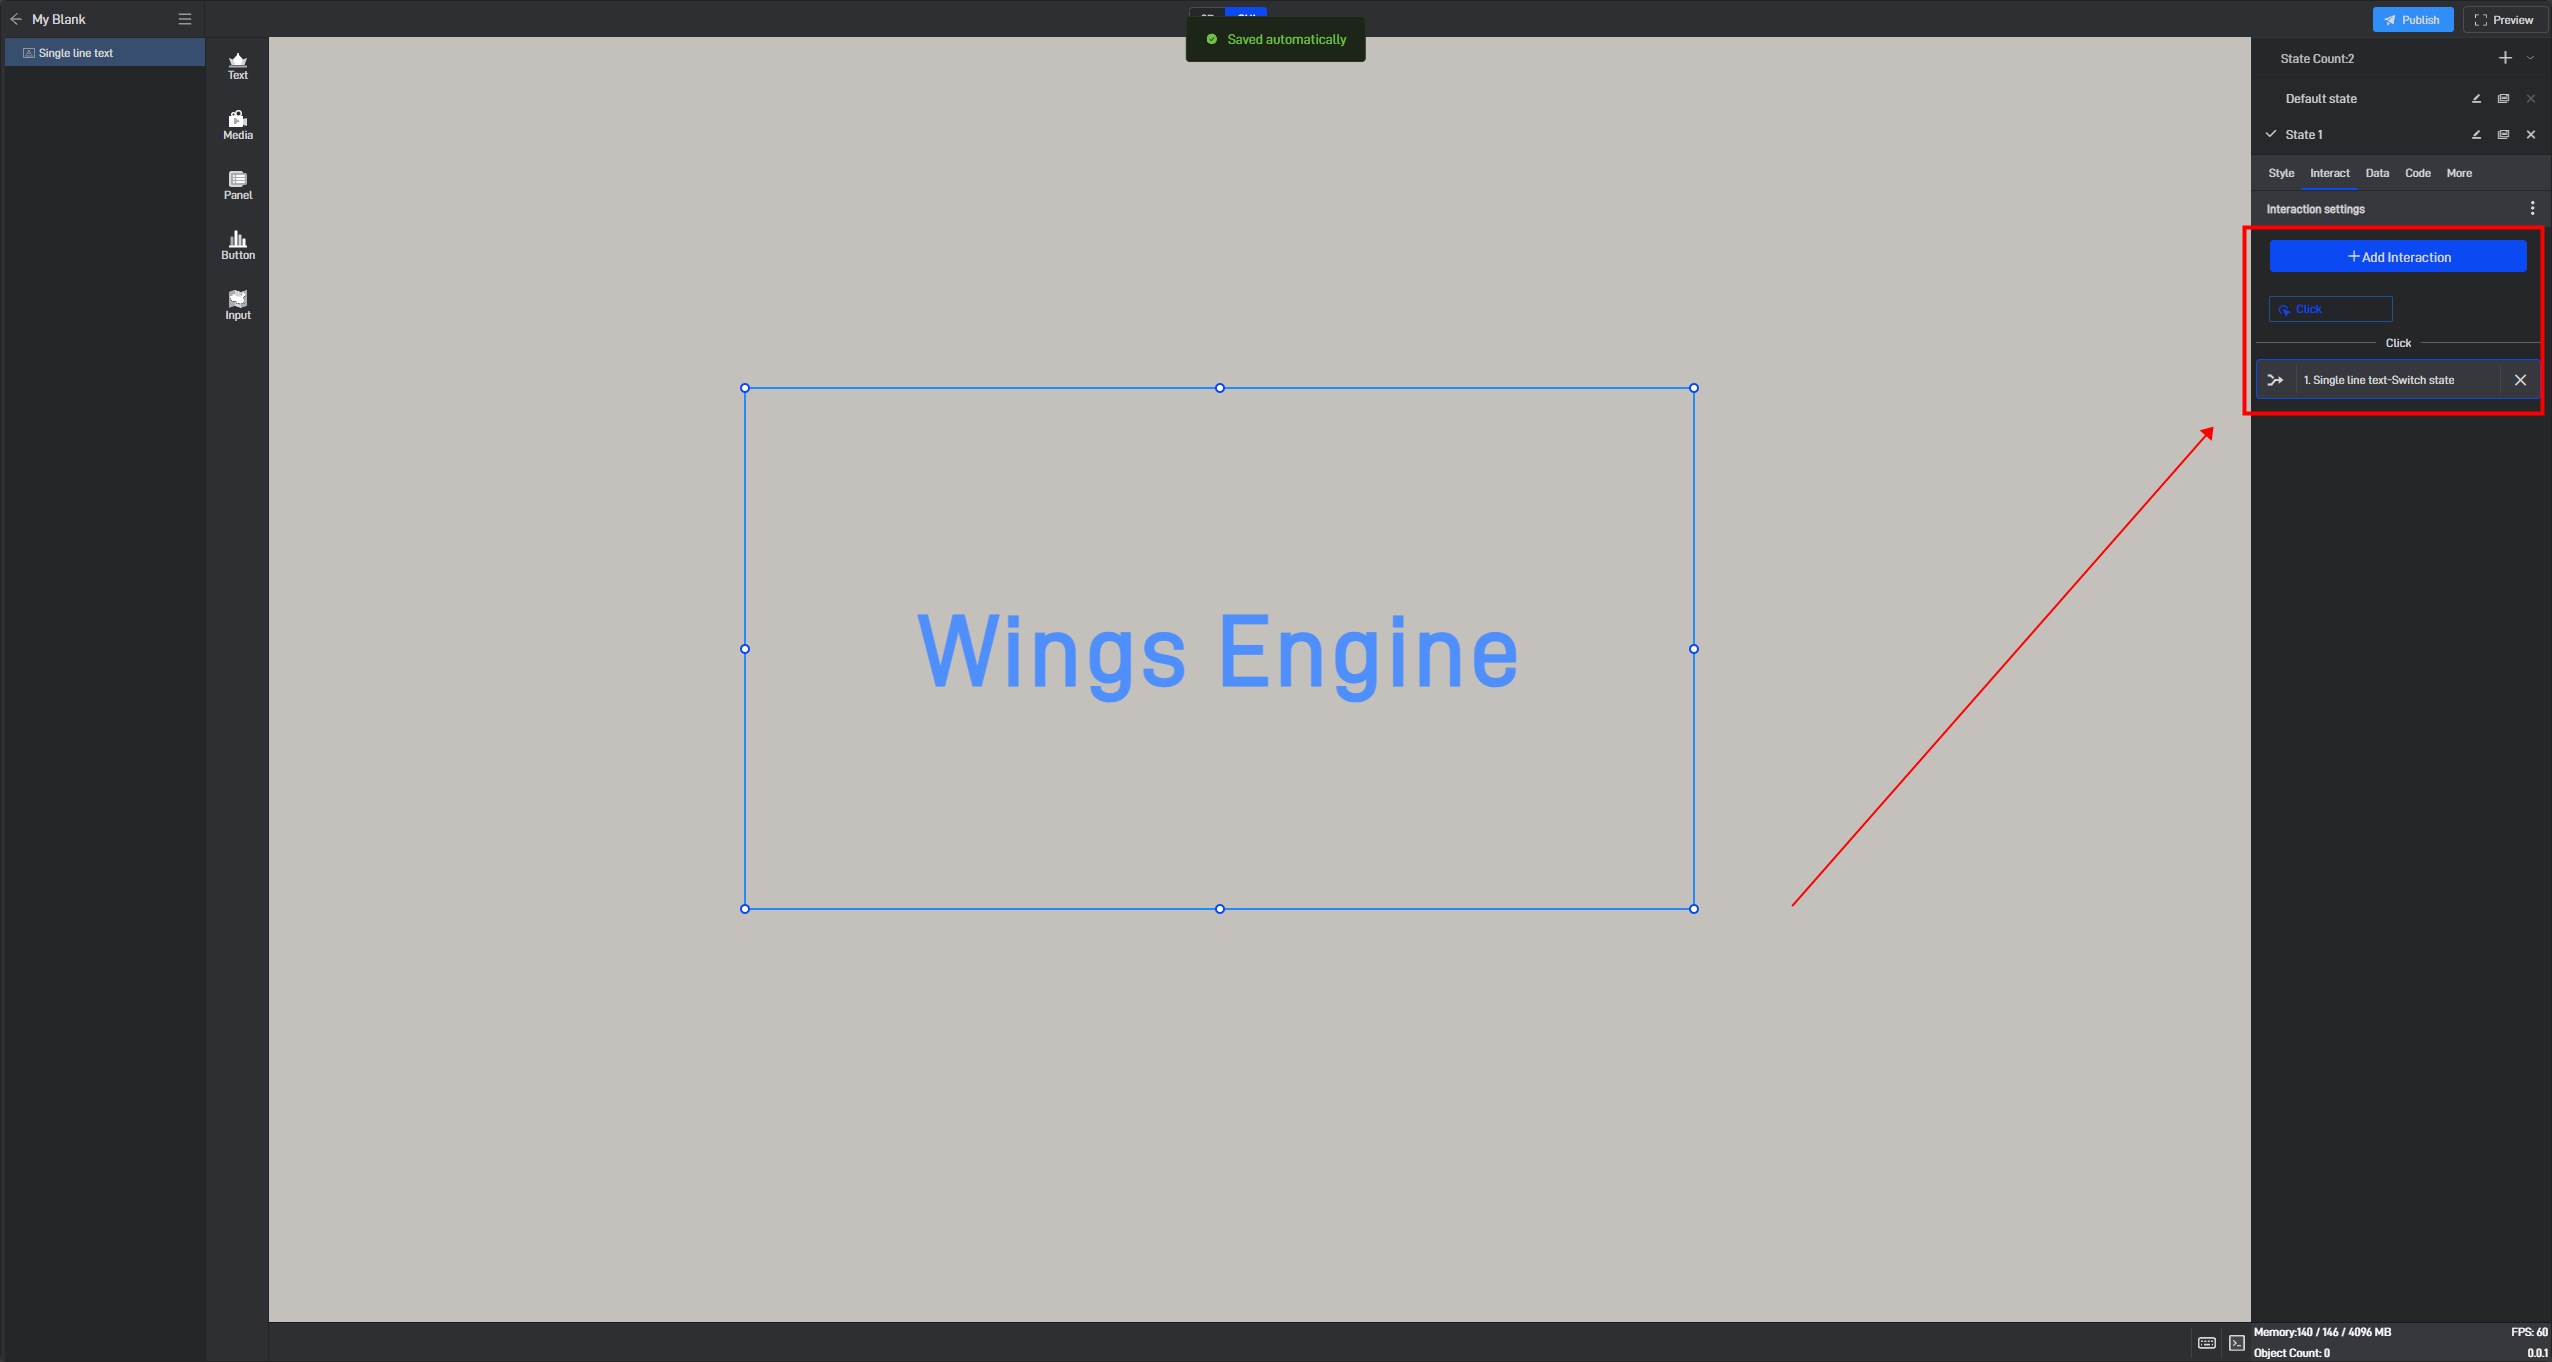
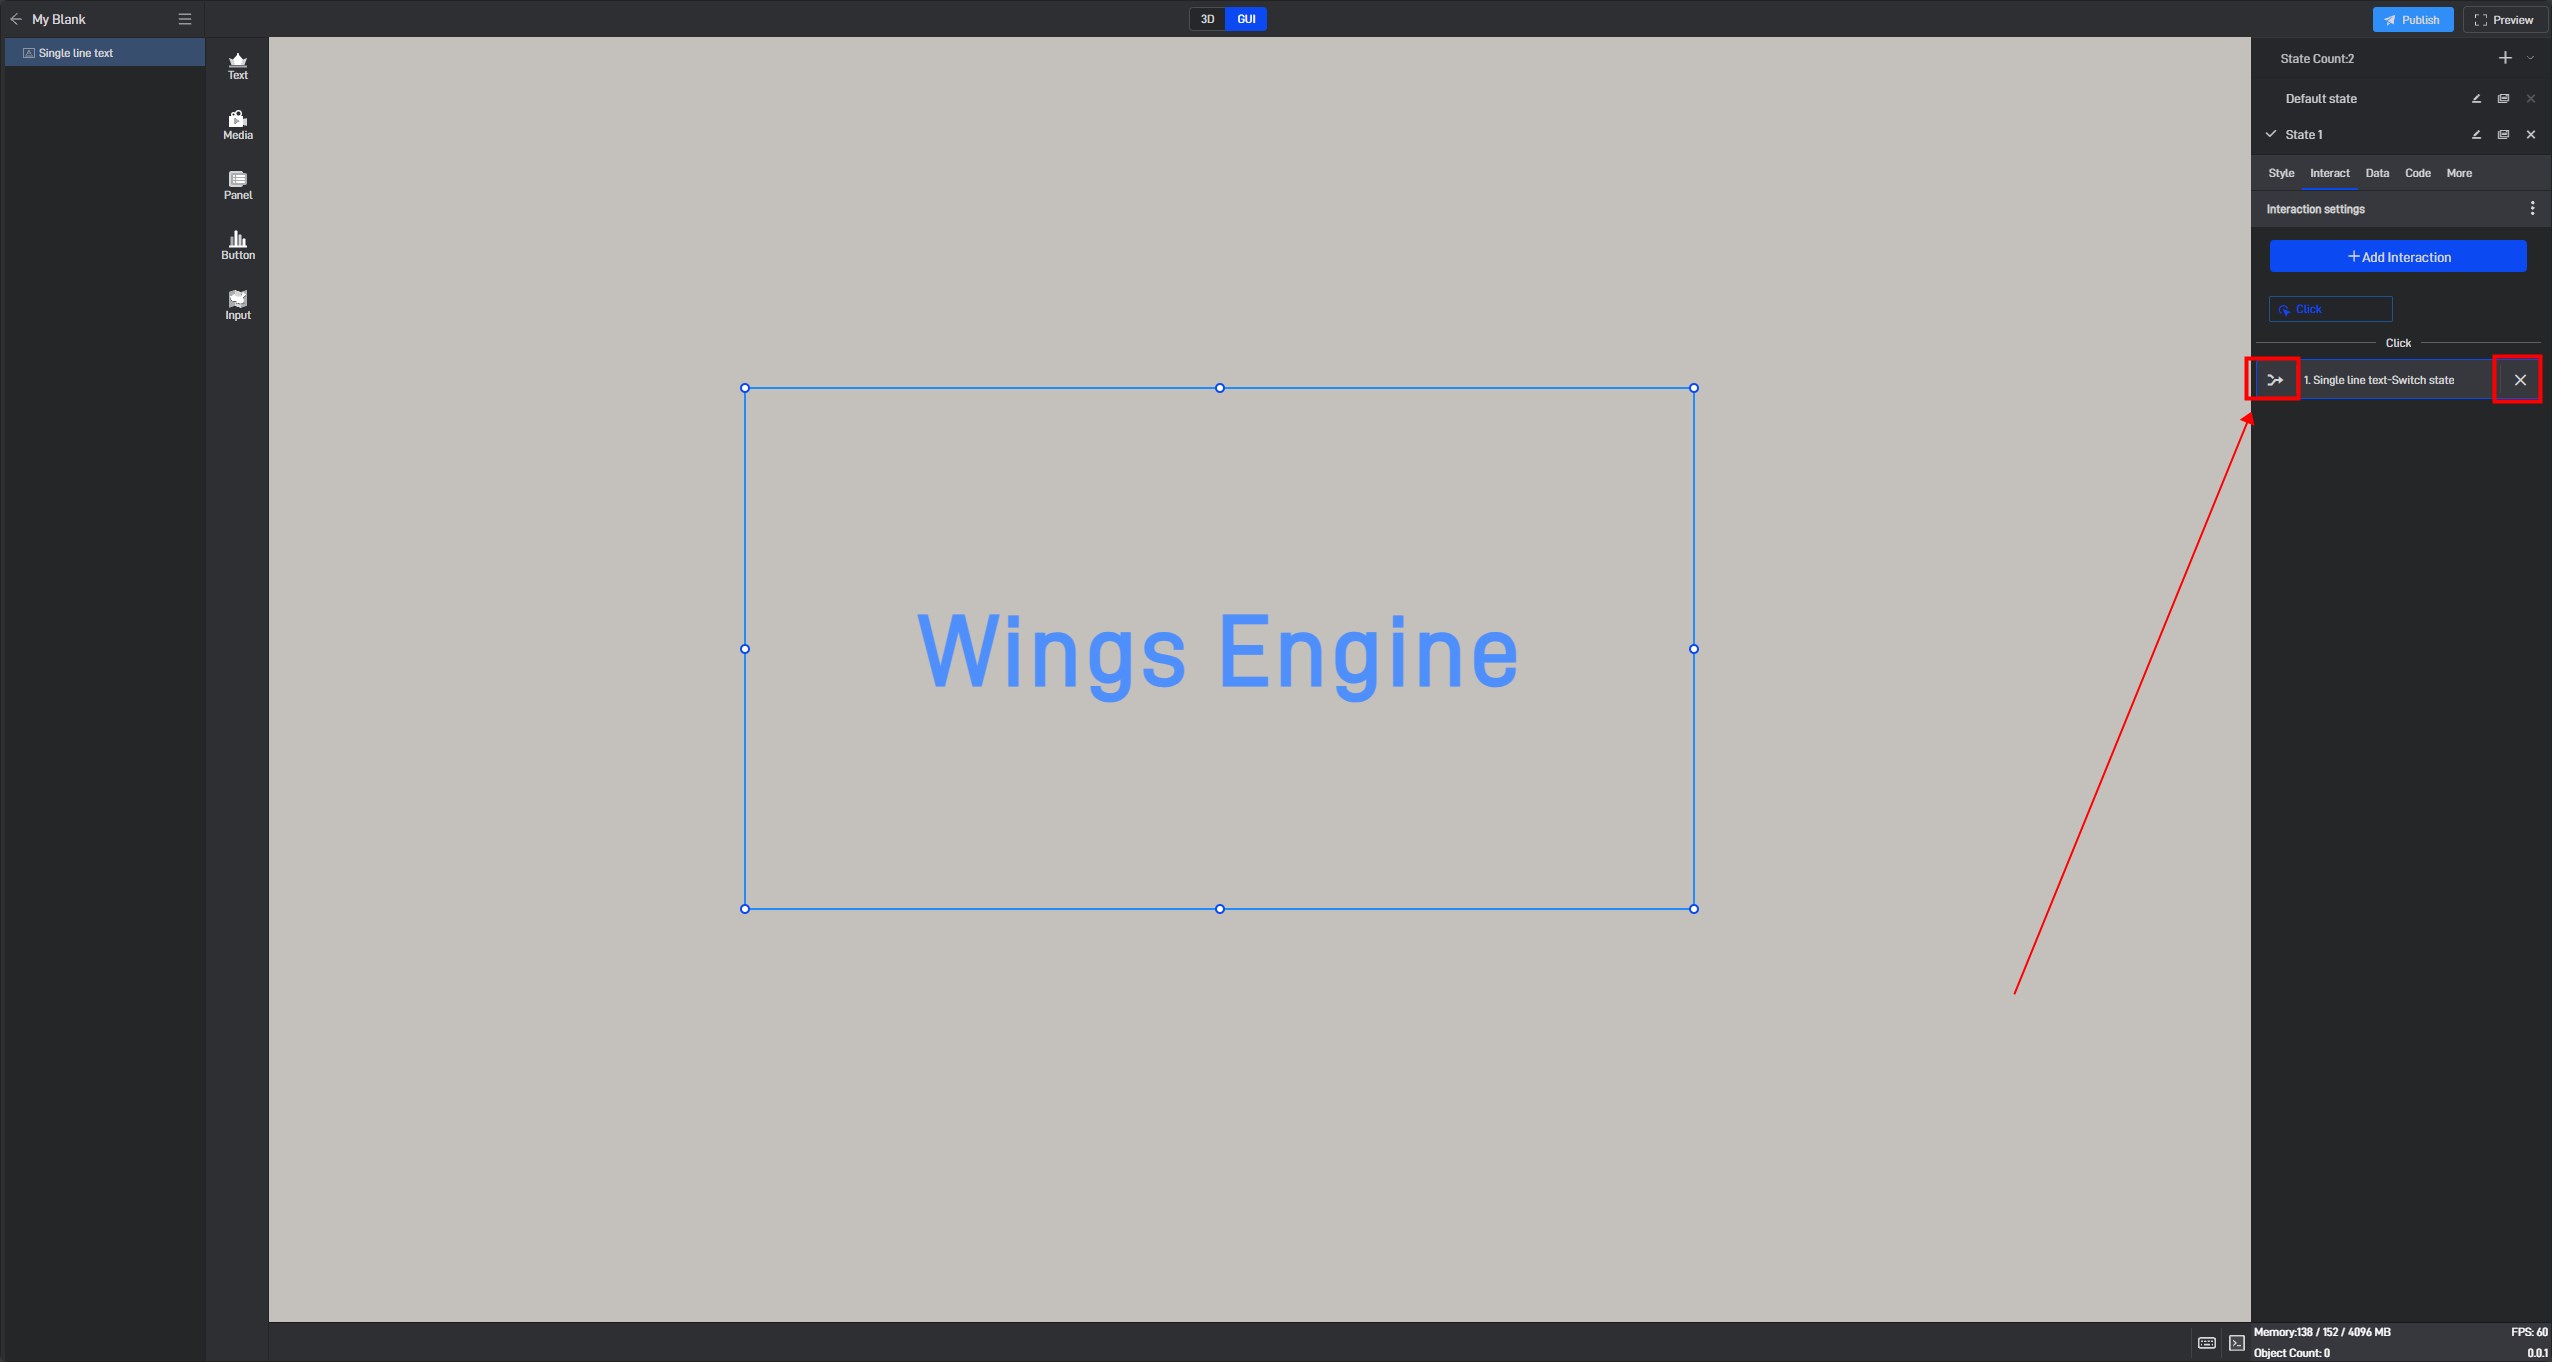
You can edit or delete the interaction as needed.
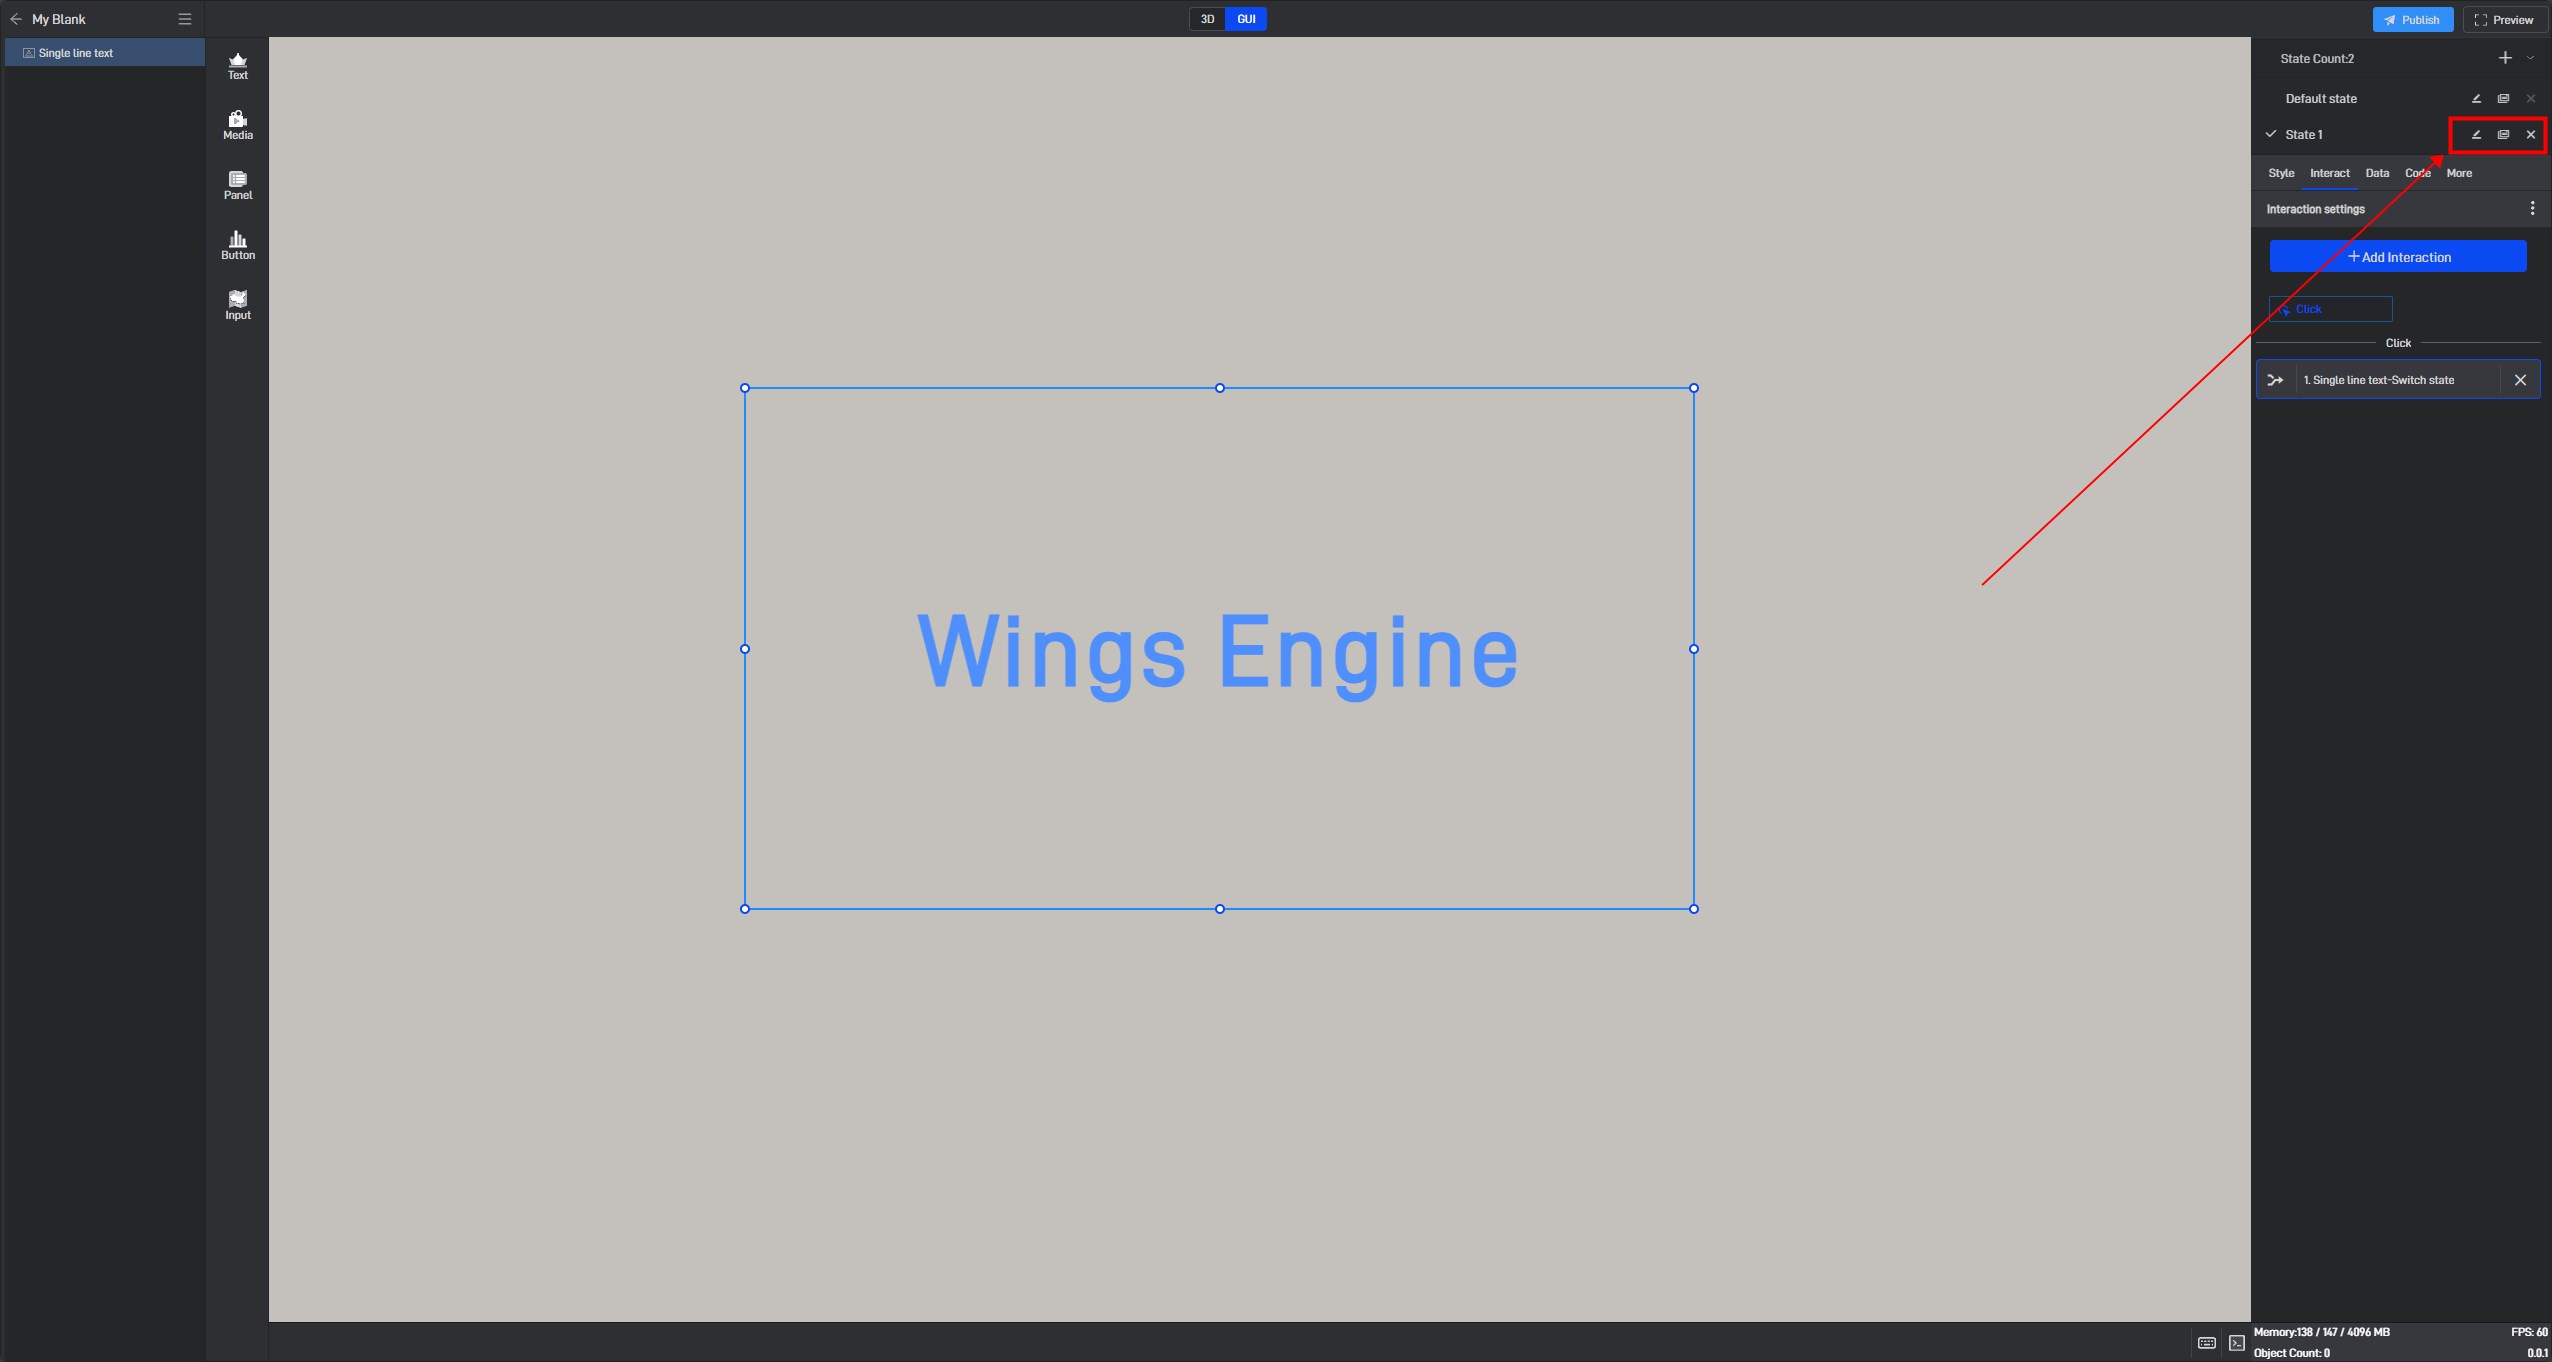
Note that the state displayed when editing a component is also the state that will appear in full-screen playback. Therefore, if you want the component to display a different state in full-screen mode, you need to click the state switch button to switch to the corresponding state.
Clicking the edit button next to another state’s name allows you to edit the state, and the buttons next to it allow you to copy or delete that state.
In addition to using multiple states to achieve changes in component data or styles, you can also set conditions through conditional formatting. For more details, refer to the tutorial →_→Setting Conditional Styles.