Path Animation
In Wings Engine, path animation is a feature that allows elements (such as model cars, model boats, etc.) to move along a specified path.
1. Add a Model
In the “Models” menu, click “Vehicles” to access the extensive model library provided by Wings Engine.
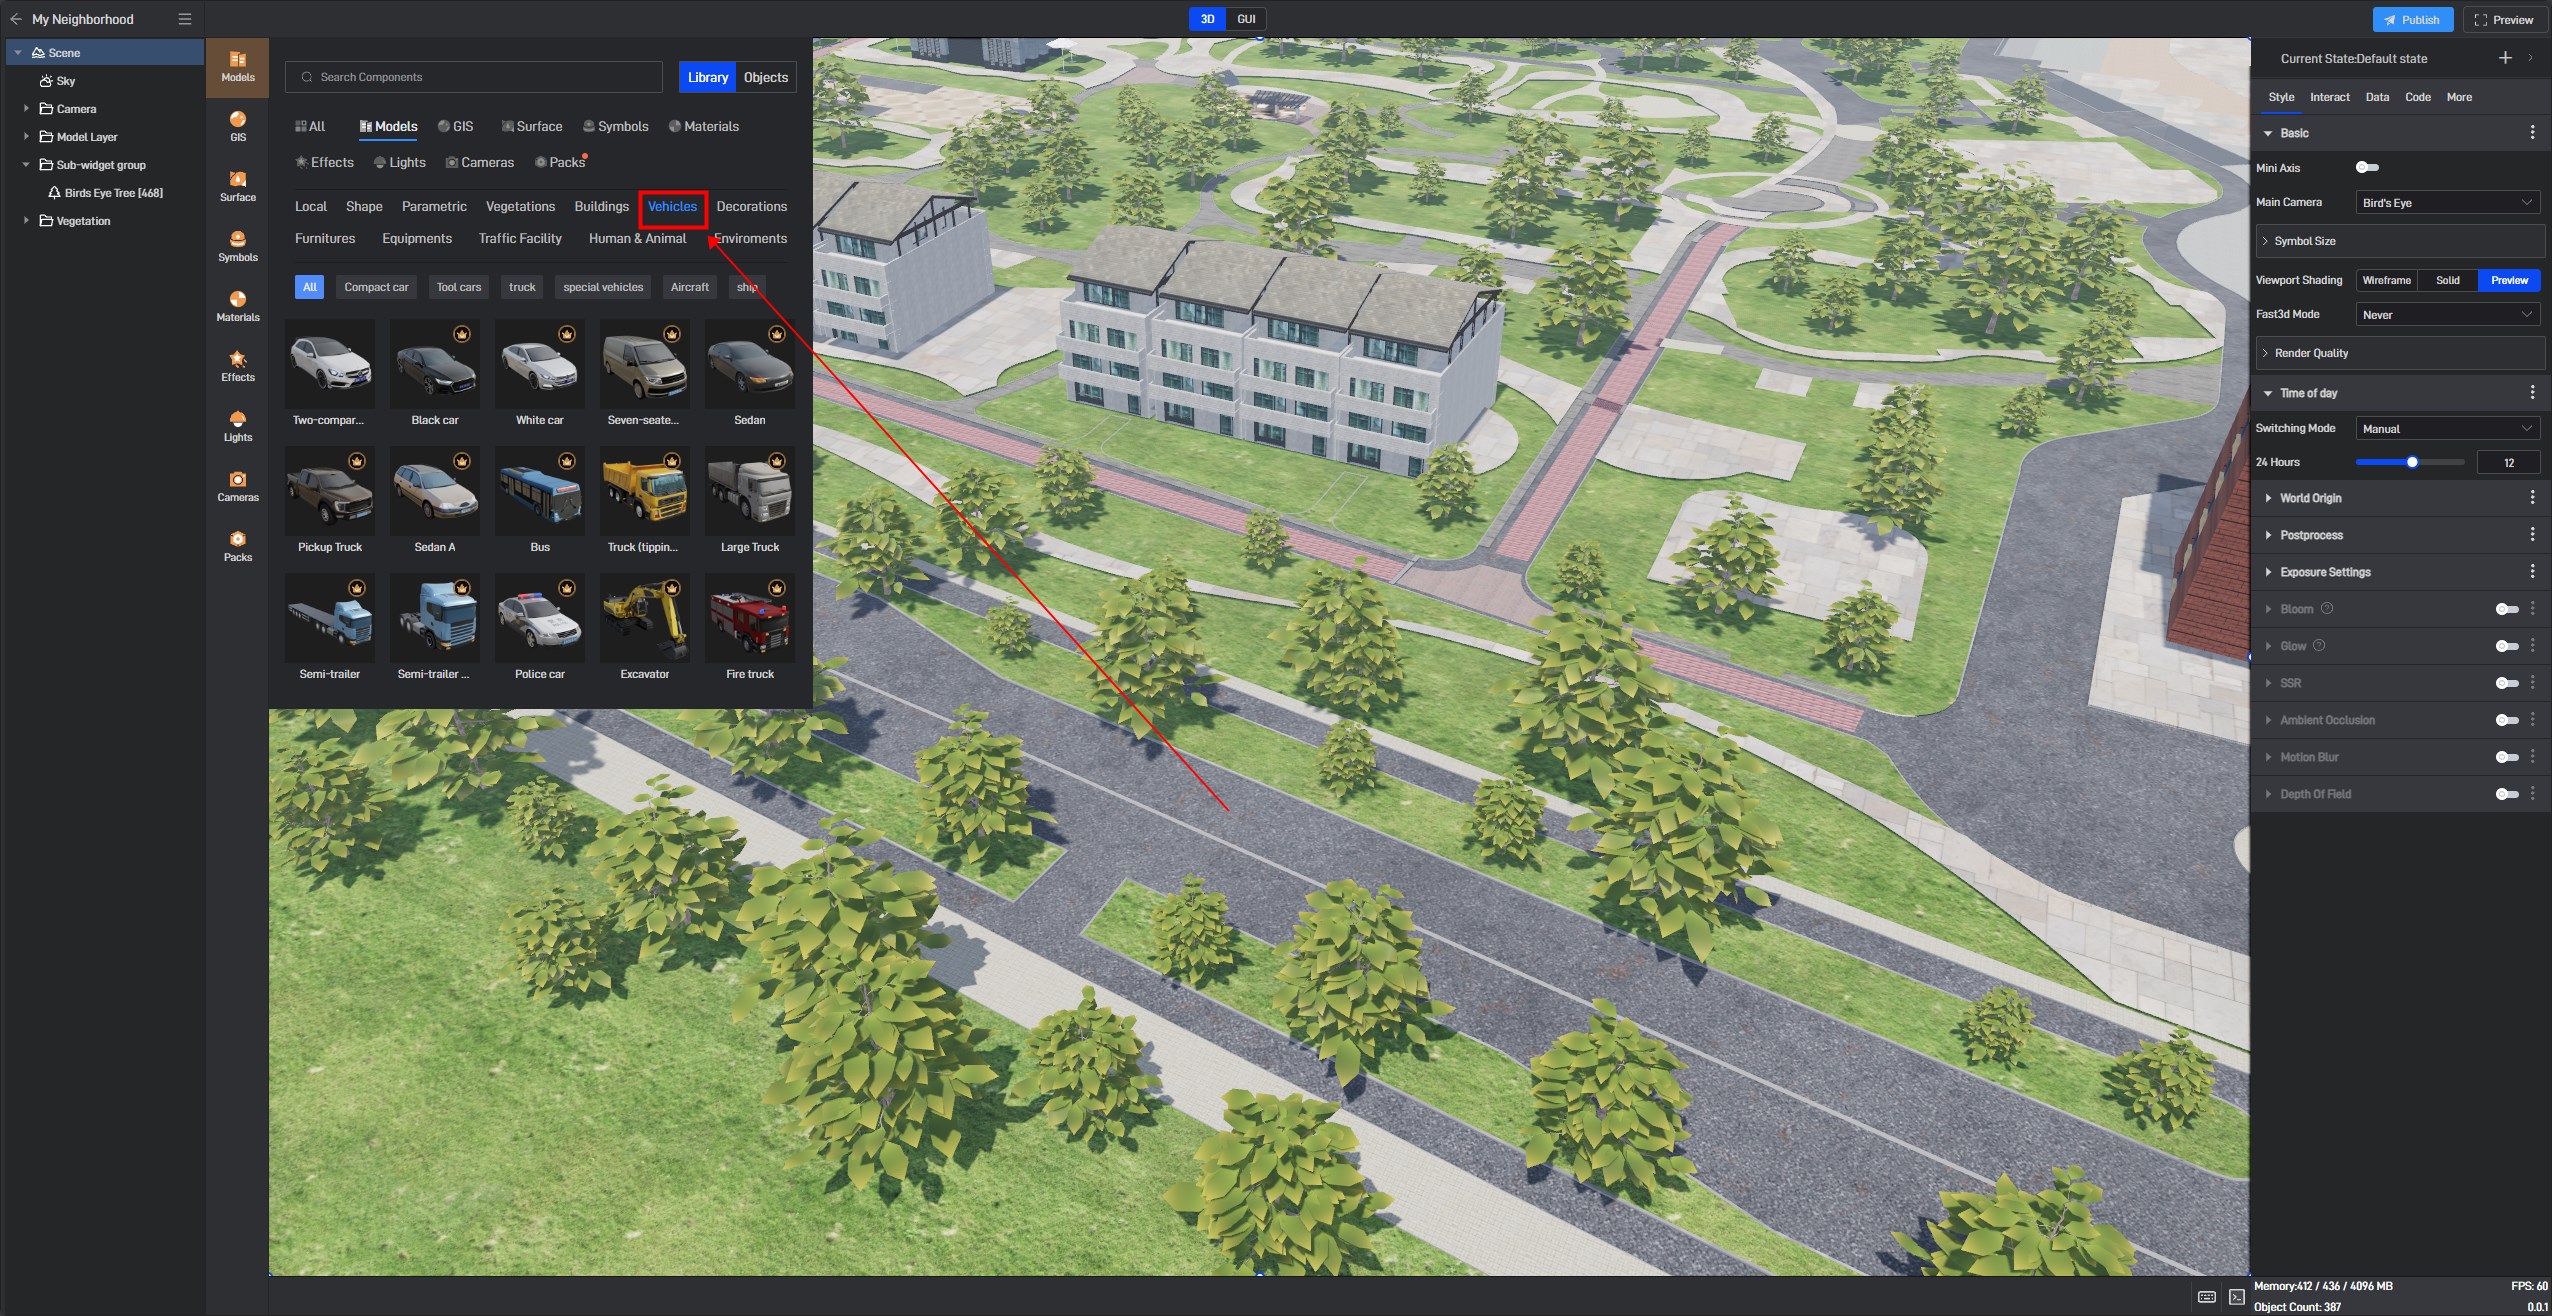
Choose a car model and place it on the ground in the 3D scene.
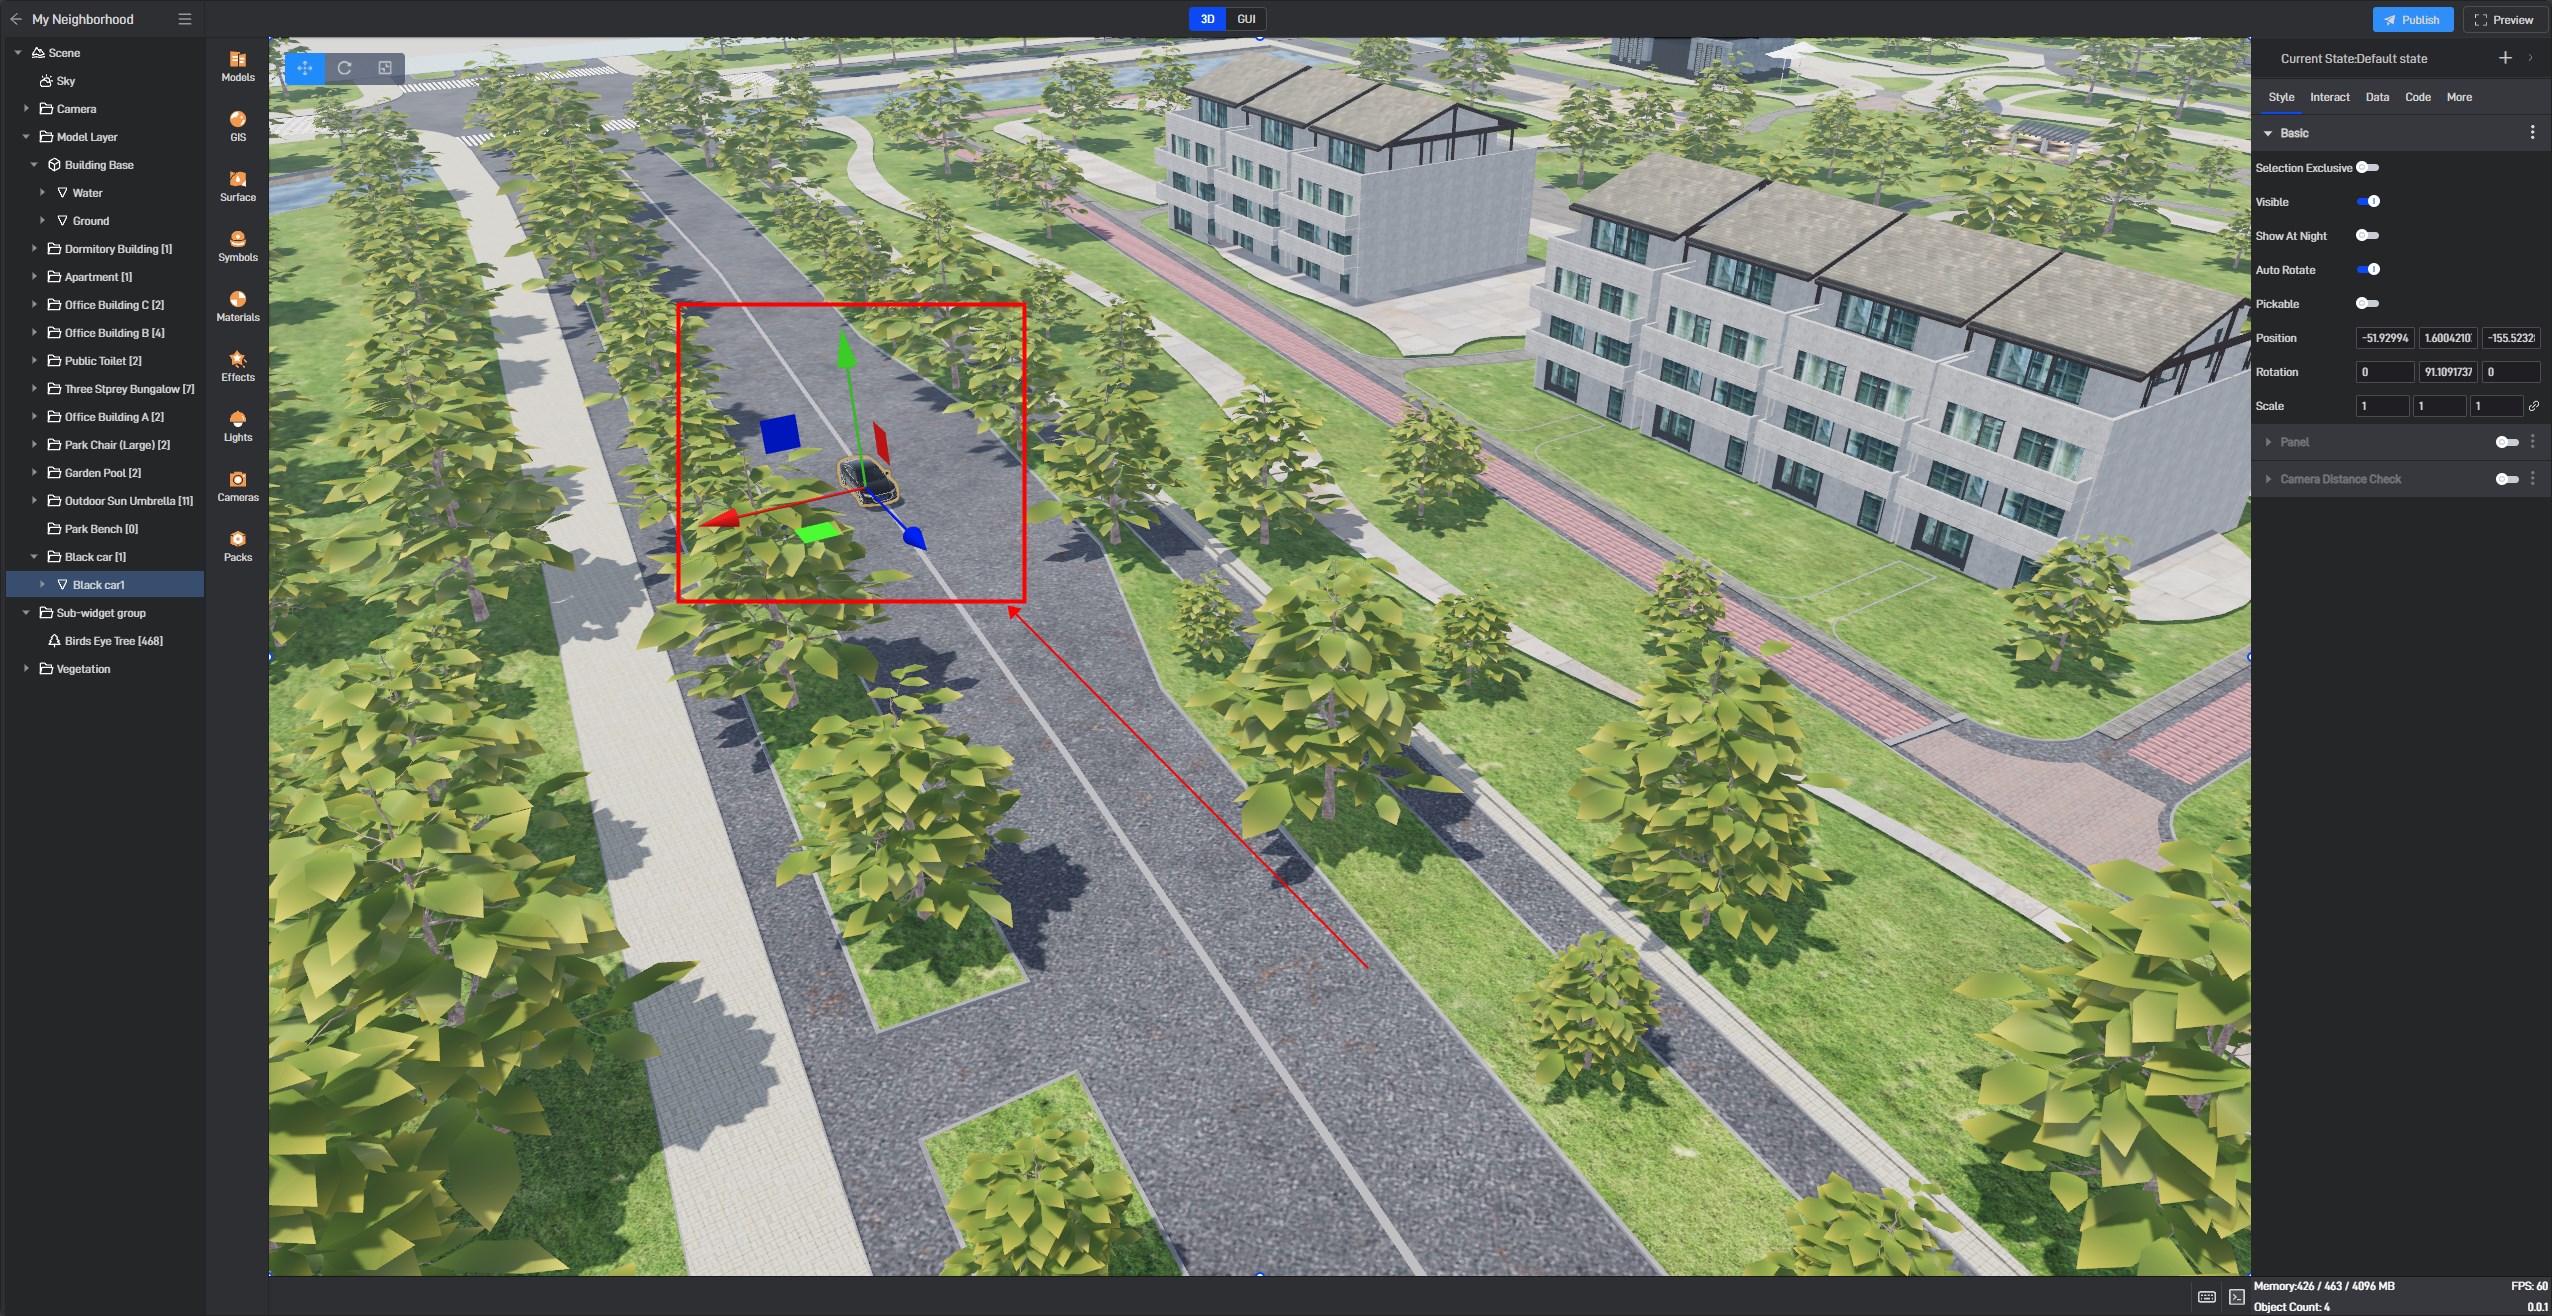
2. Add Path Animation
Select the car model, then click** “Path Animation”** in the “Effects” menu.
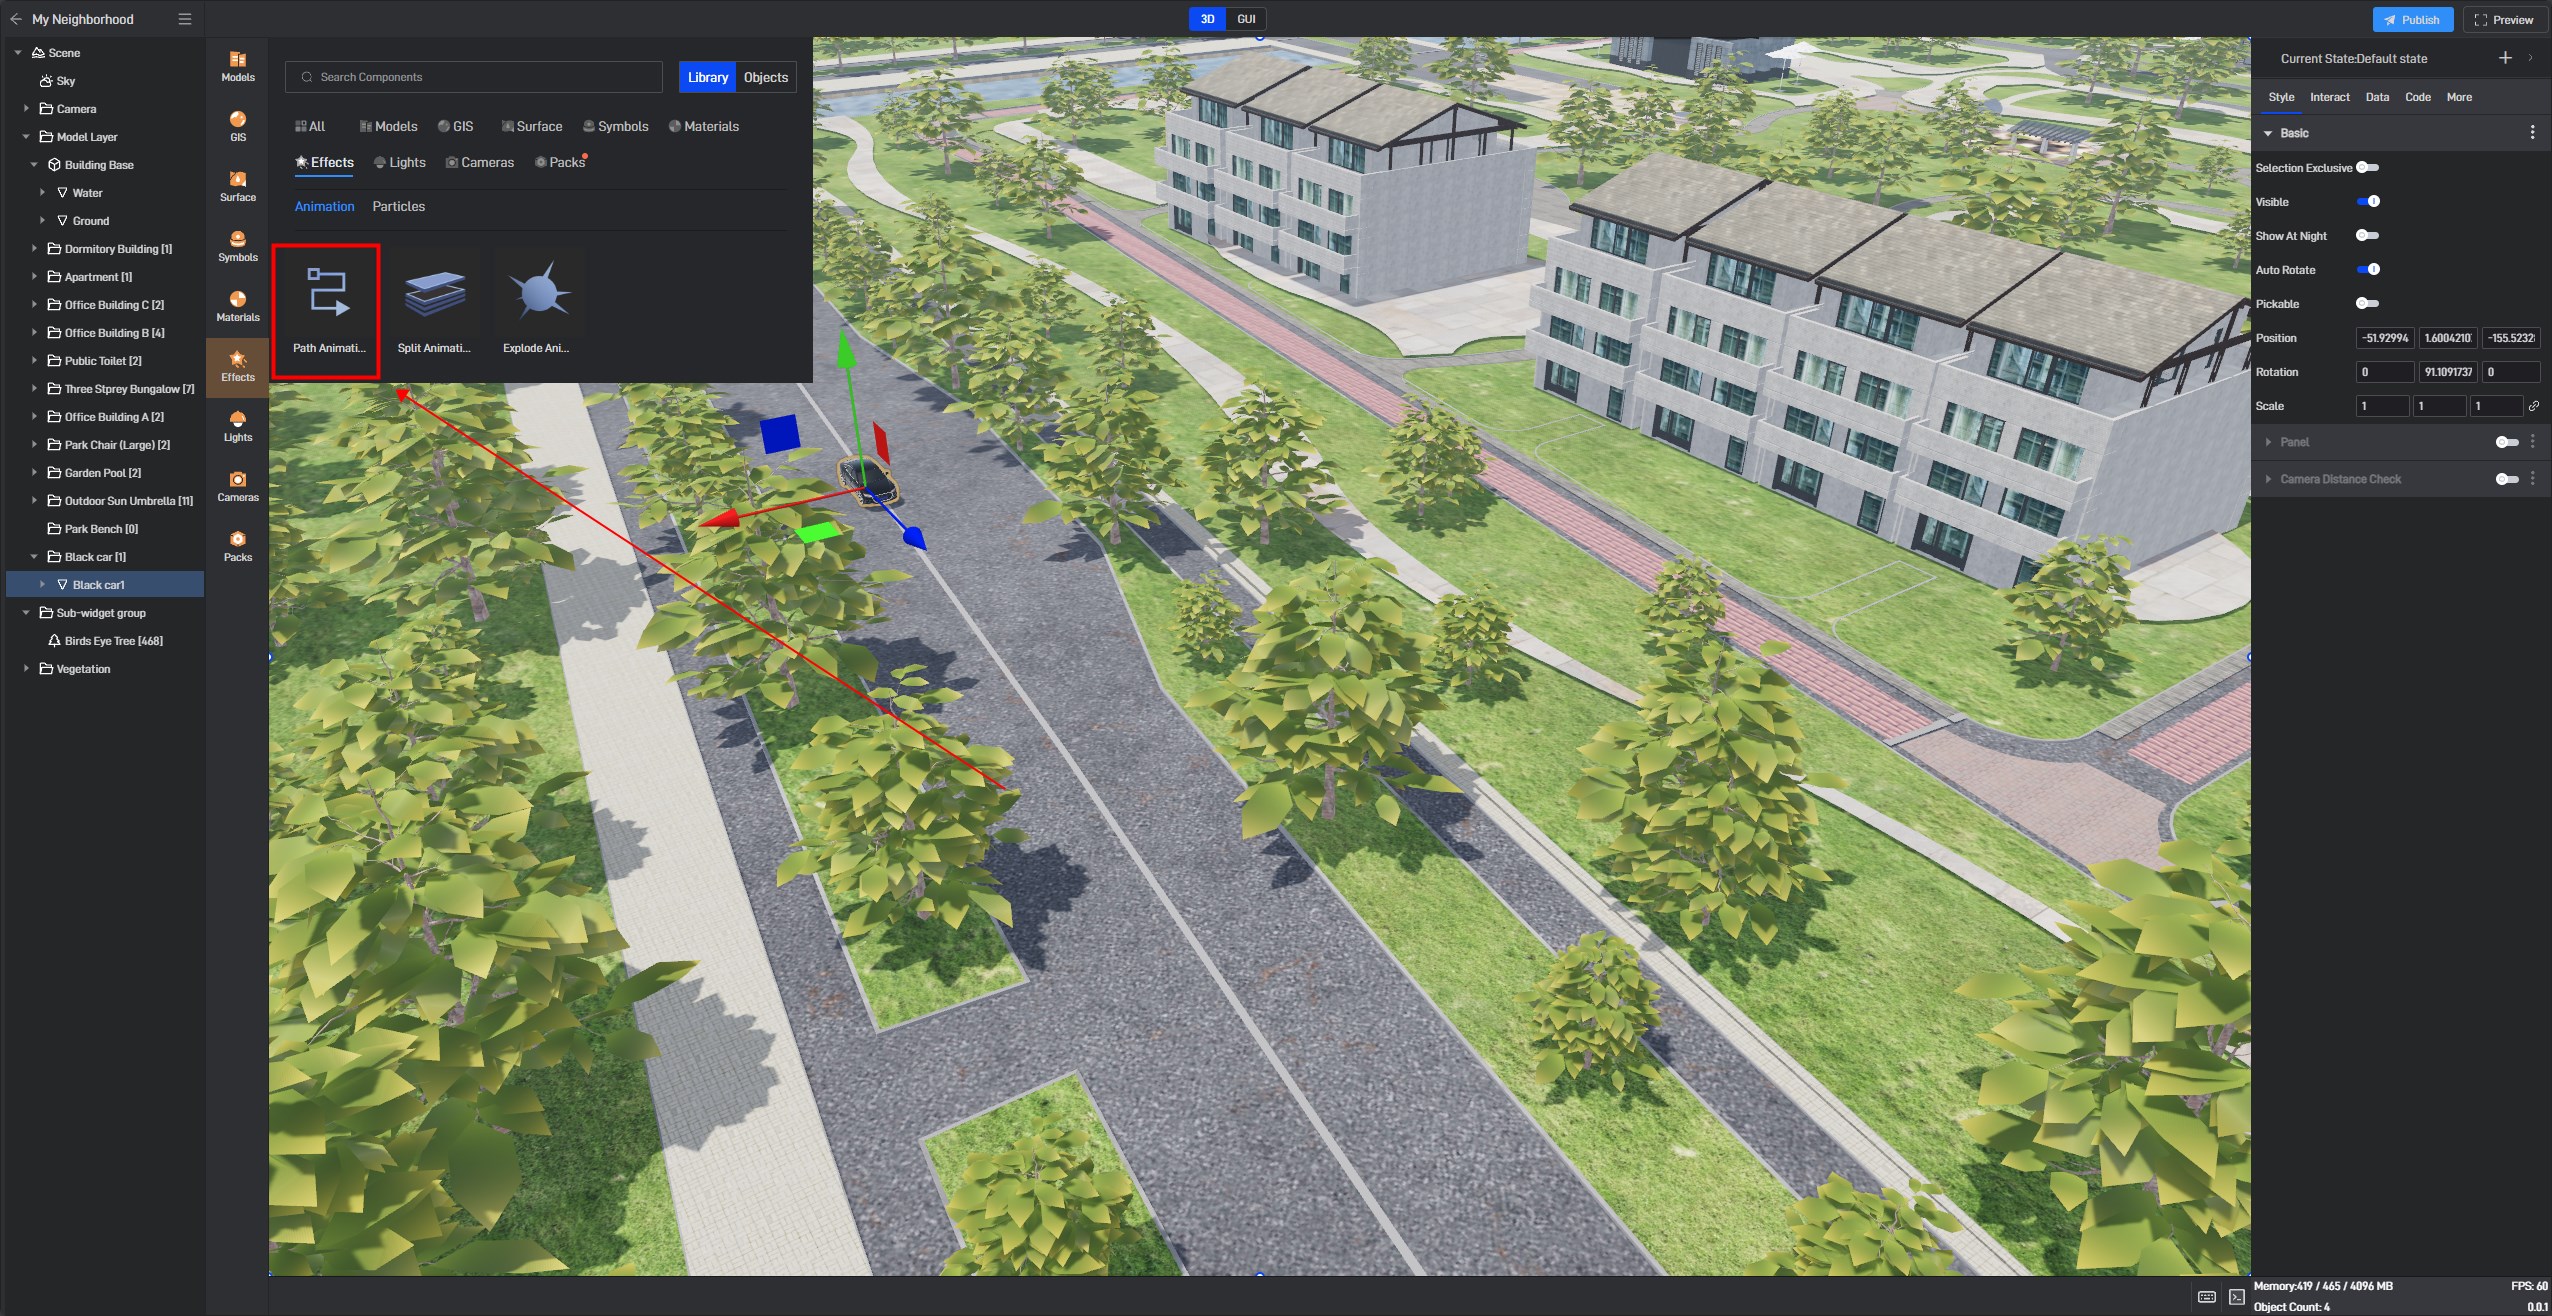
After clicking “Path Animation”, use the mouse to click on the ground in the scene to create a continuous path.

3. Animation Settings
Once the path is set, click the **”Done” **button in the upper left corner to adjust the “Animation” settings (settings in the upper left of the scene and those in the “Style” menu on the right are essentially the same and will synchronize changes).
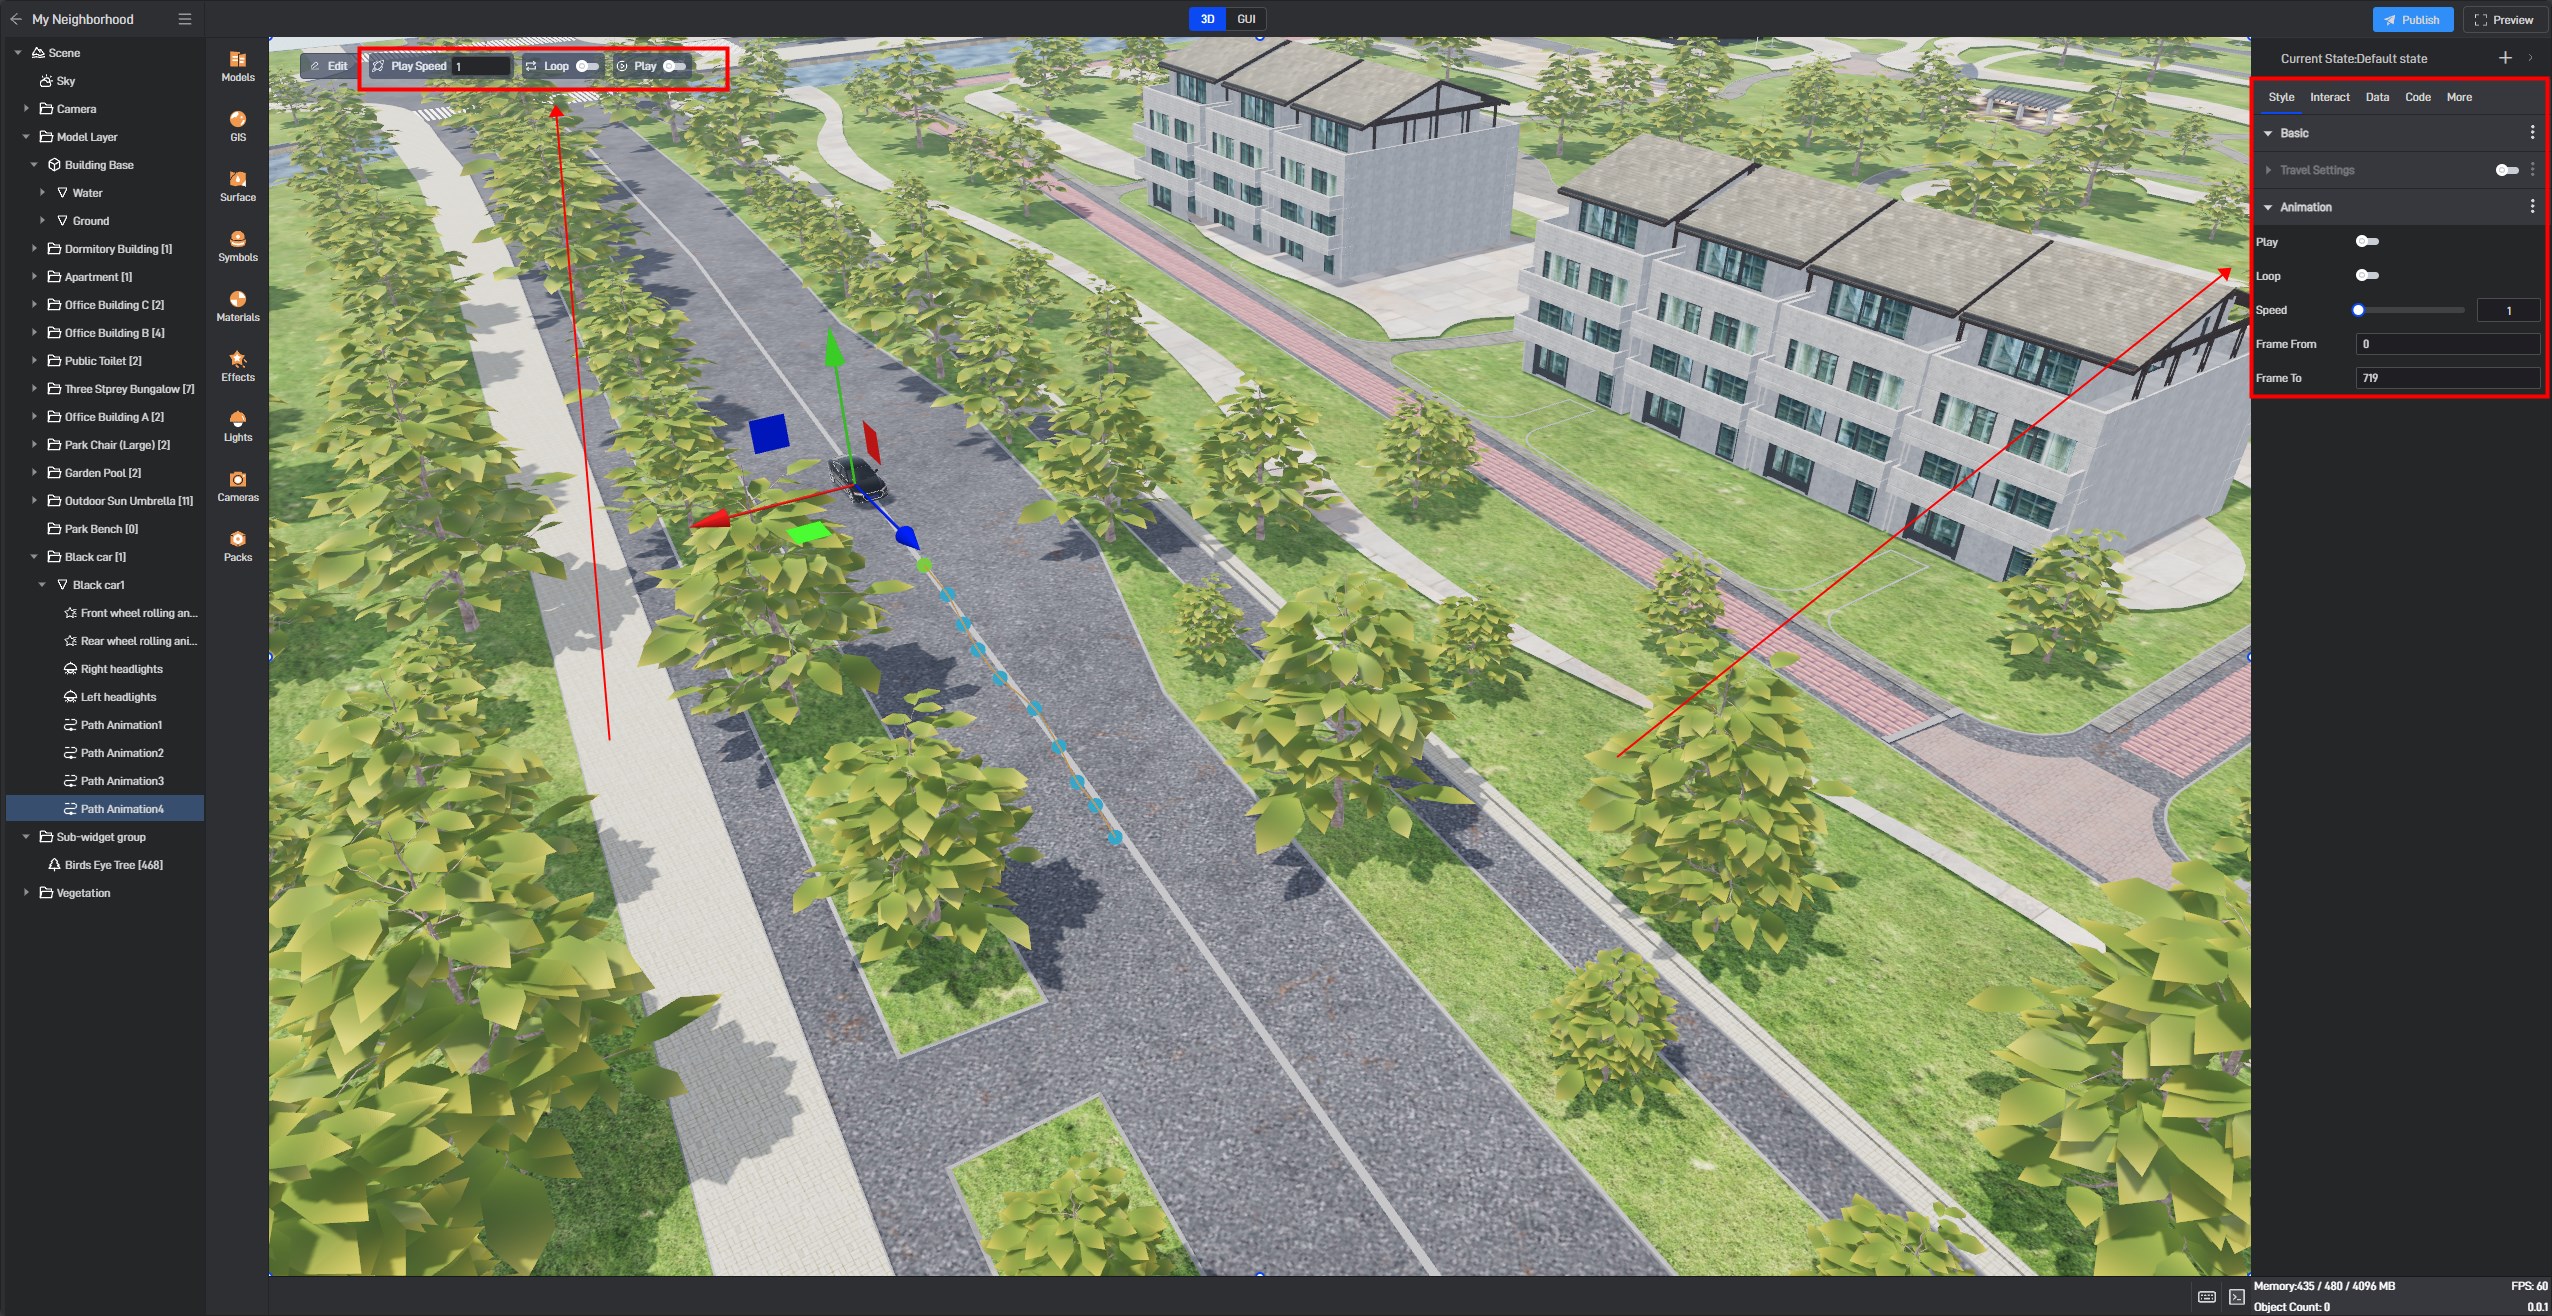
Play: When enabled, the car model will move along the preset path at the “Play Speed”.
Play Speed: This defines the speed of the car model’s movement. The value can be customized: higher values result in faster speeds, while lower values result in slower speeds.
Loop: This option allows the animation to repeat. This button must be enabled in conjunction with the “Play” button; otherwise, it will be ineffective.

4. Path Settings
Click “Edit” to configure the path settings (settings in the upper left of the scene and those in the “Style” menu on the right are essentially the same and will synchronize changes).
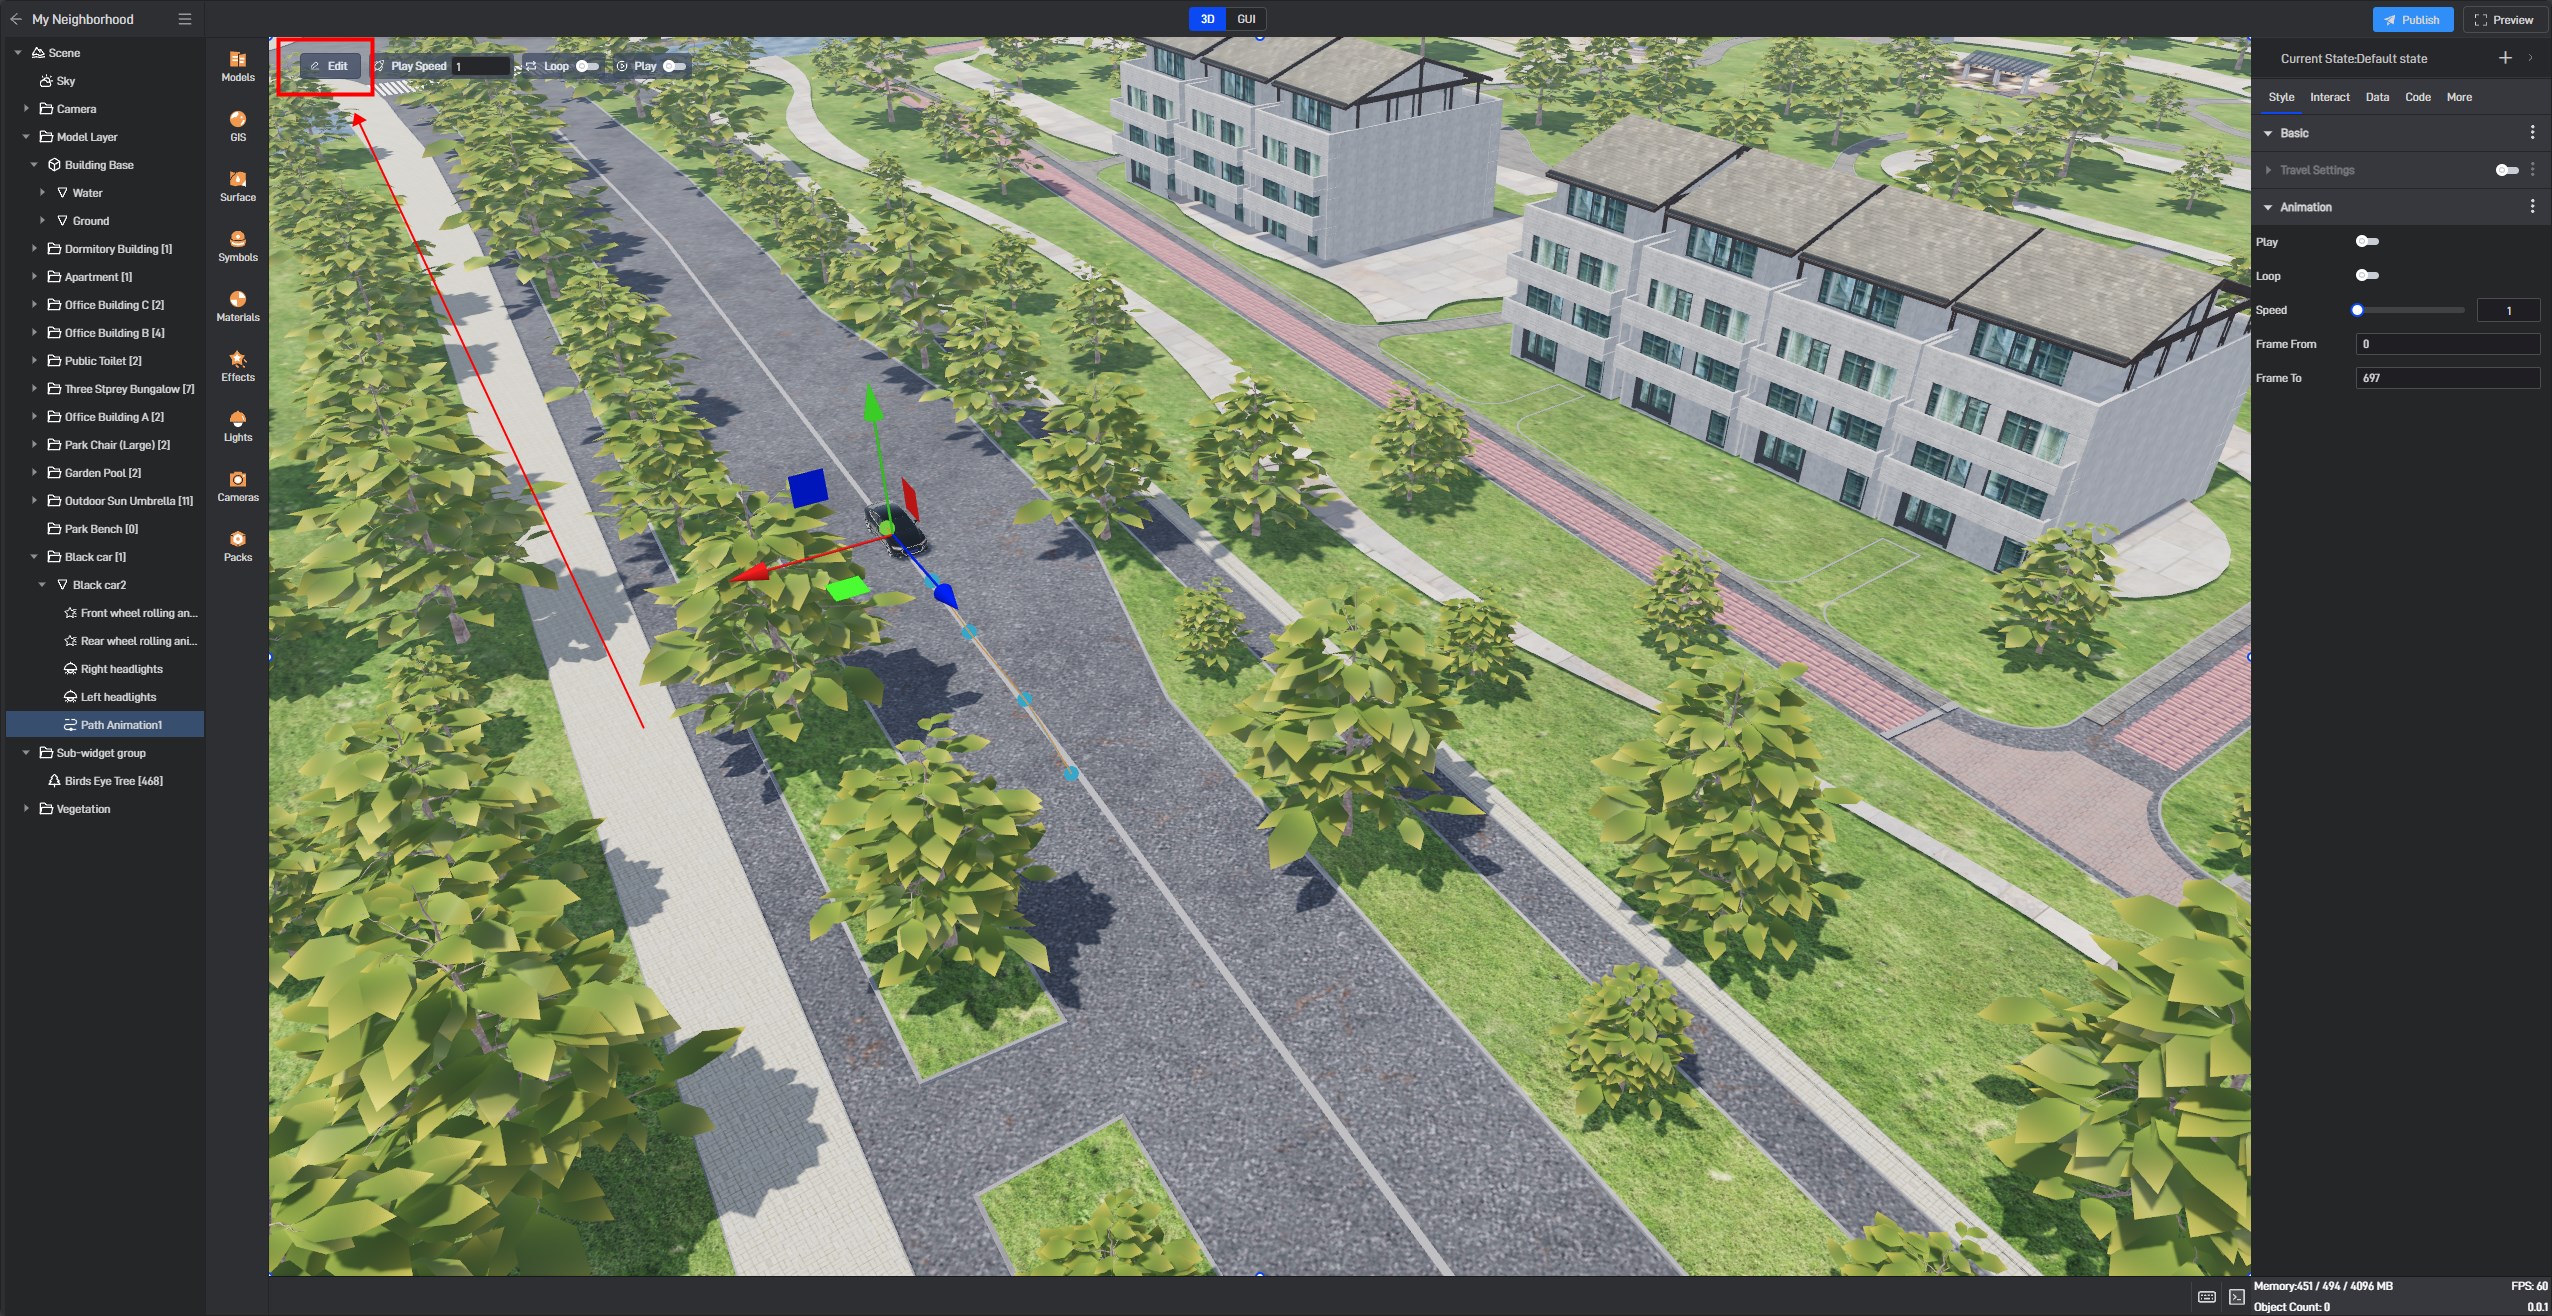
| ** Configuration item ** | Describe |
|---|---|
| Pitch Angle | The angle between the model and the ground. |
| Y-Axis Offset | The distance of the preset path from the Y-axis origin in 3D space. |
| Meters/Second | The average distance the object moves per second along the path. |
| Curve Smoothness | The degree of smoothness of the preset path’s line. |
| Path Points | The 3D spatial positions of the path points generated by mouse clicks. |
| Closed Path | By default, this is disabled. When enabled, the preset path automatically closes. |