Set Conditional Style
In the tutorial Multi-State Setup for Components, we introduced how to change the fields and properties of a component by setting multiple states of the component. However, in some cases, it may be cumbersome to adjust the component style by switching states, because state switching is an overall property switch, and there are many settings in the properties.
For the above situation, we can use conditional styles to set it. Conditional styles can be set on each specific setting item, and then different styles can be switched according to data conditions.
Click to select the component. In the style setting interface on the right, hover the mouse over a setting item, and you will see the menu button for the extended settings. Click it to open the extended settings menu.
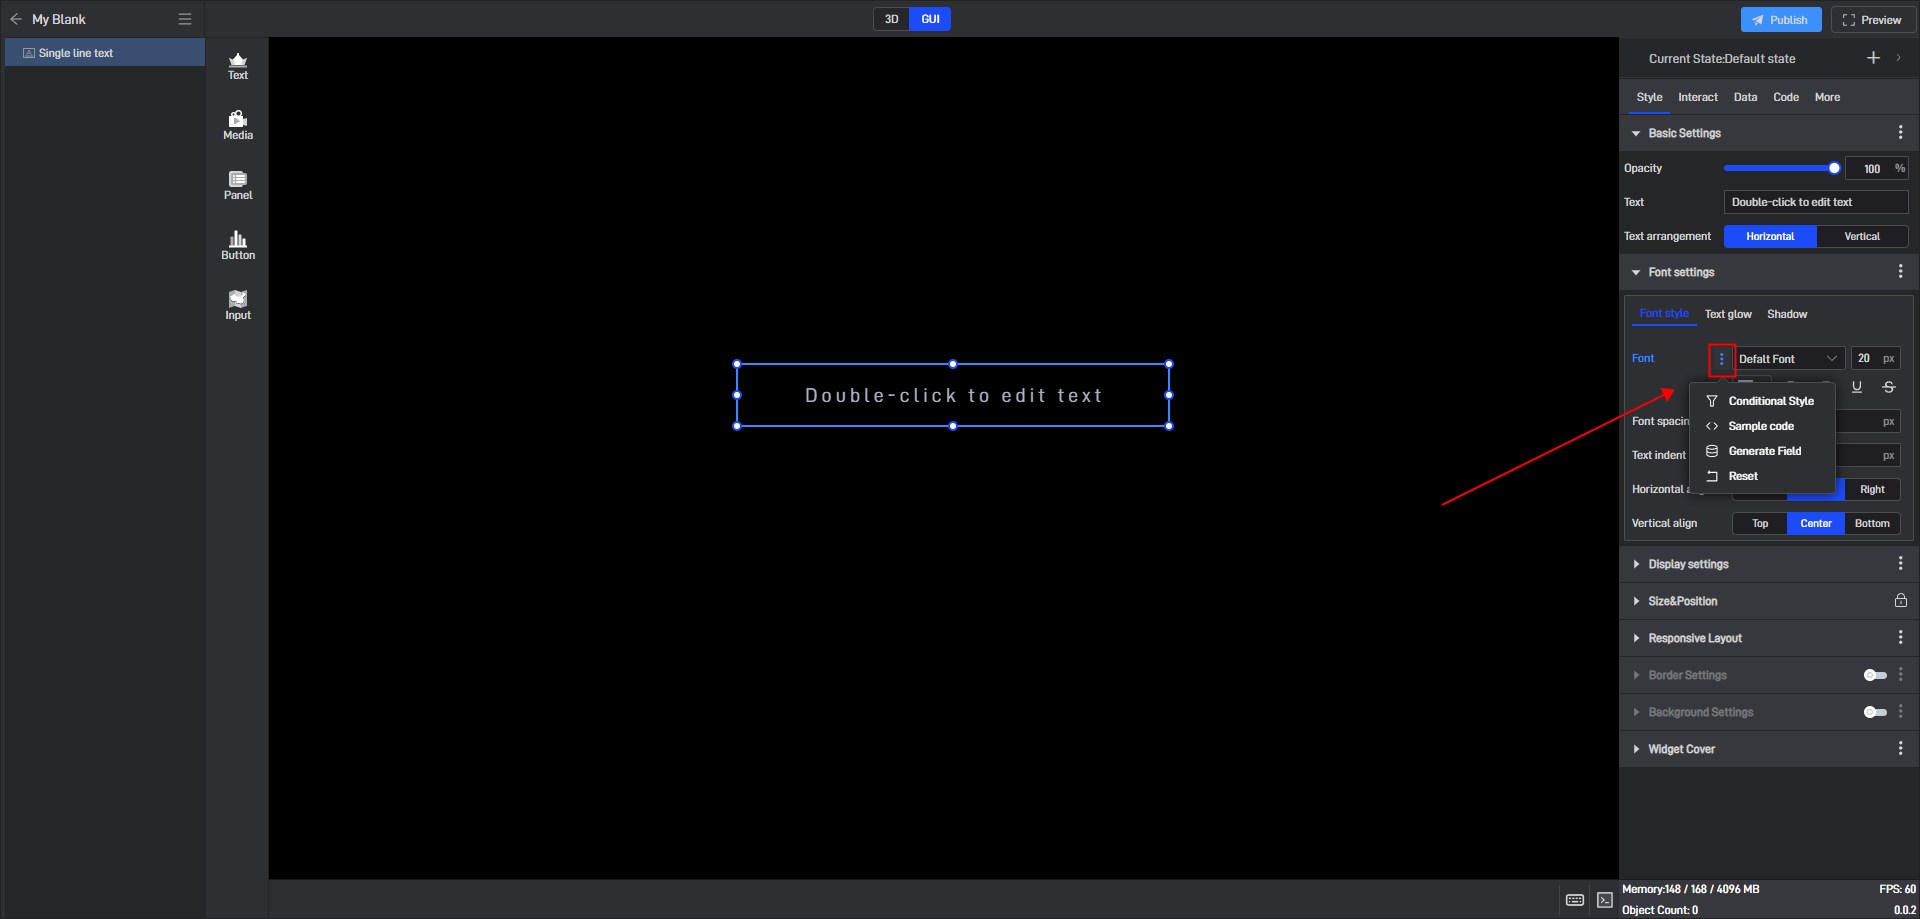
Click the “Conditional Style” option to open the conditional style setting window for the current setting item.
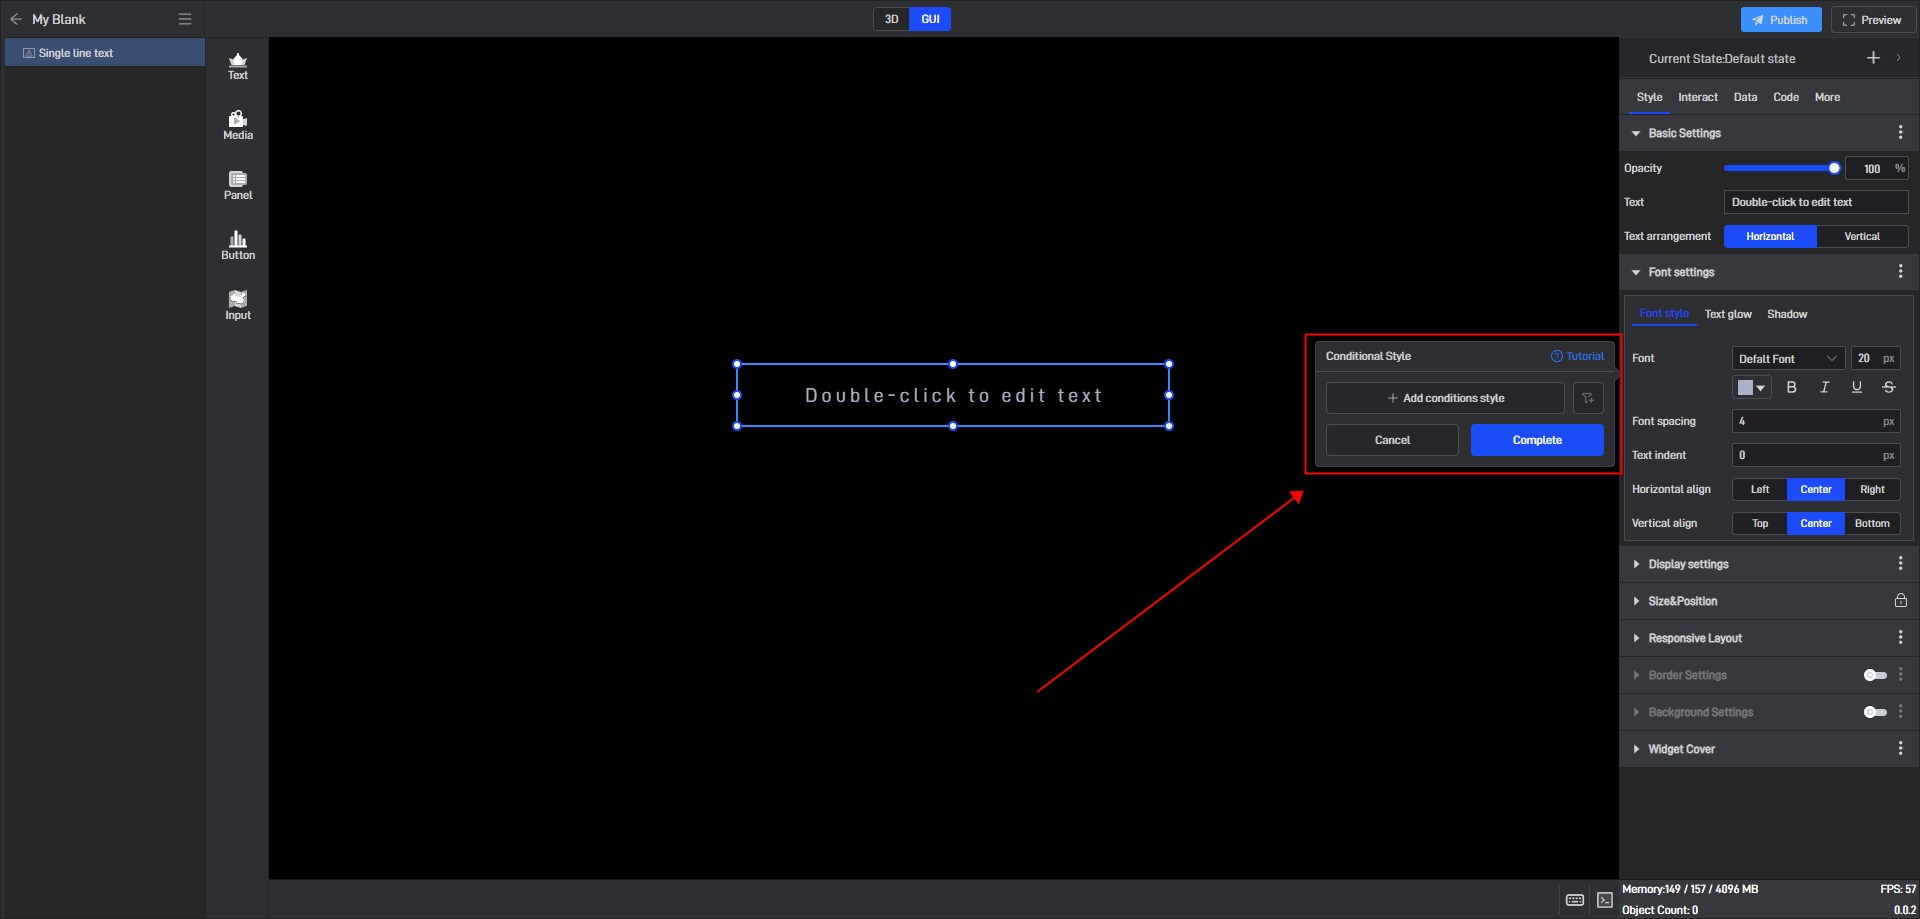
The prerequisite for setting conditional styles is that the data conditions have been set, and then you can select the corresponding data conditions here. If the data conditions have not been set, we can click the “Add data conditions” button here or set the data conditions in the data menu.
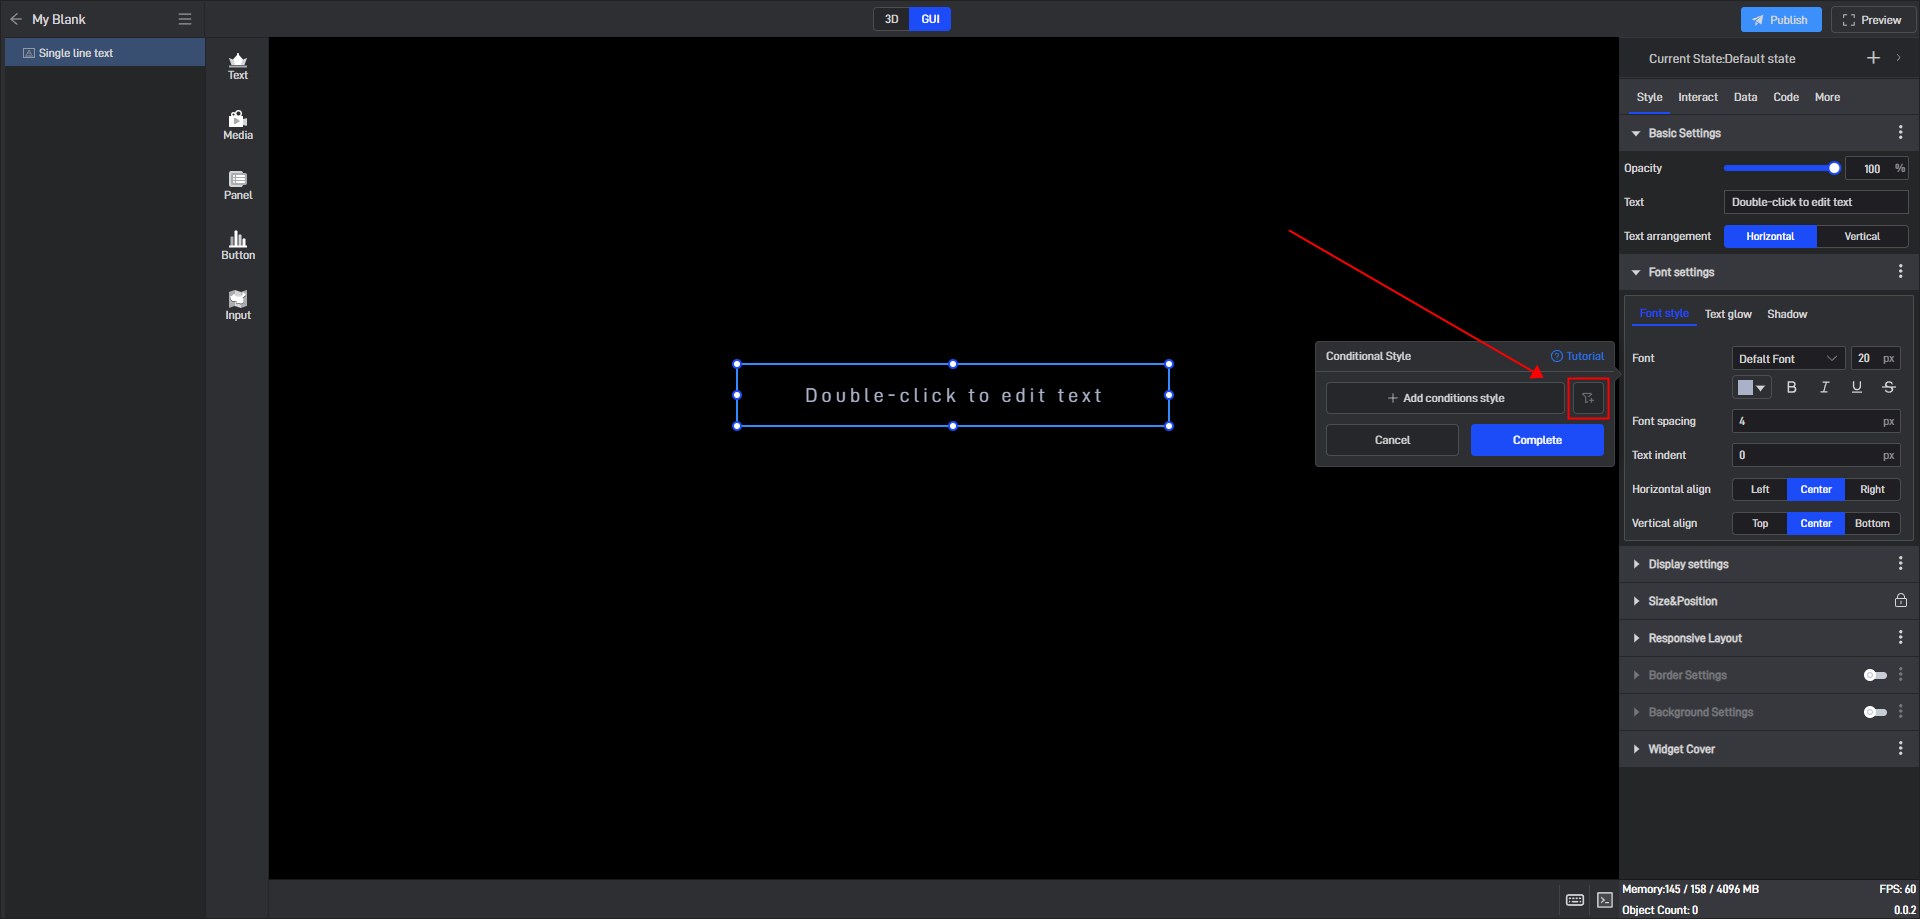
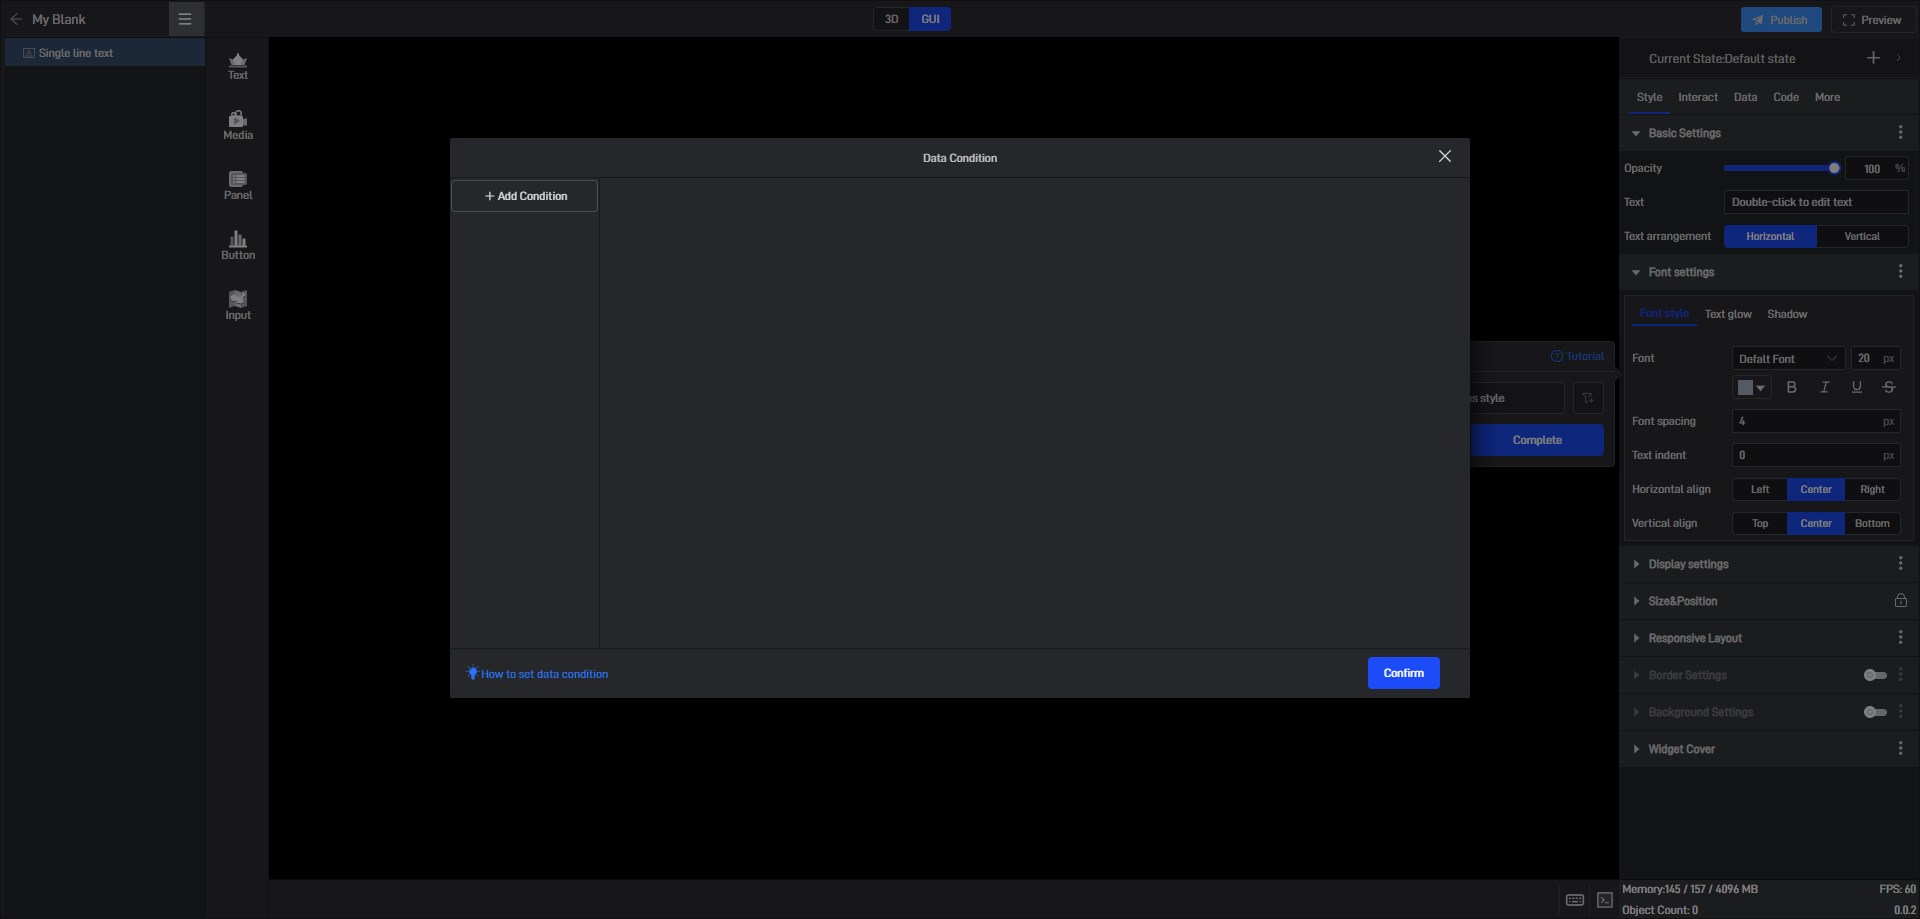
Then set it in the Data Condition Setting window.
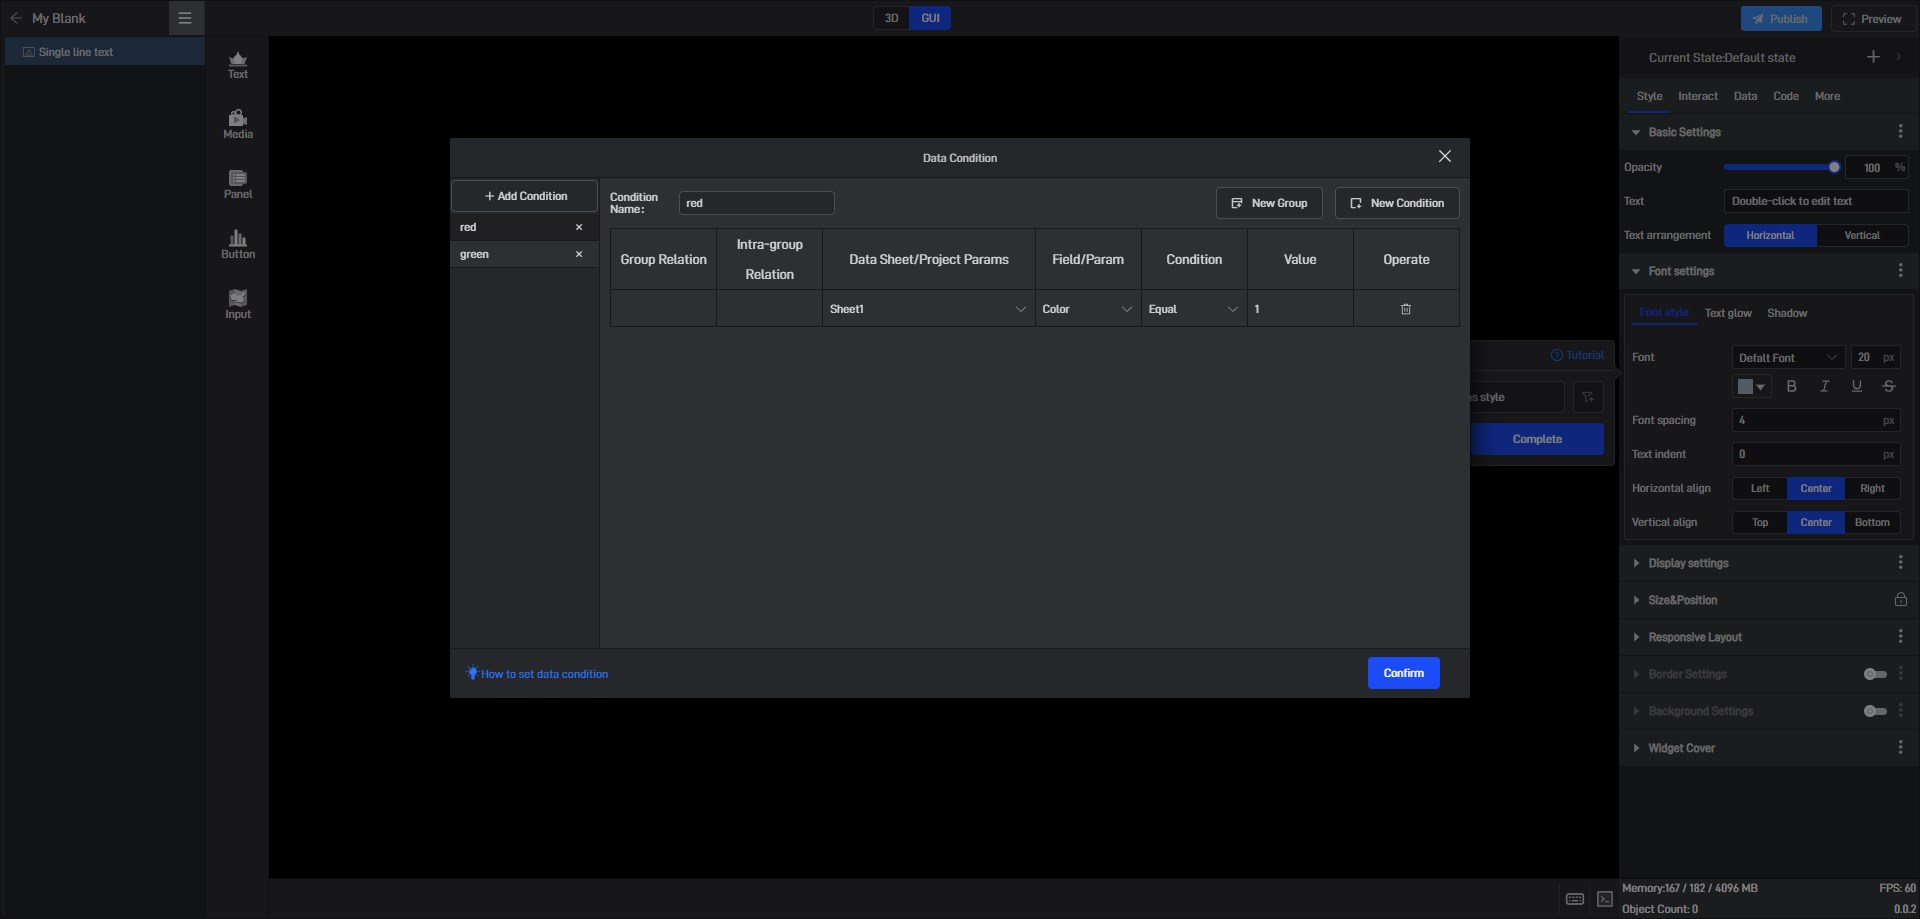
Here we set two data conditions, red (when the data is equal to 1) and green (when the data is equal to 0).
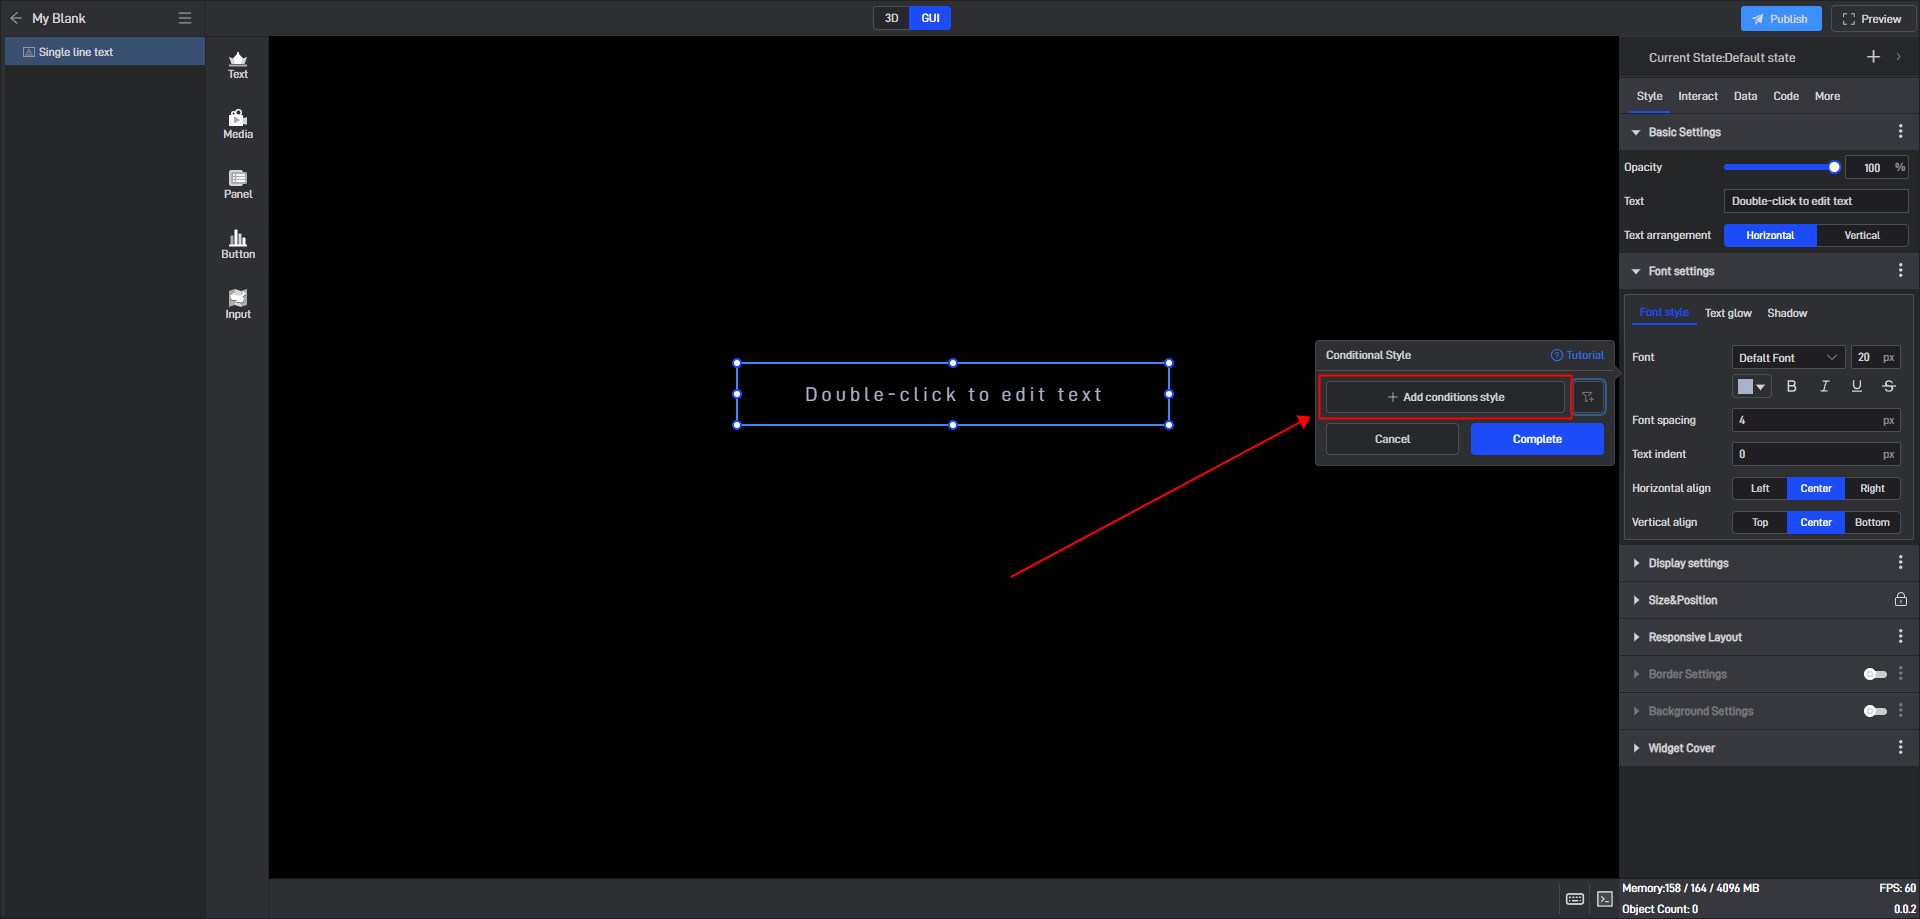
After the data conditions are set, you can click “Add Conditional Style” in the Conditional Style window.
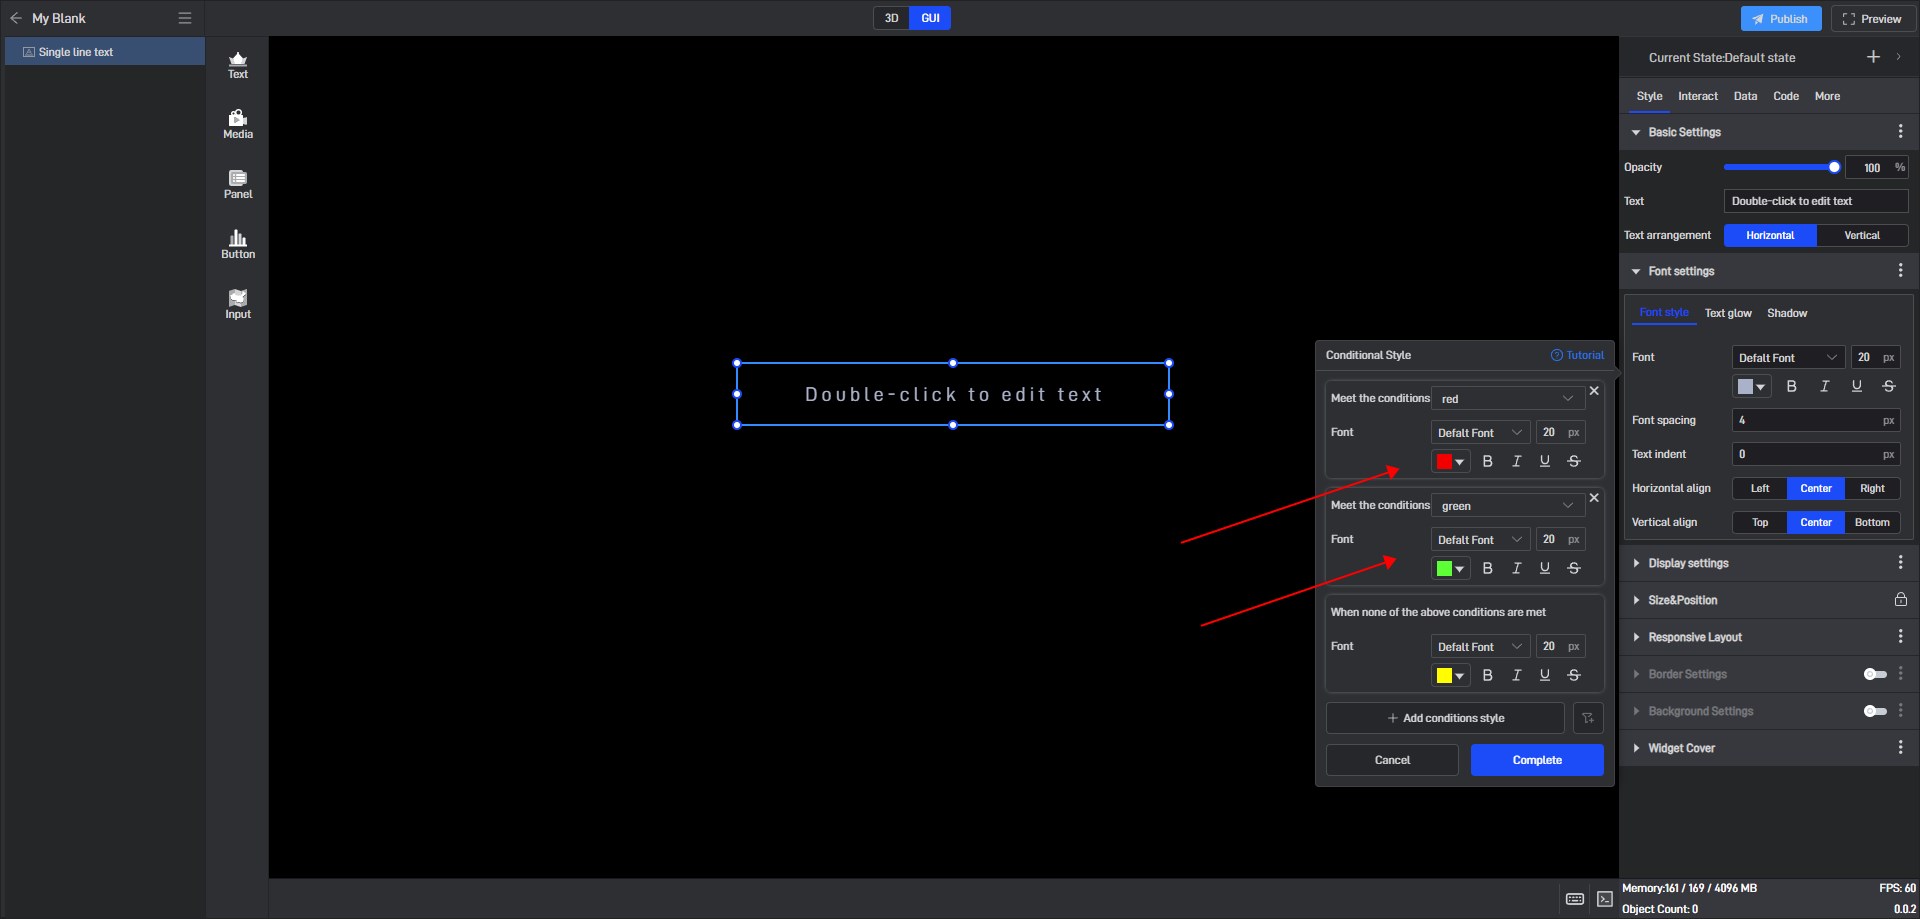
Then select the corresponding data condition and modify the style you want to set. After the modification is completed, click Finish to save the settings.
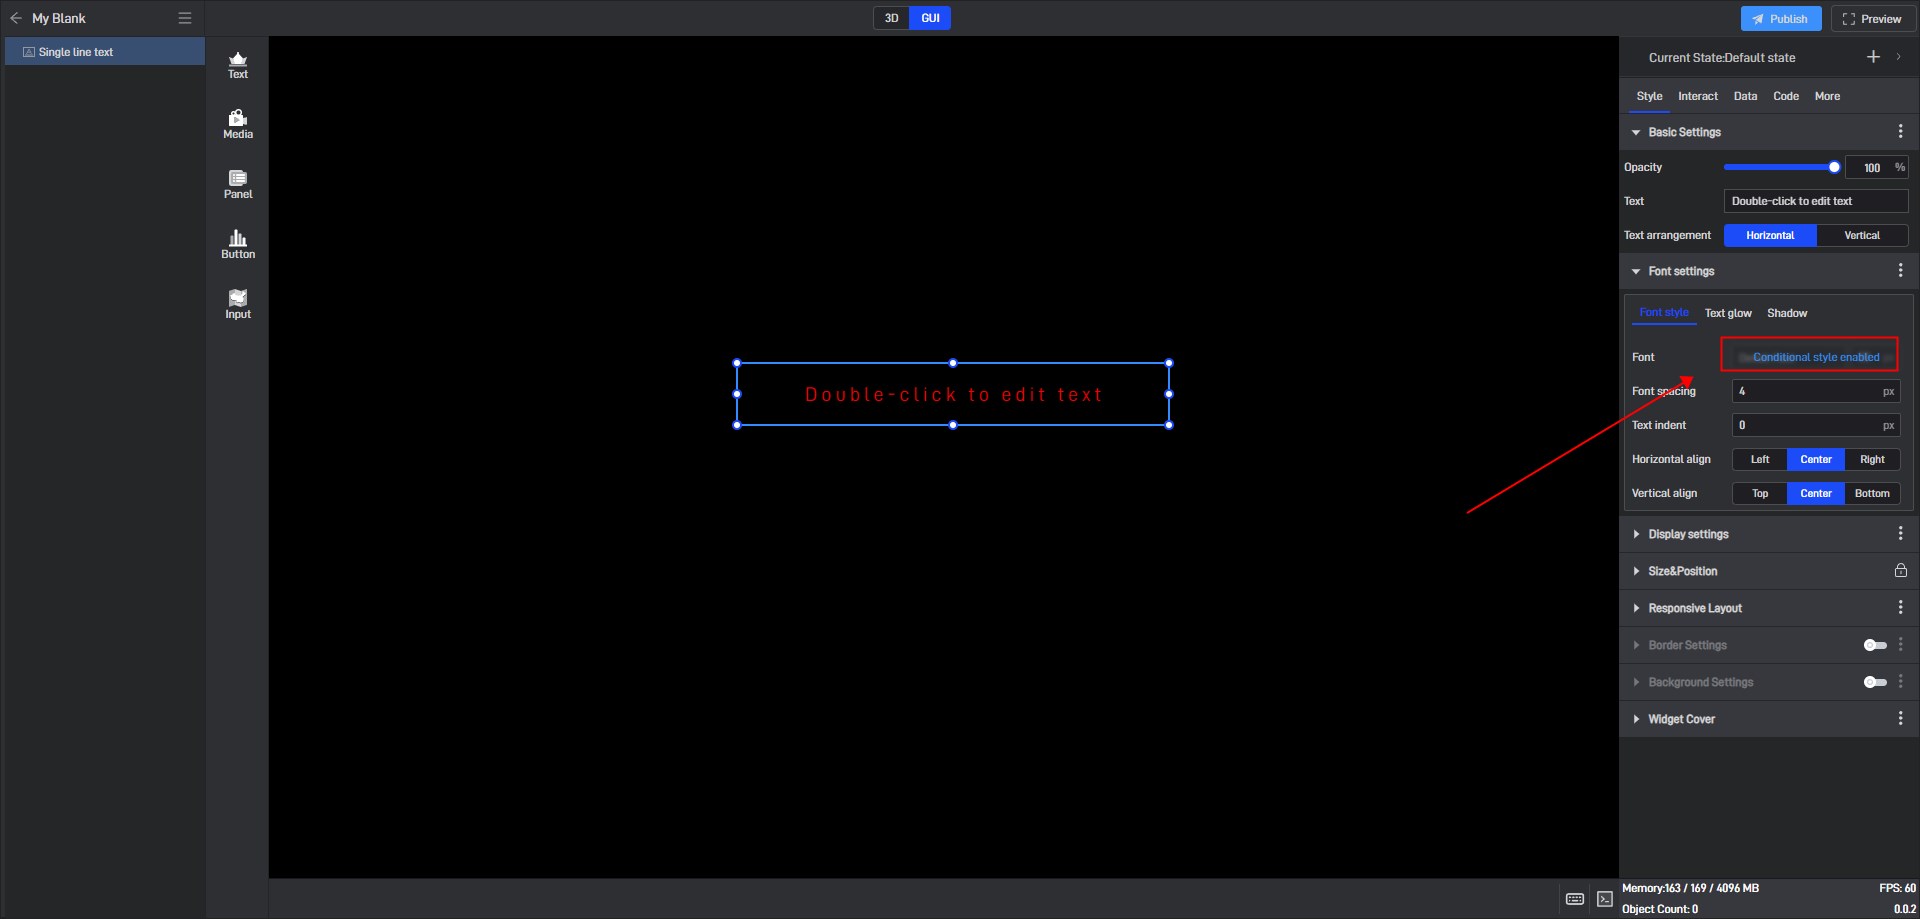
If a setting item has a conditional style set, we can see a prompt here, and clicking on this prompt can also open the conditional style setting window.
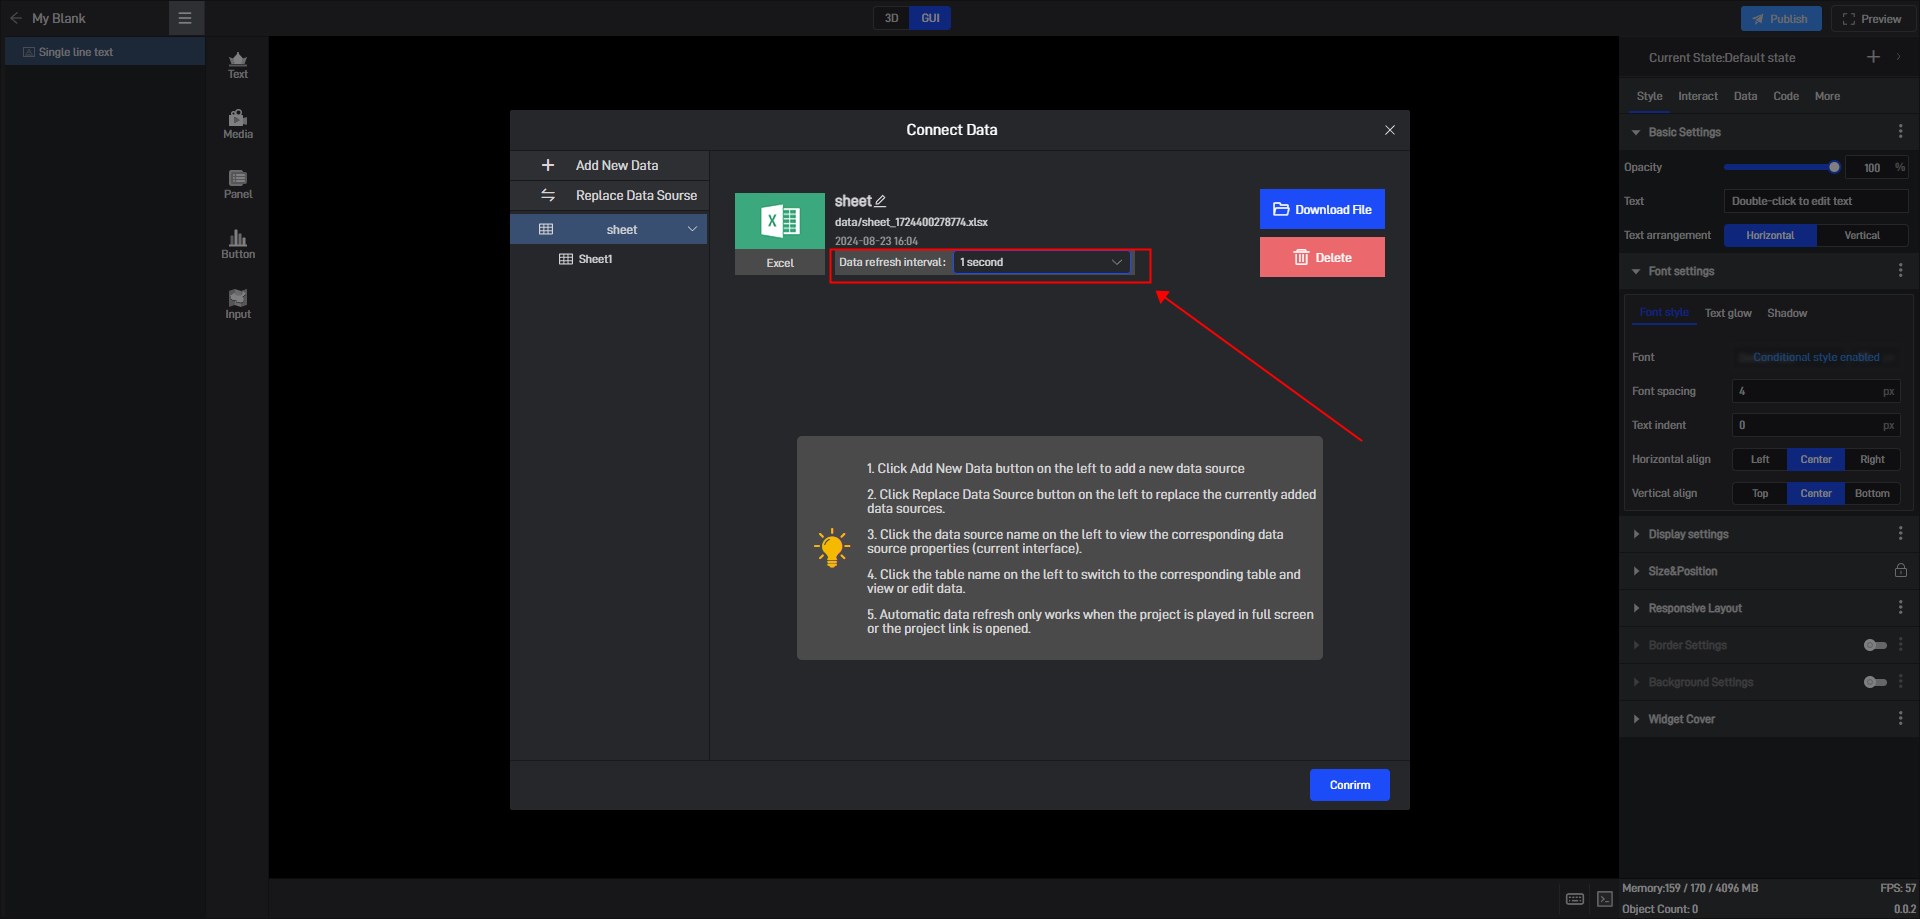
The triggering of conditional styles is usually combined with the automatic update of the data source. We set an automatic update for the data source in this example.
